Hi knitters!
Today we are going to learn a new crochet technique in order to create bobbles.
It’s not only funny but also easy to do. Depending on the design, you will create big or small bobbles. If you combine different colors and yarn balls, you will definitely get very nice projects 😉
Please follow these steps to be able to learn this bubble technique:
1. Knit a chain with an even number of stitches.
2. On that chain stitch row, do a double crochet.
3. Start double crocheting 1 stitch and turn your project in order to start the little bobbles.
4. Crochet 5 double stitches, using as a base, the first stitch you has from the last row. Leave he stitch ‘waiting’ onto your WAK crochet needle (do not close the stitch).
5. Once you have all crochet double stitches done, take more wool yarn with your needle and take the yarn through the 5 stitches. You need to slide the thread with your crochet needle through these stitches and pick them up.
6. To weave in the ends of a double crochet stitch
Now you first bobble is already done!
If you wish to continue crocheting more bobbles, it is important to know that if you want to separate the bobbles a bit more, you need to crochet 2 or 3 double stitches more.
As you can appreciate on this pic, we have been crocheting one stitch close to the next one, so that the bobbles are closer.
Repeat steps 4 and 6 if you want to continue knitting your bobble.
Share with us your bubbles and WAK projects on Instagram!
#weareknitters
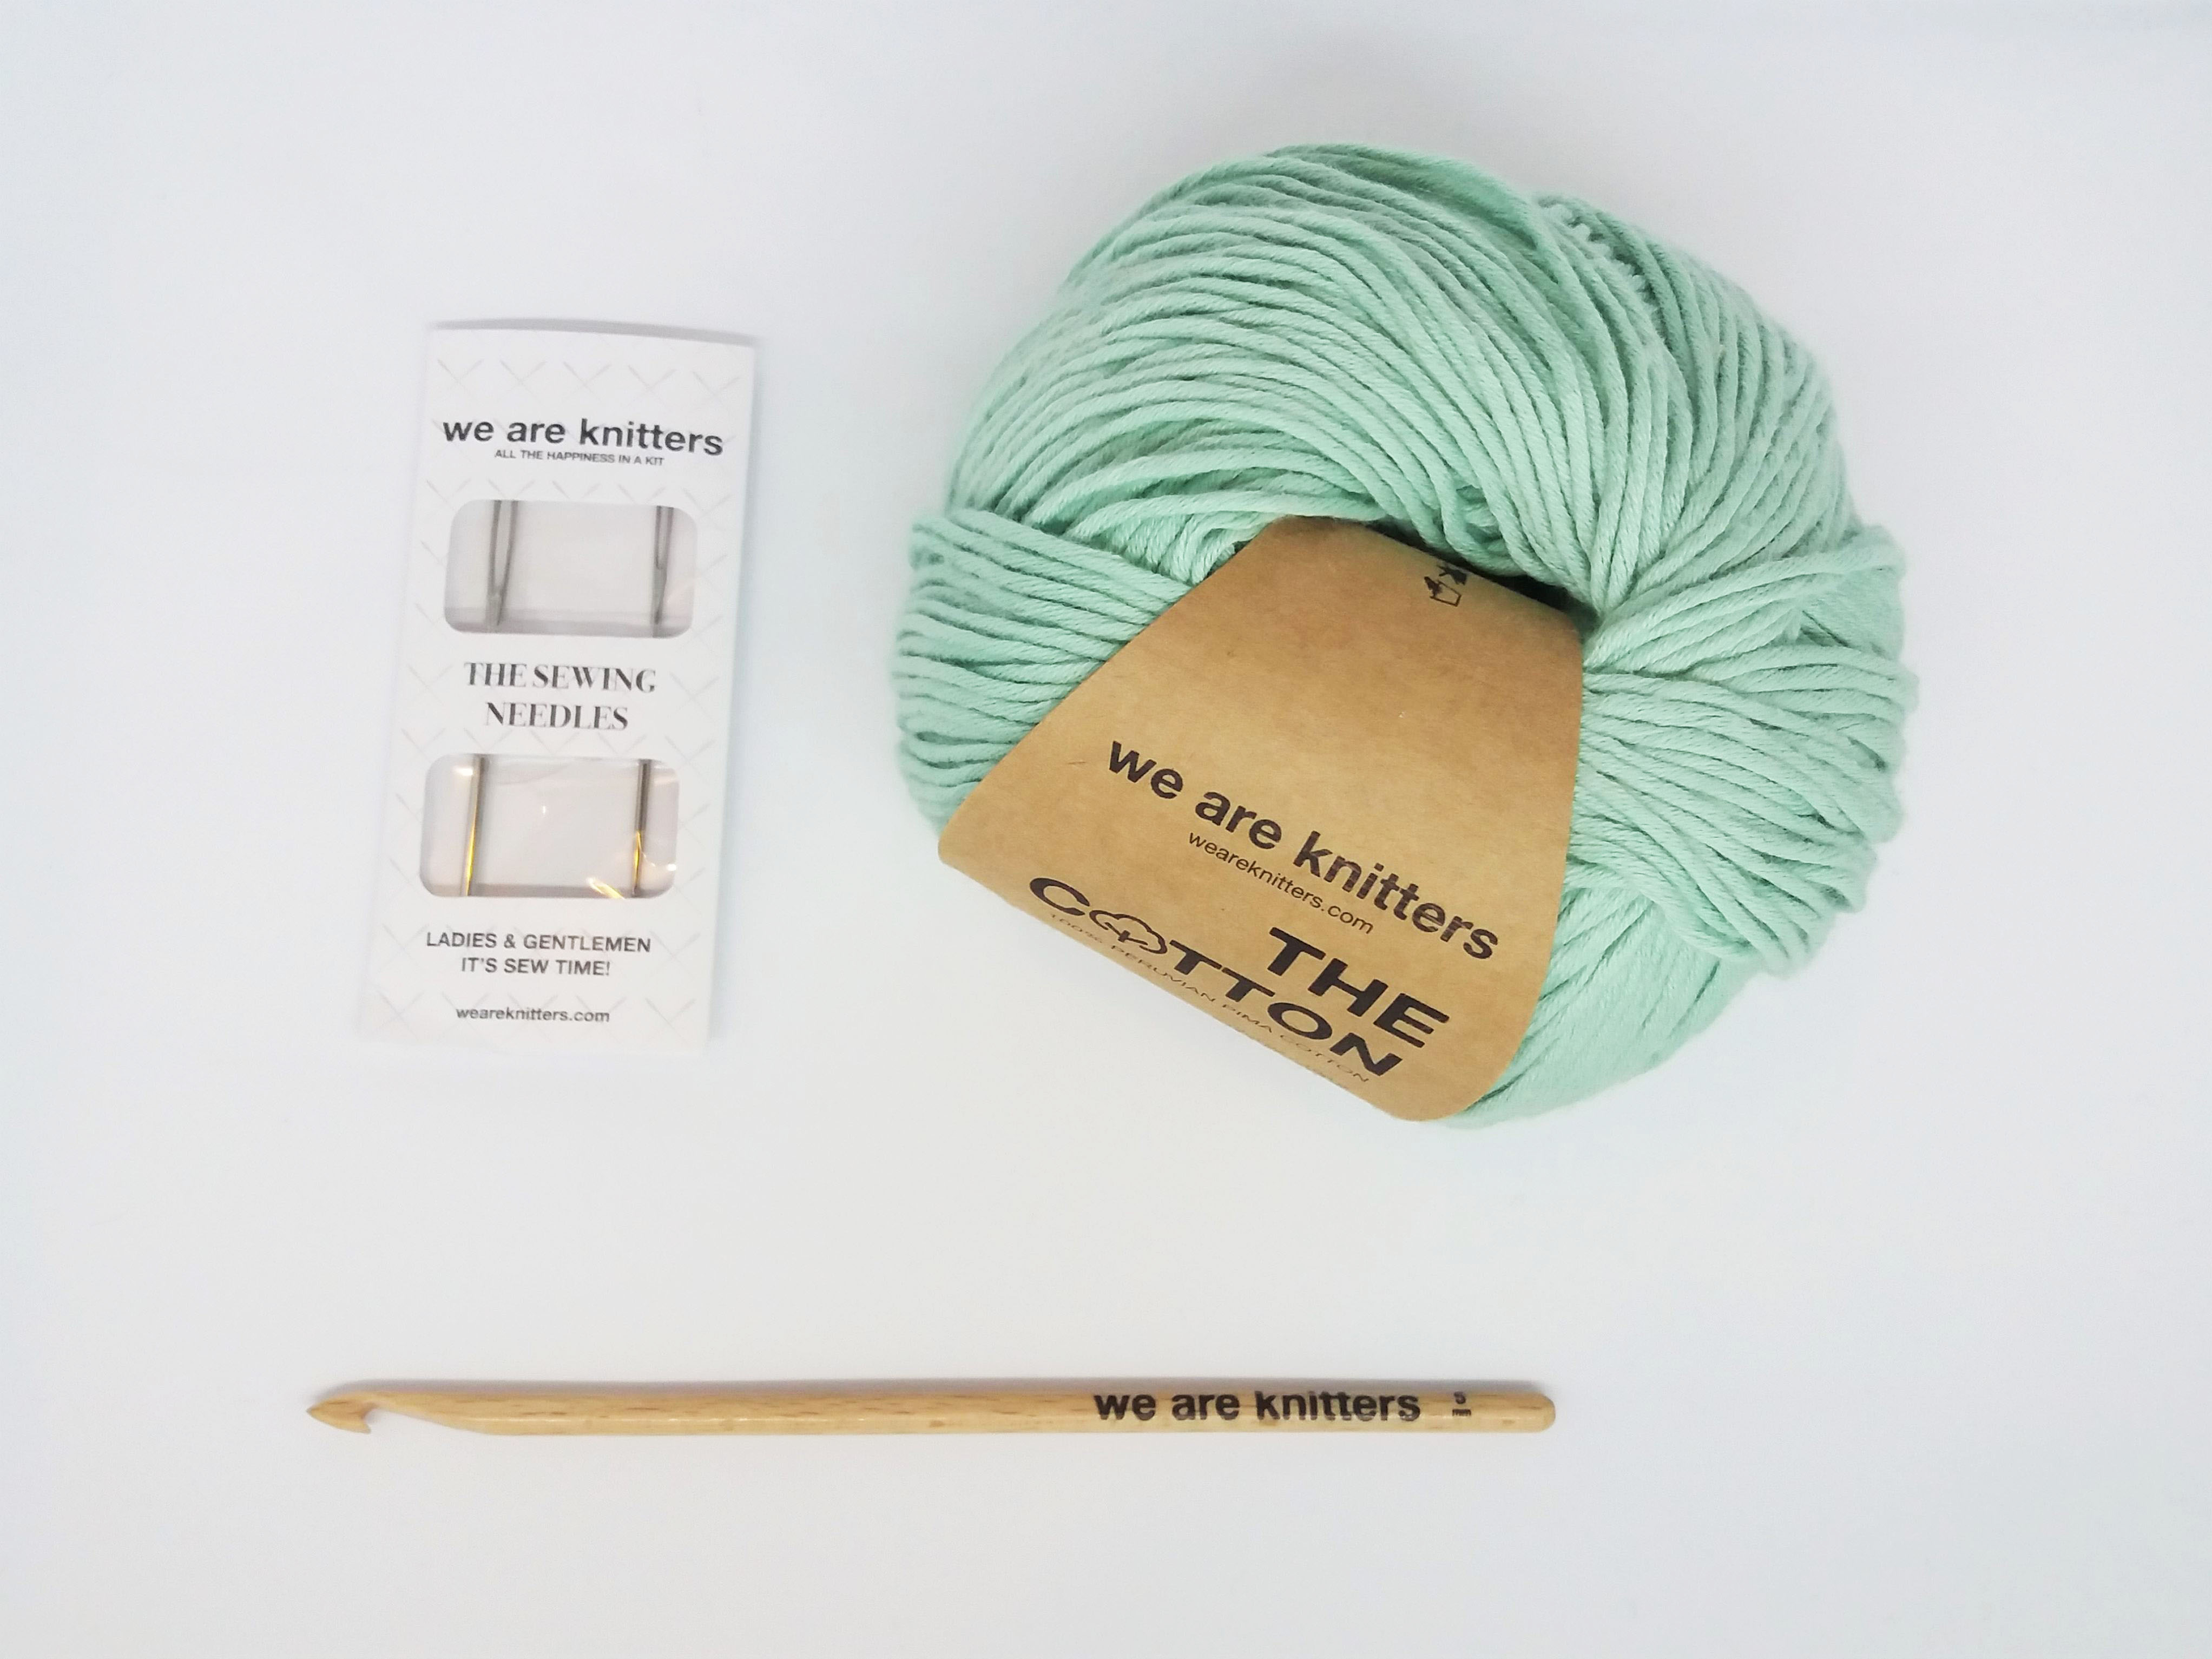
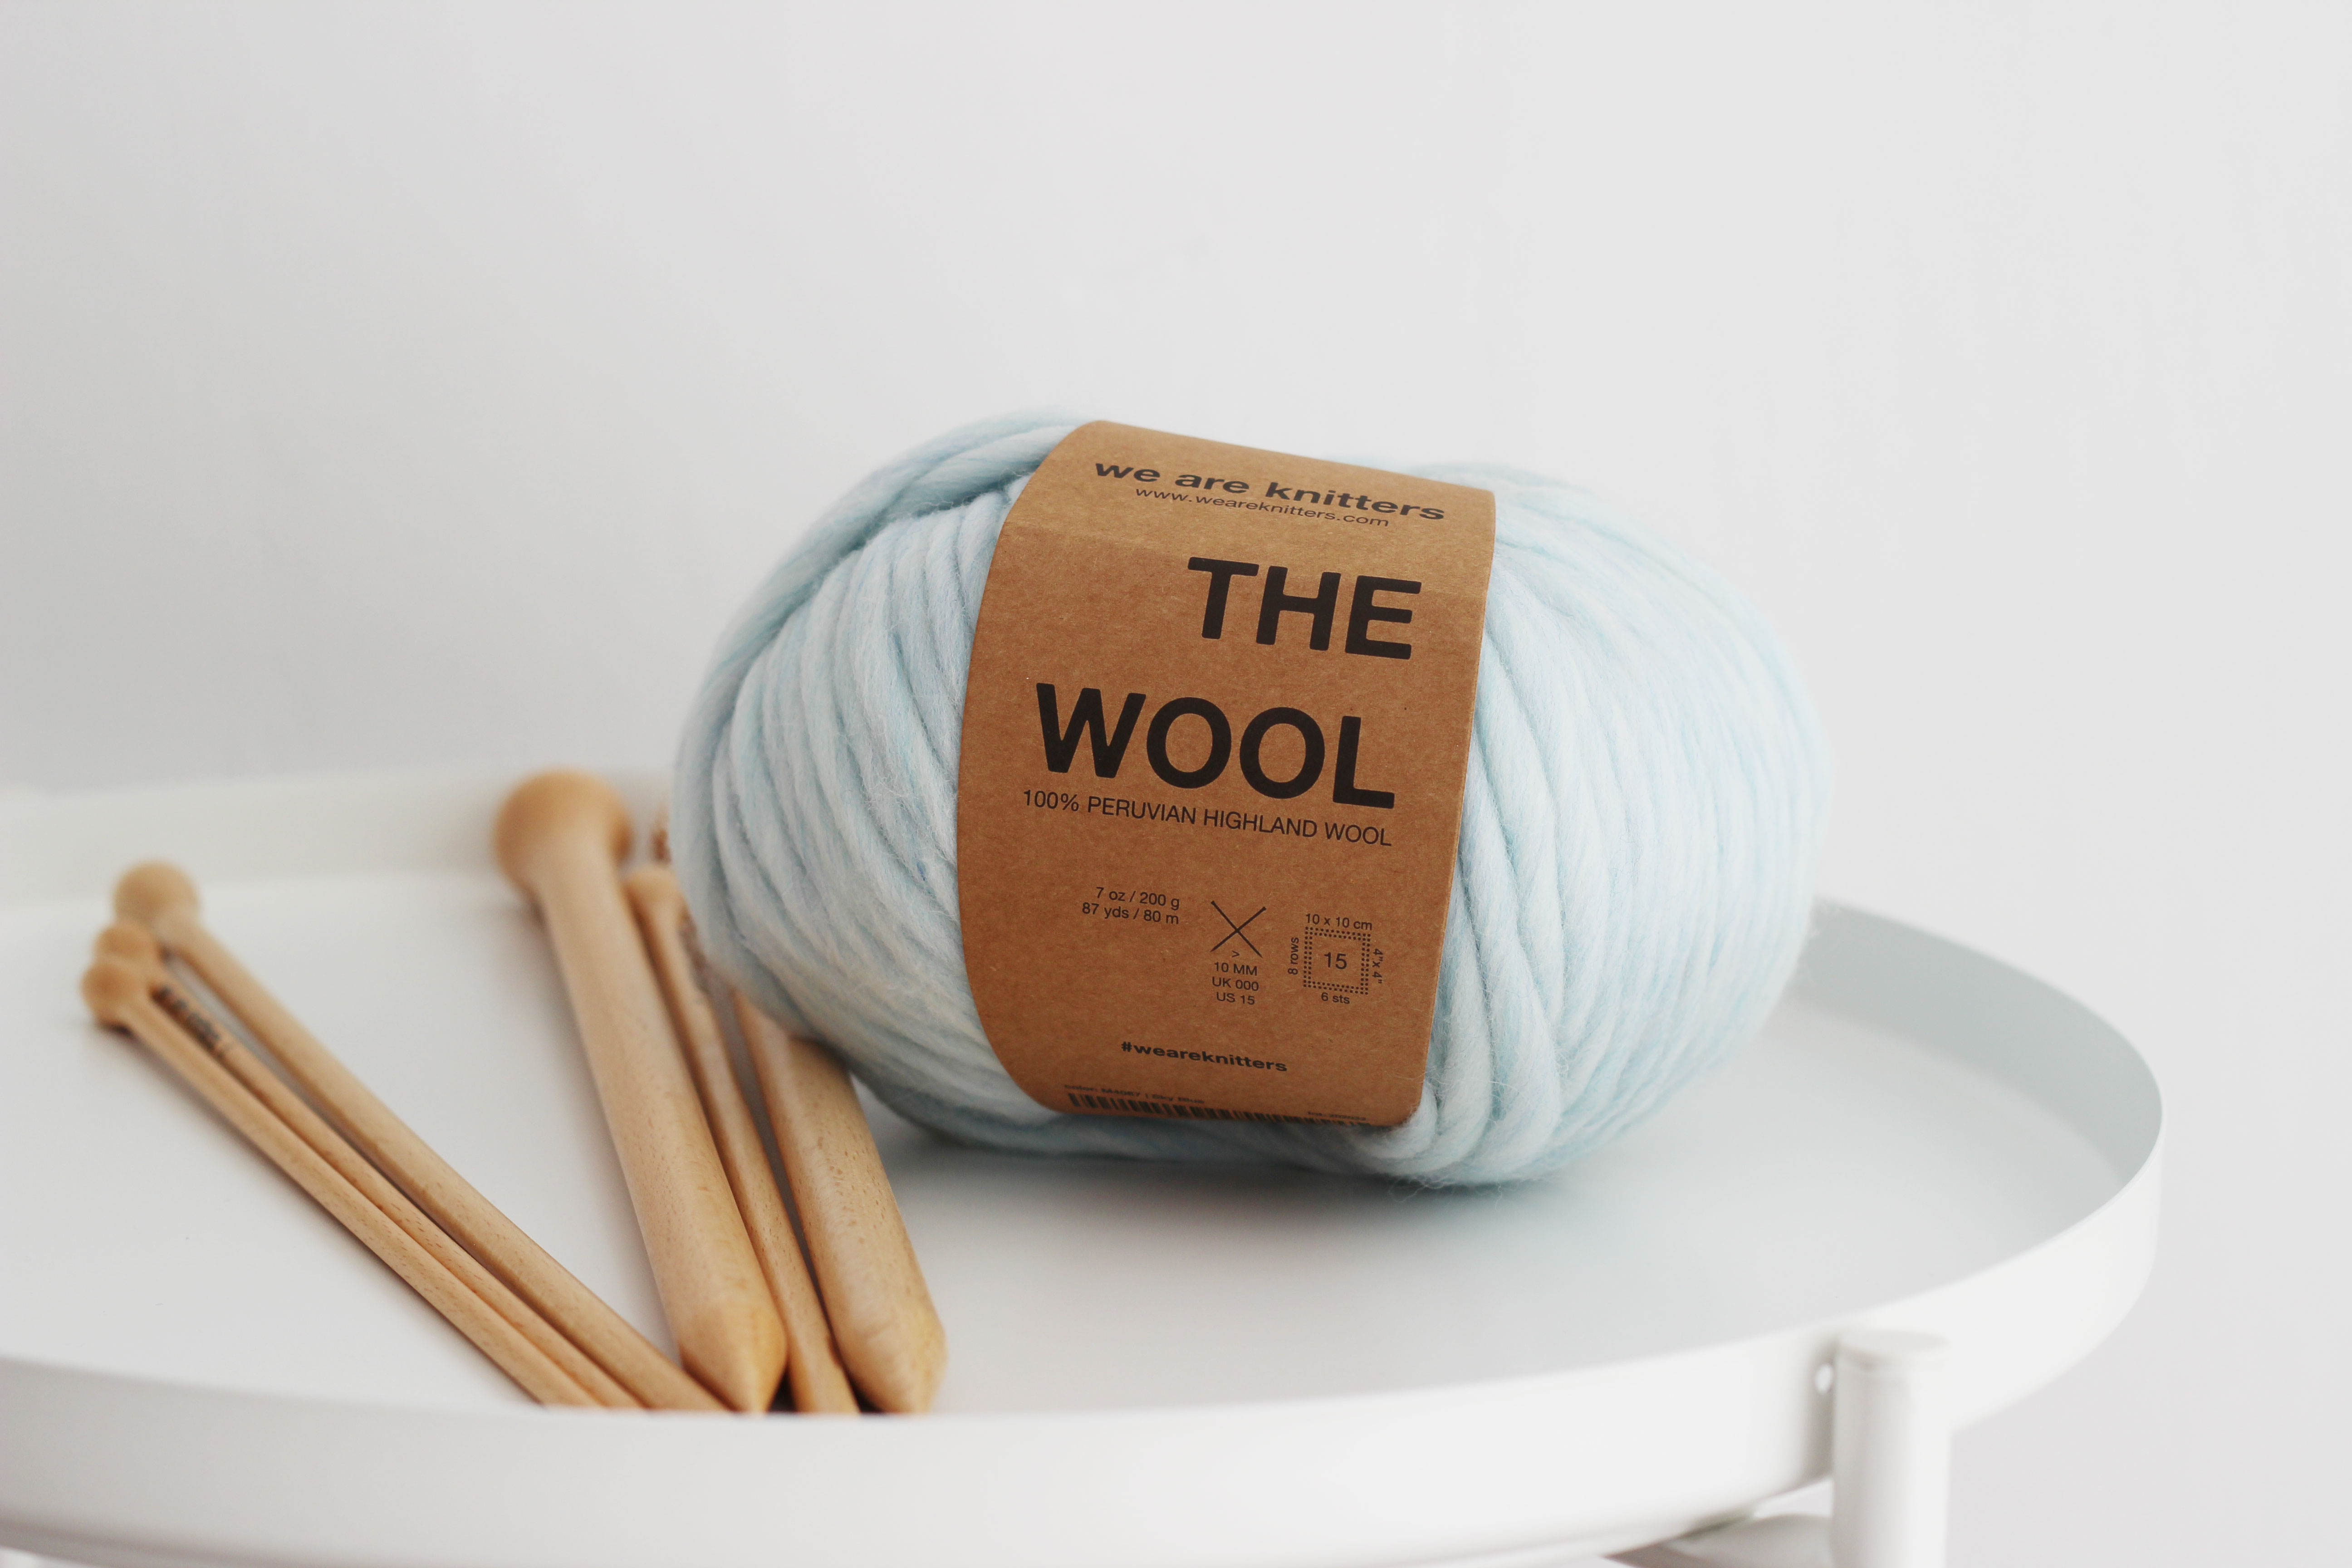
For this post we have used a WAK CROCHET NEEDLE and 100% PERUVIAN WOOL IN OLIVE, FUCHSIA AND AQUAMARINE.


