We always like to increase the stitches in our knowledge base, and today we bring you a decrease that will be very useful to you: we will learn how to work the 4-stitch decrease. As always, we will explain the decrease step by step so it’s not confusing.

For this tutorial, we used one of our The Wool skeins, and beechwood knitting needles size US 19 (15 mm).

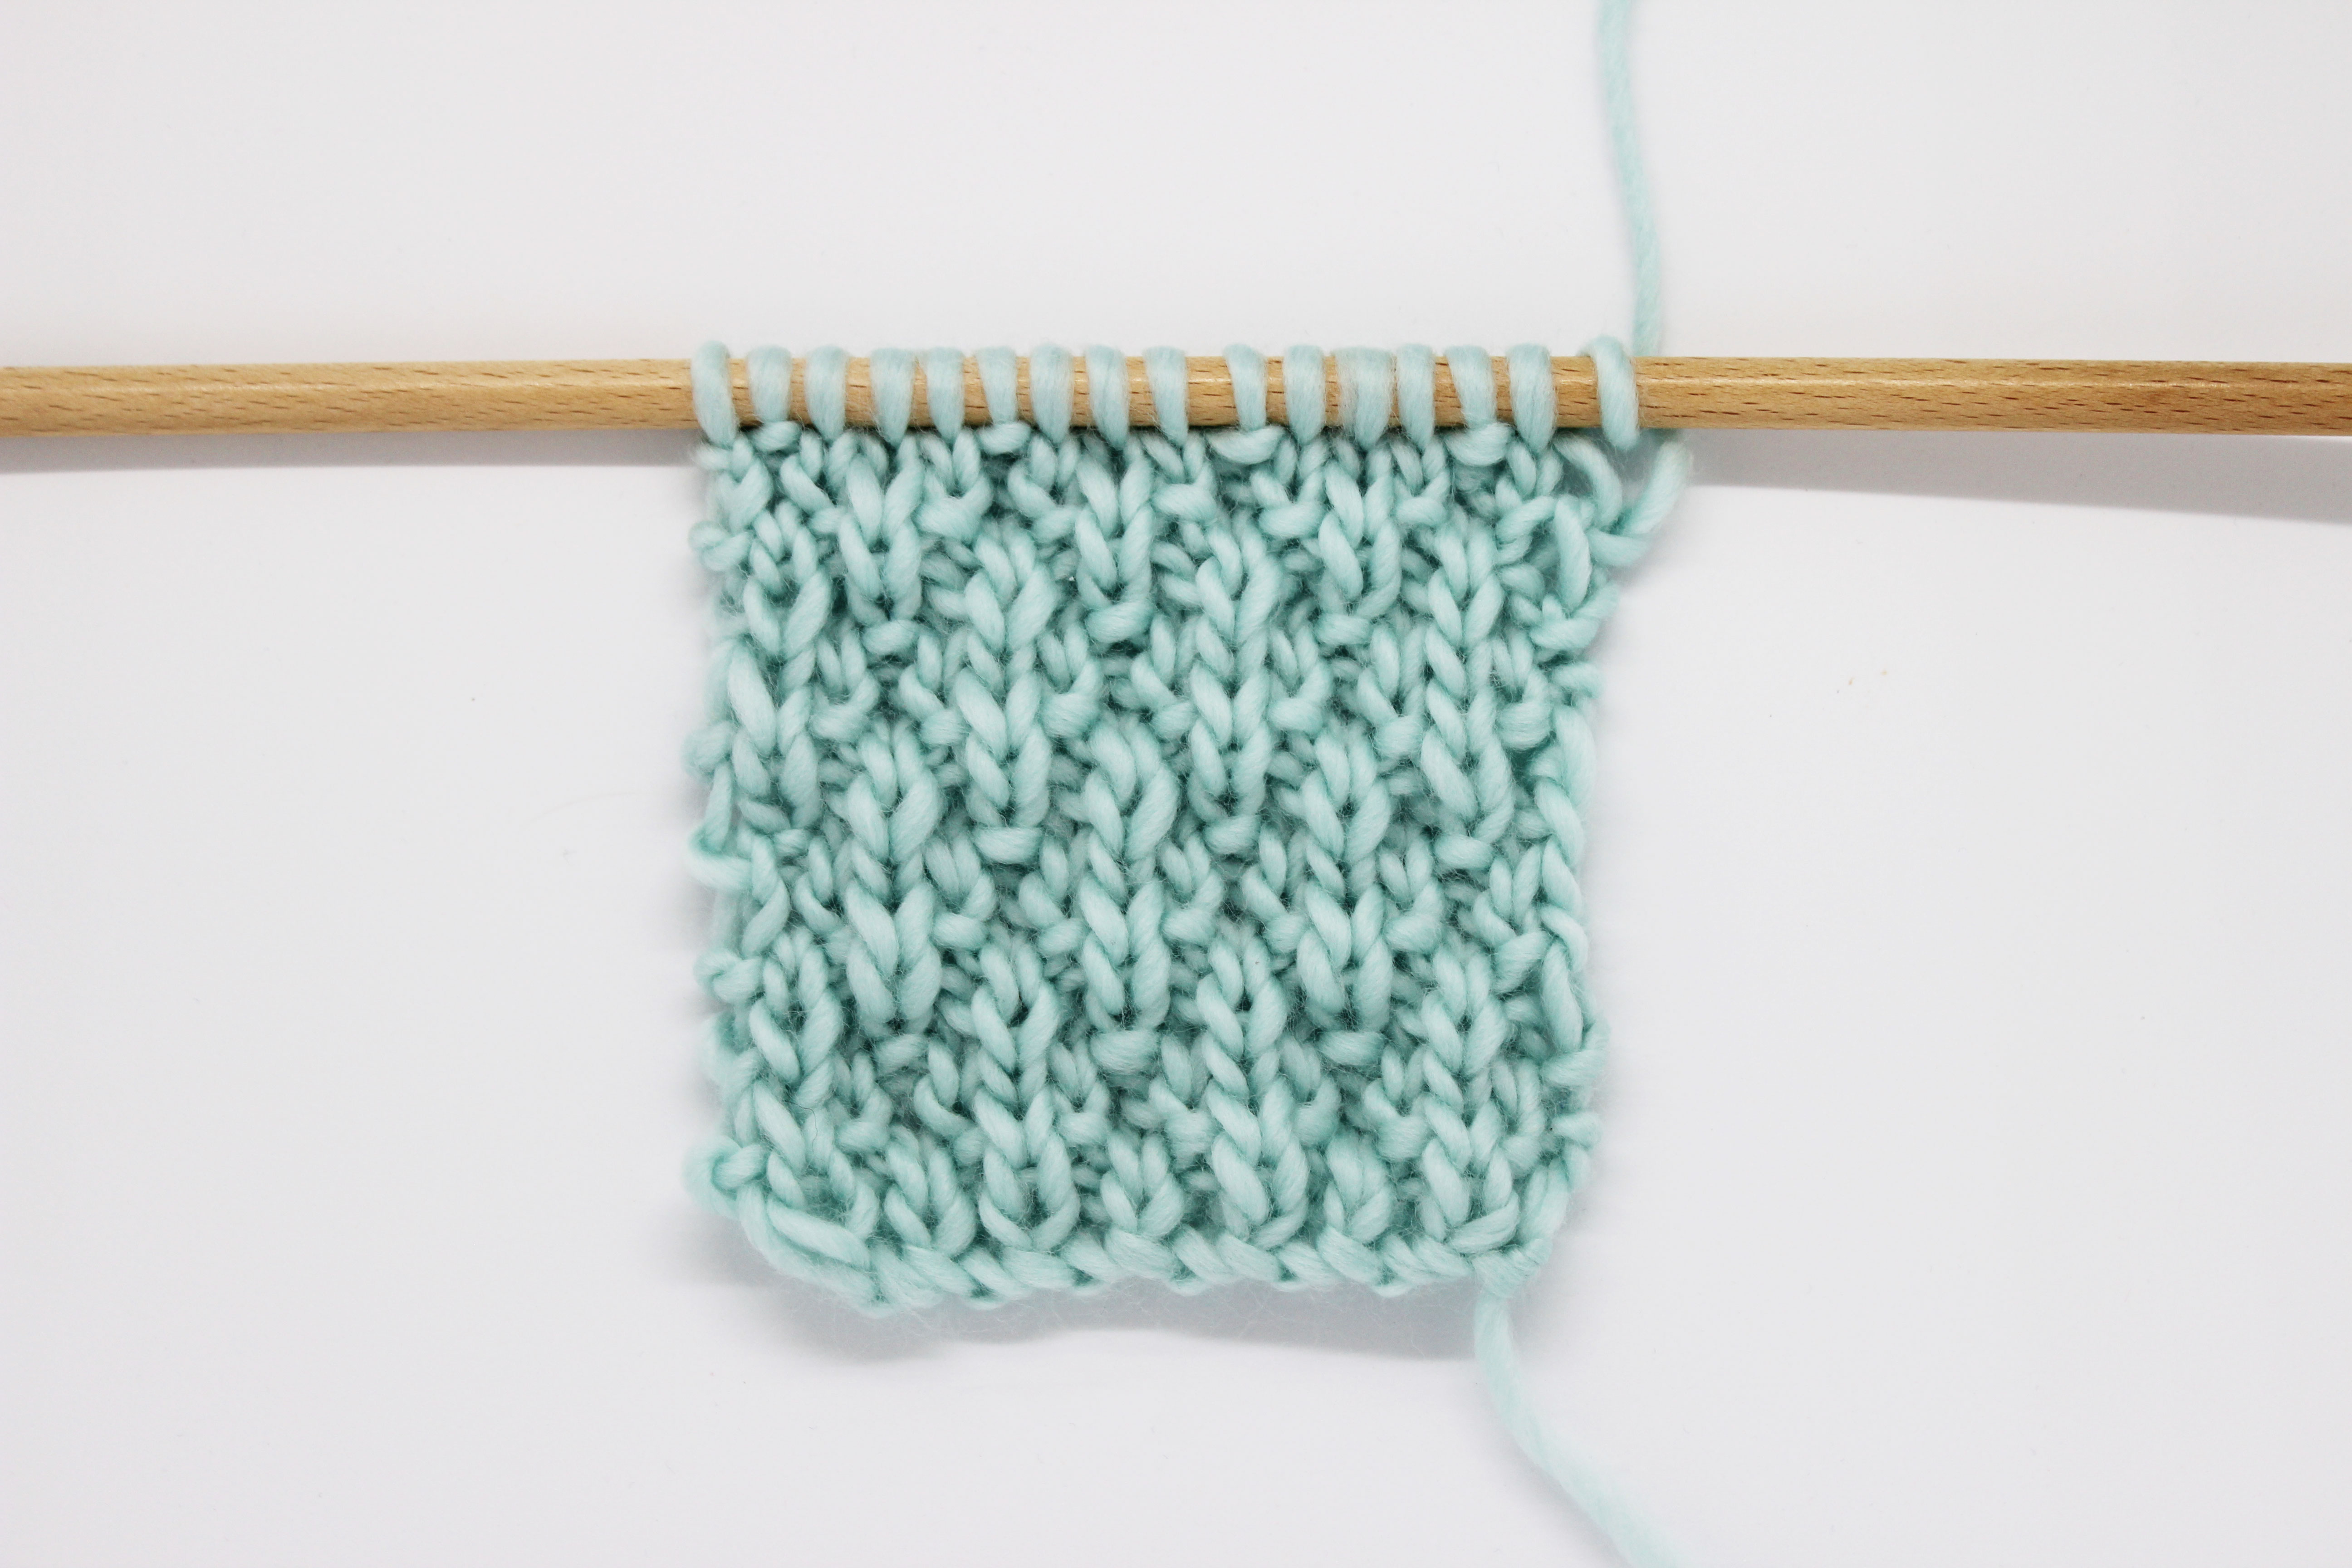
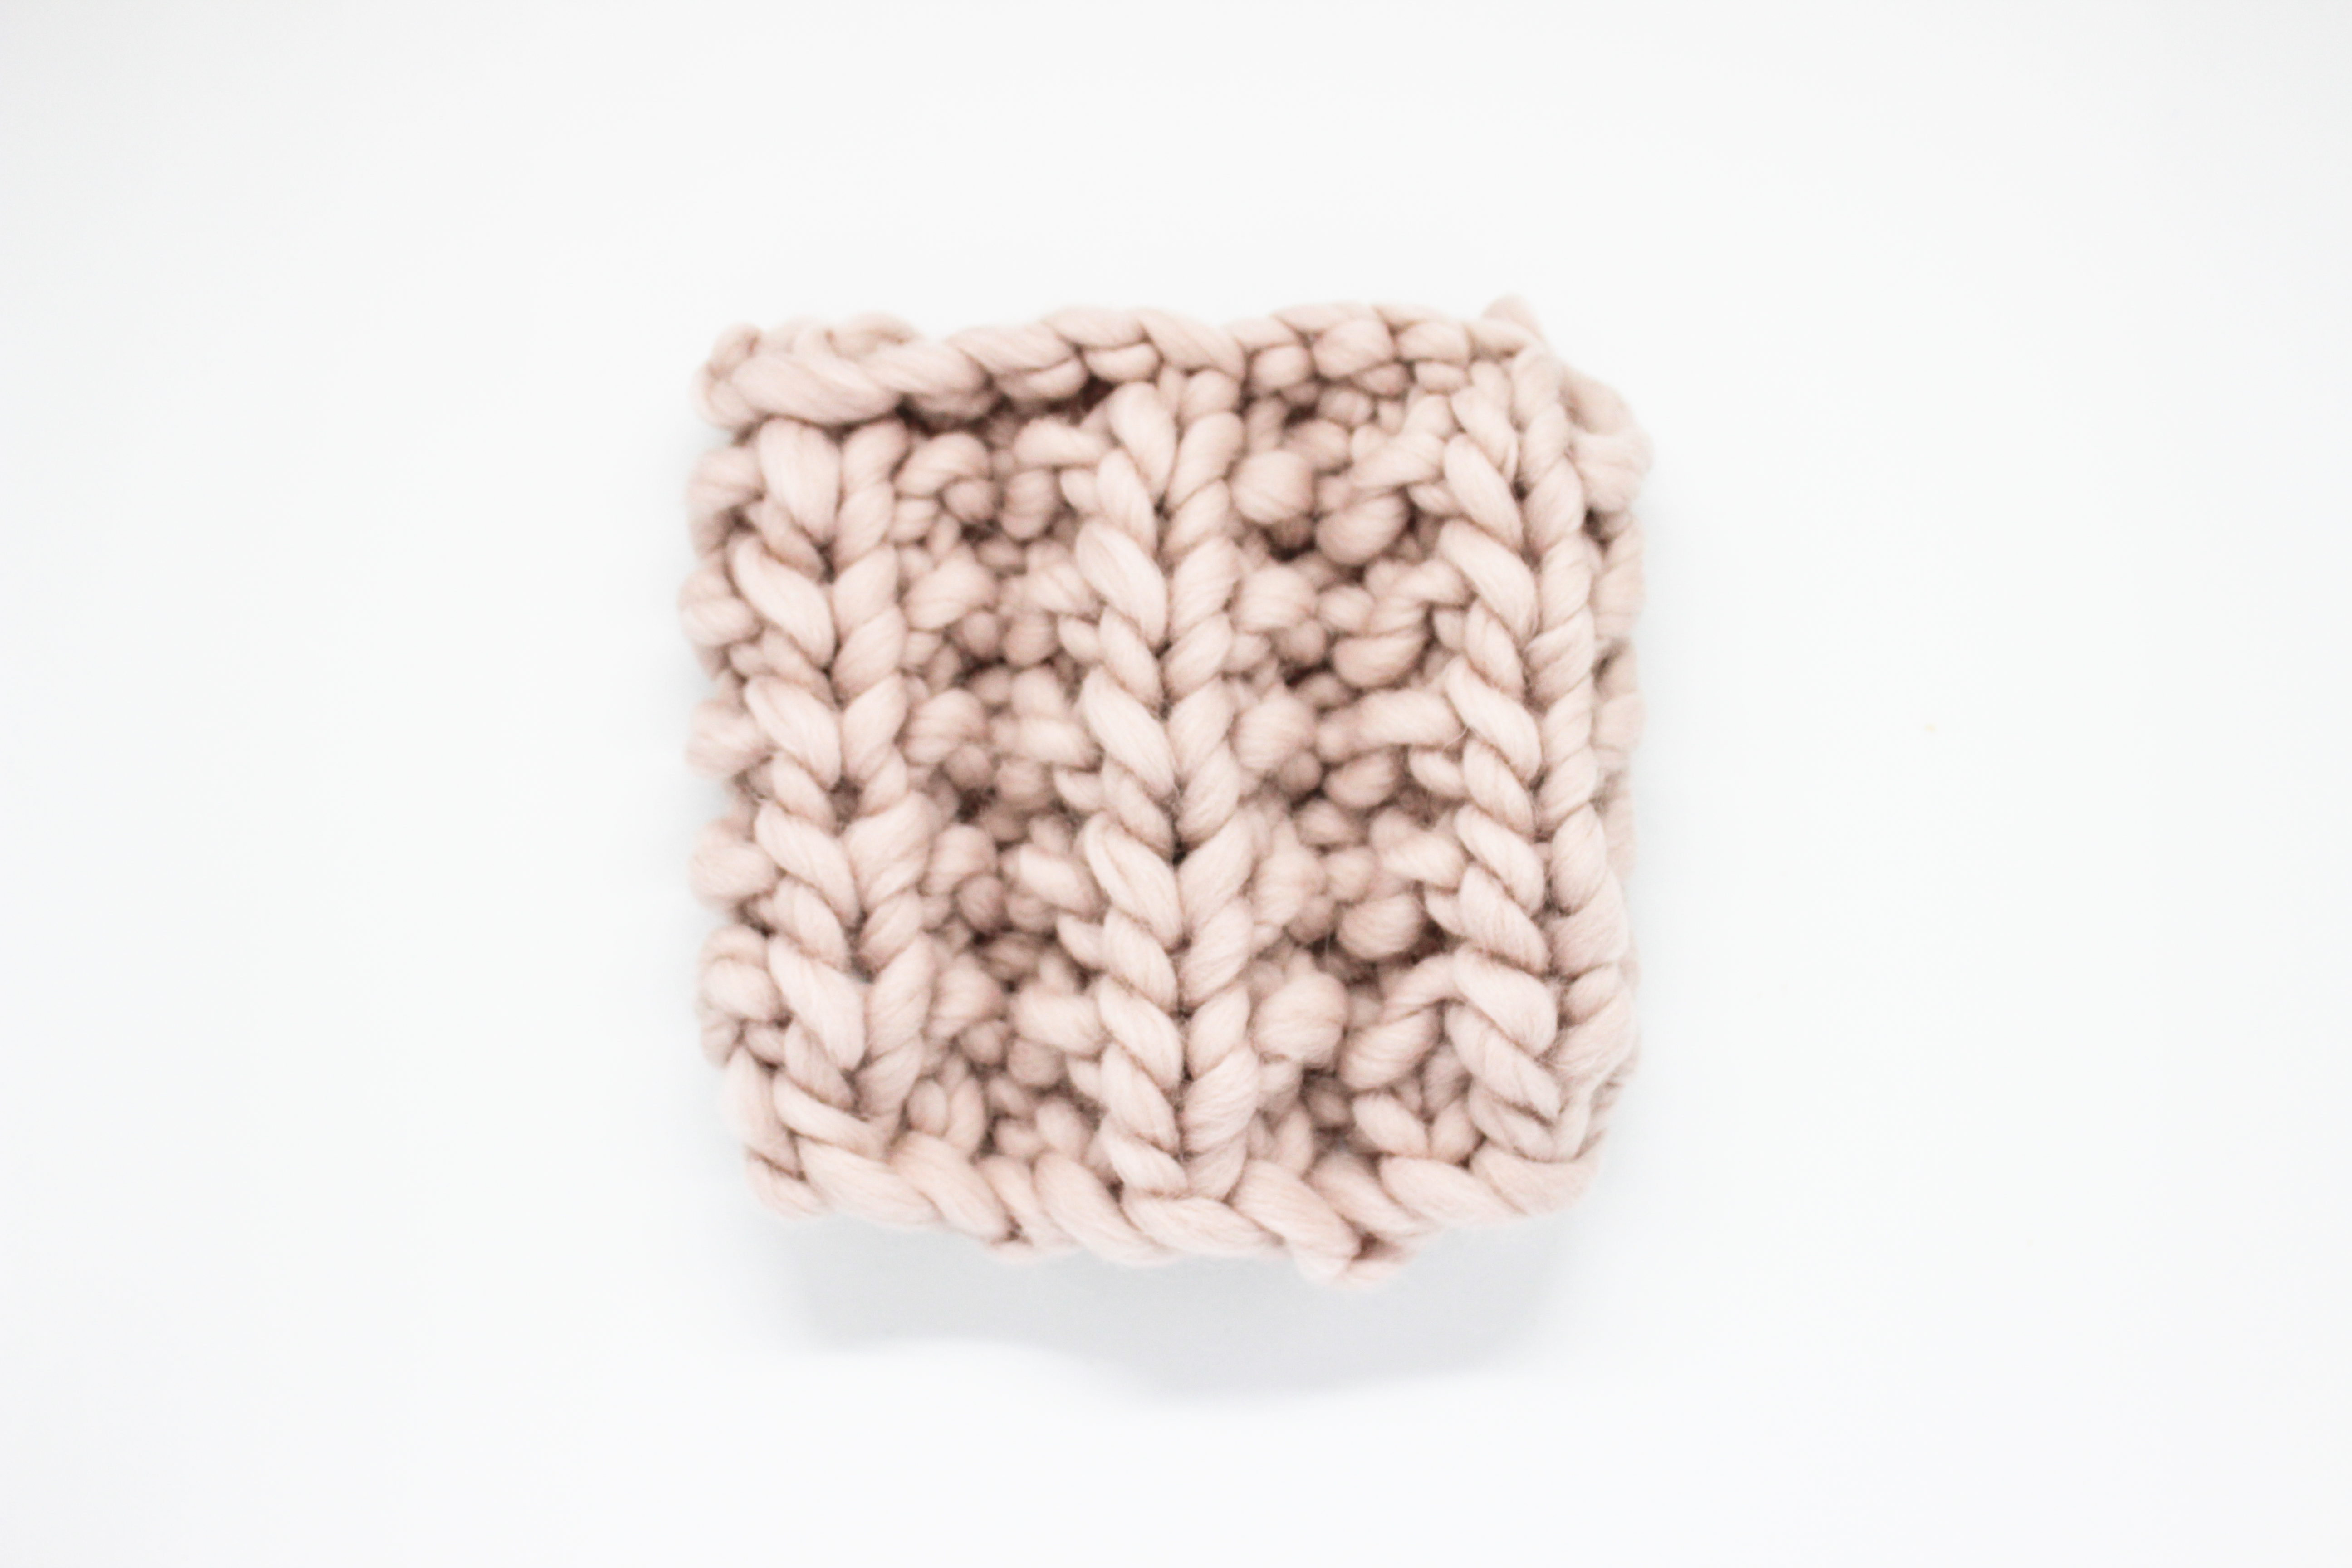
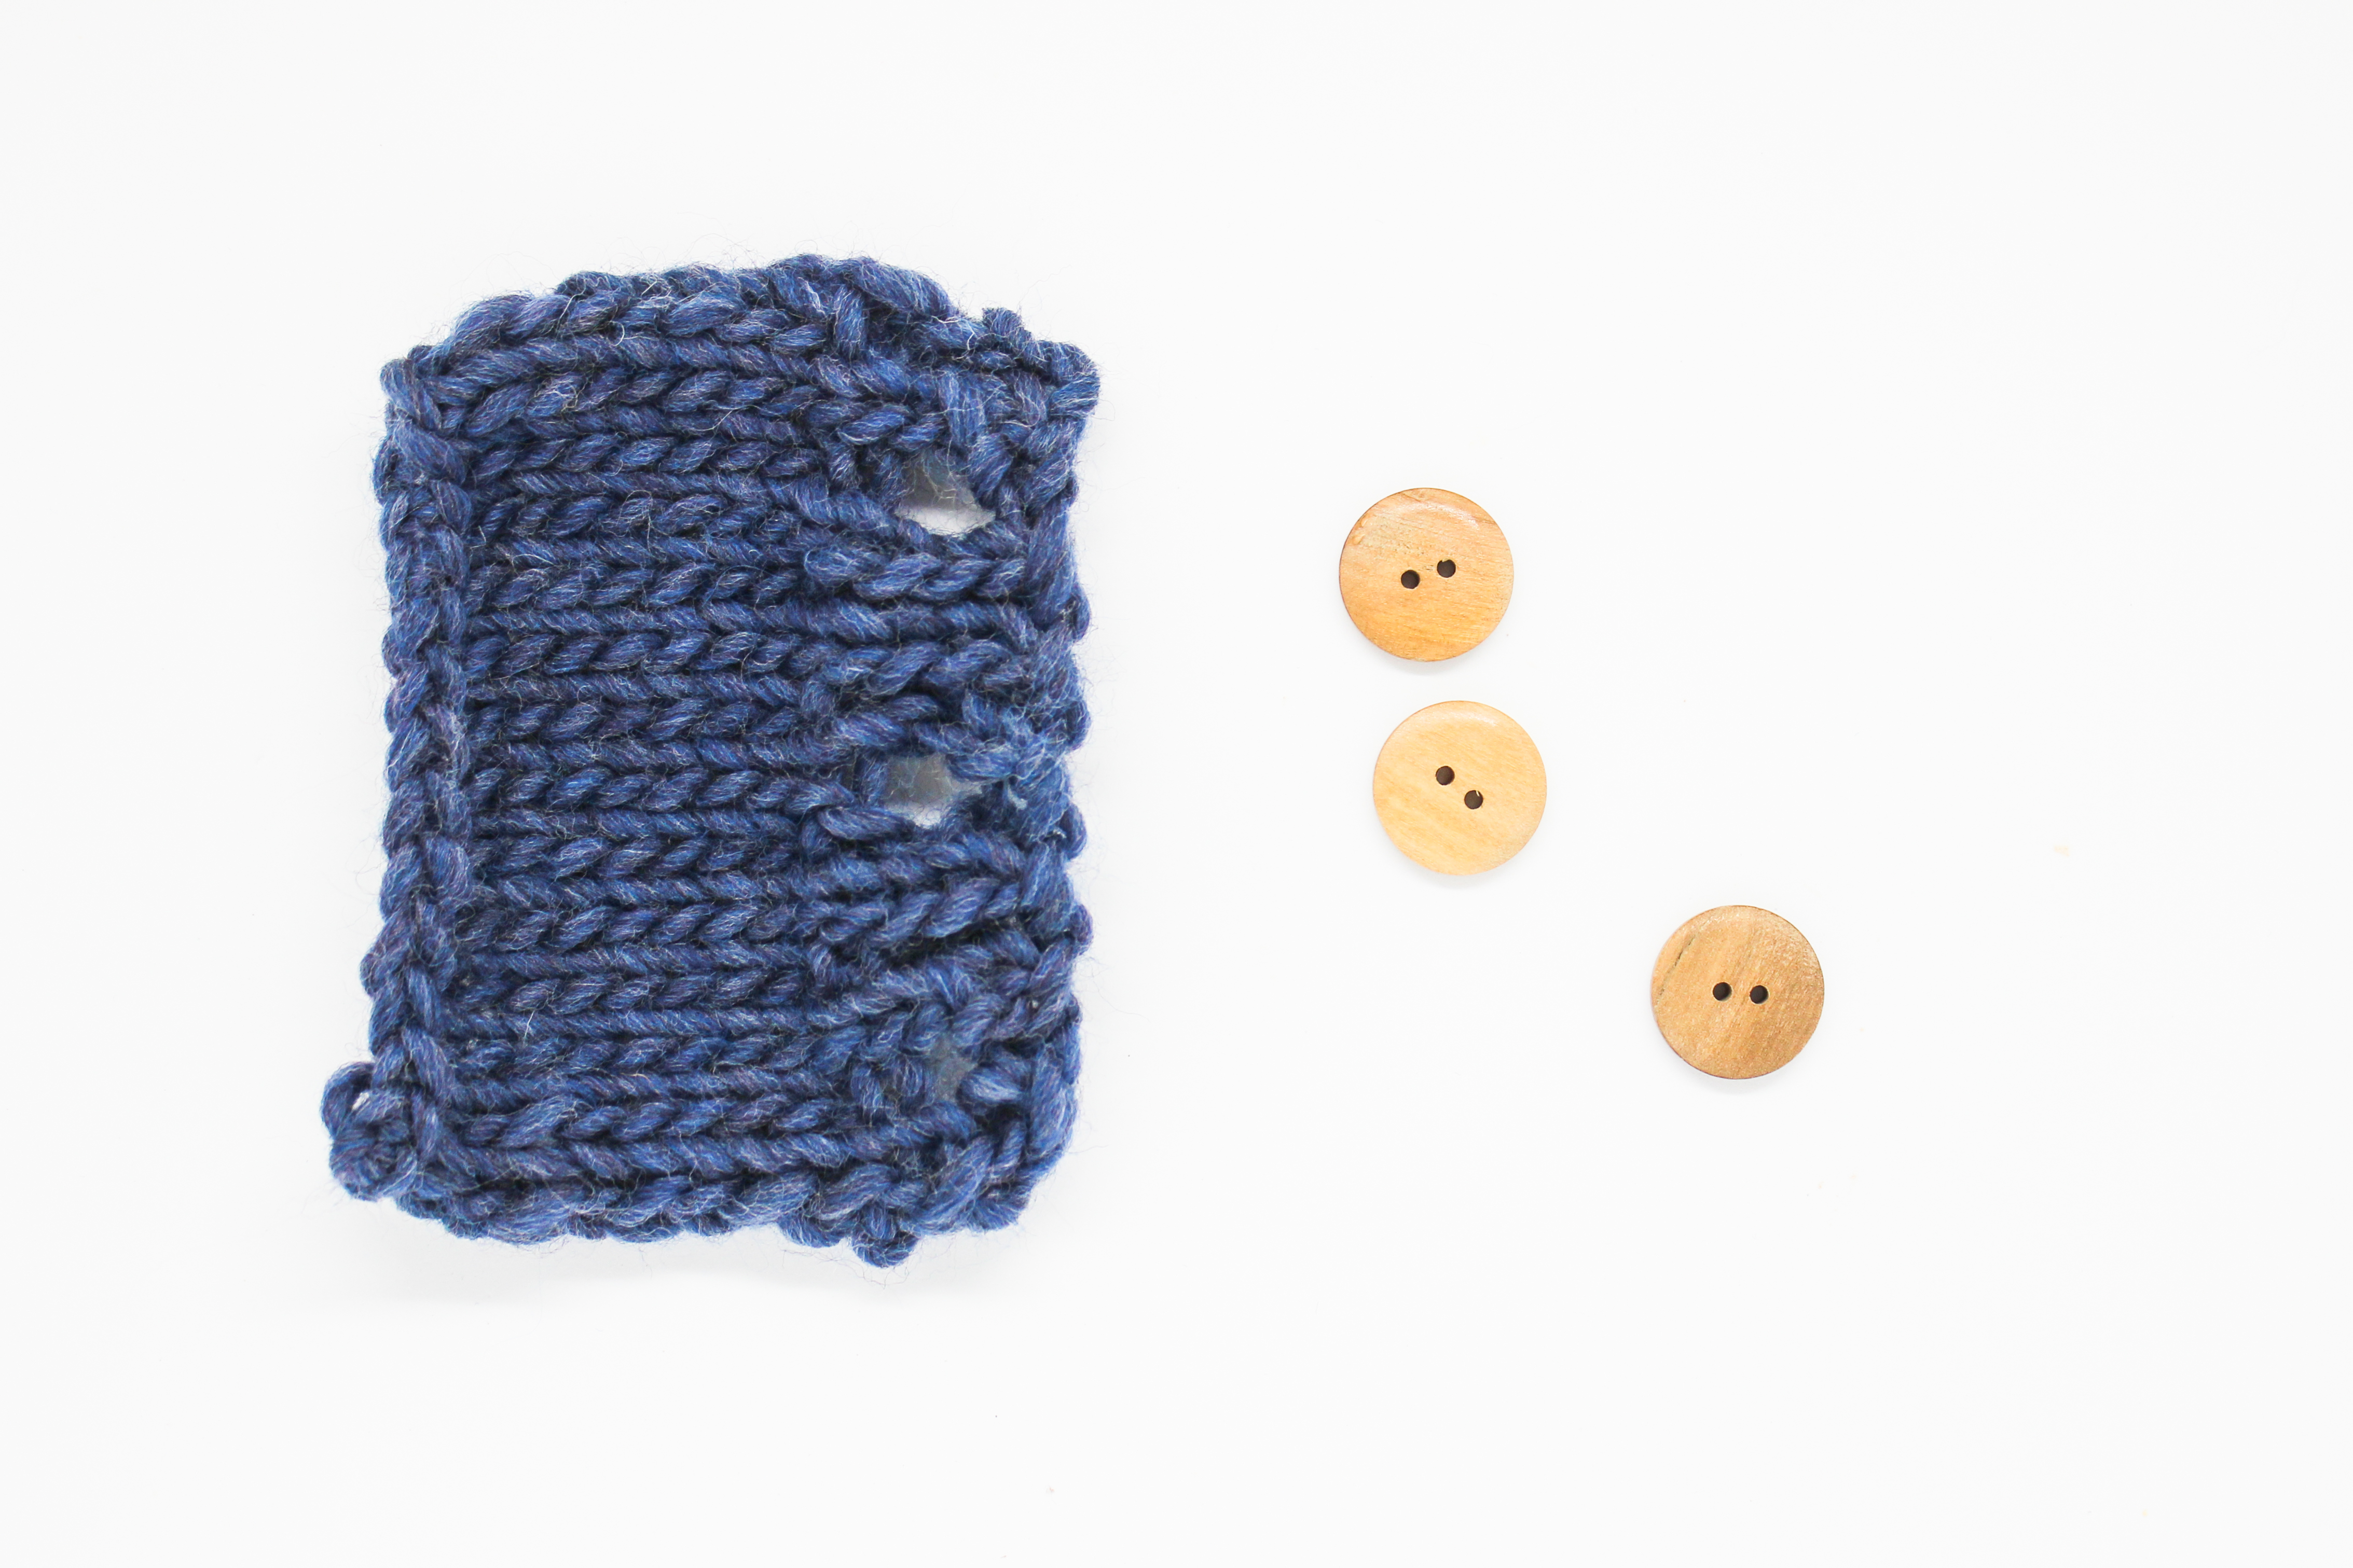
We have knitted the base fabric you’re seeing in the picture above: a piece in stockinette stitch.
You can work it in any other stitch, the process will be the same.

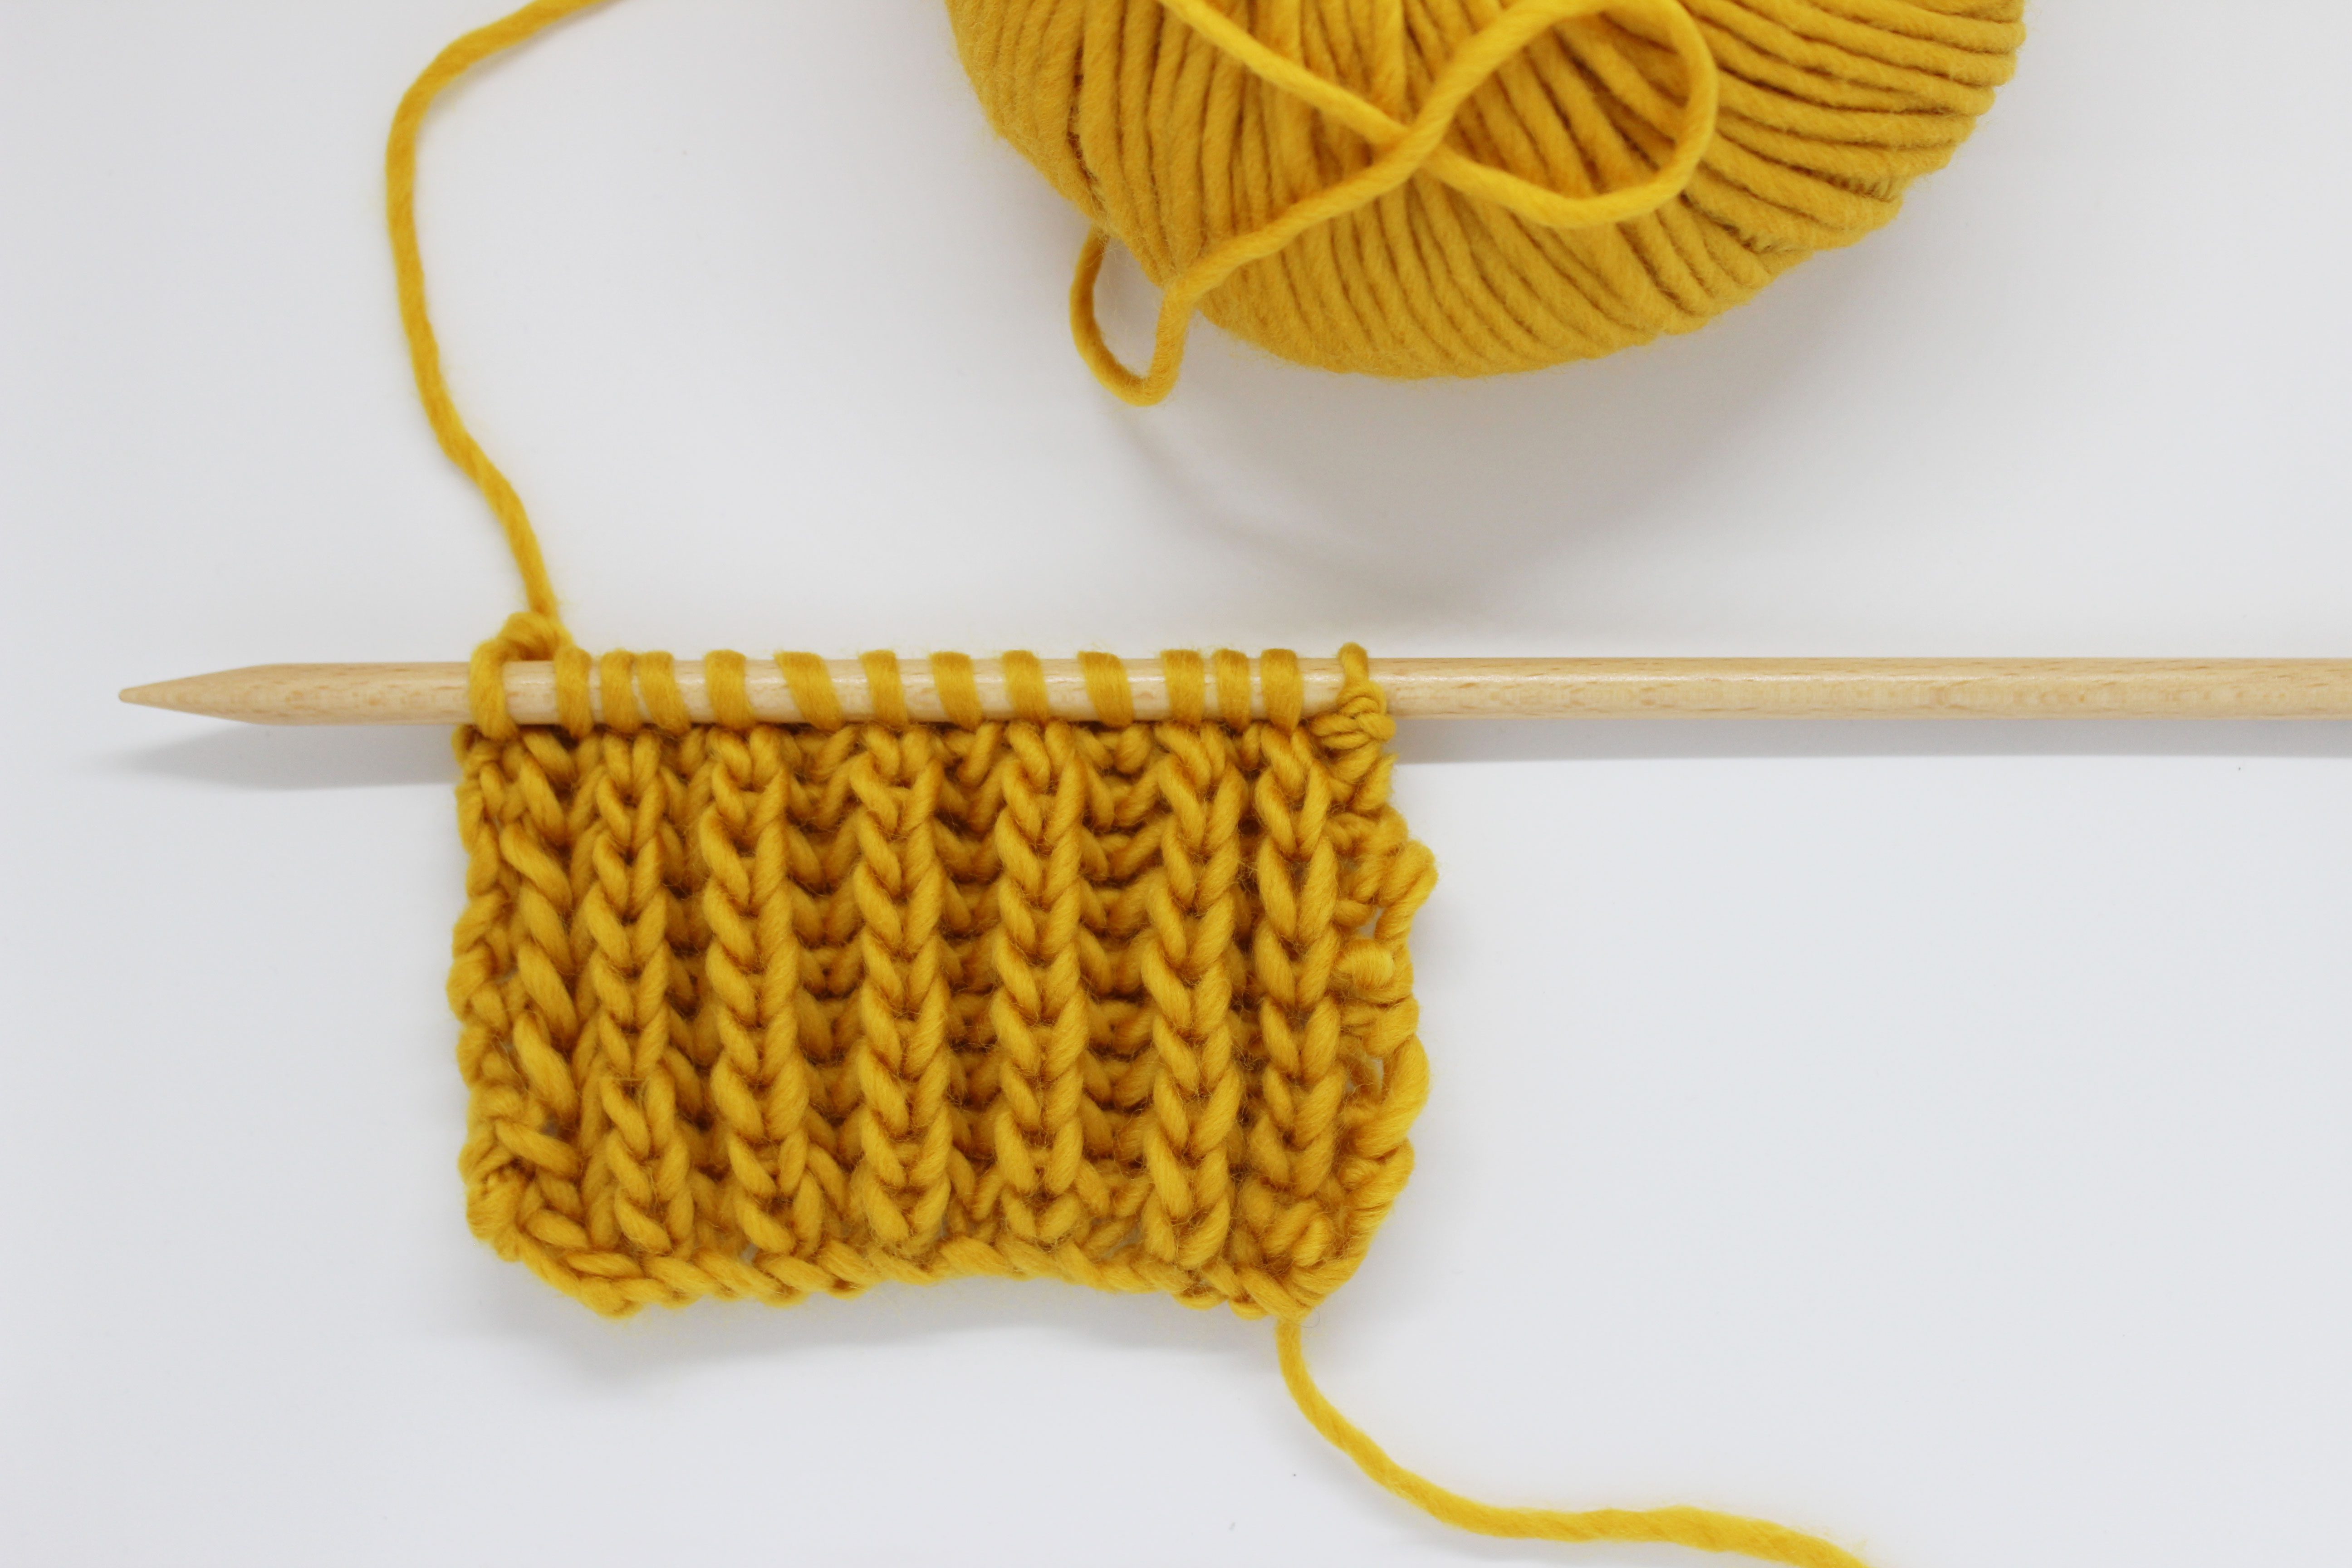
Work until you reach the row where you want to work the decrease.
Now we will watch the video of how the whole process would be to work the decrease:
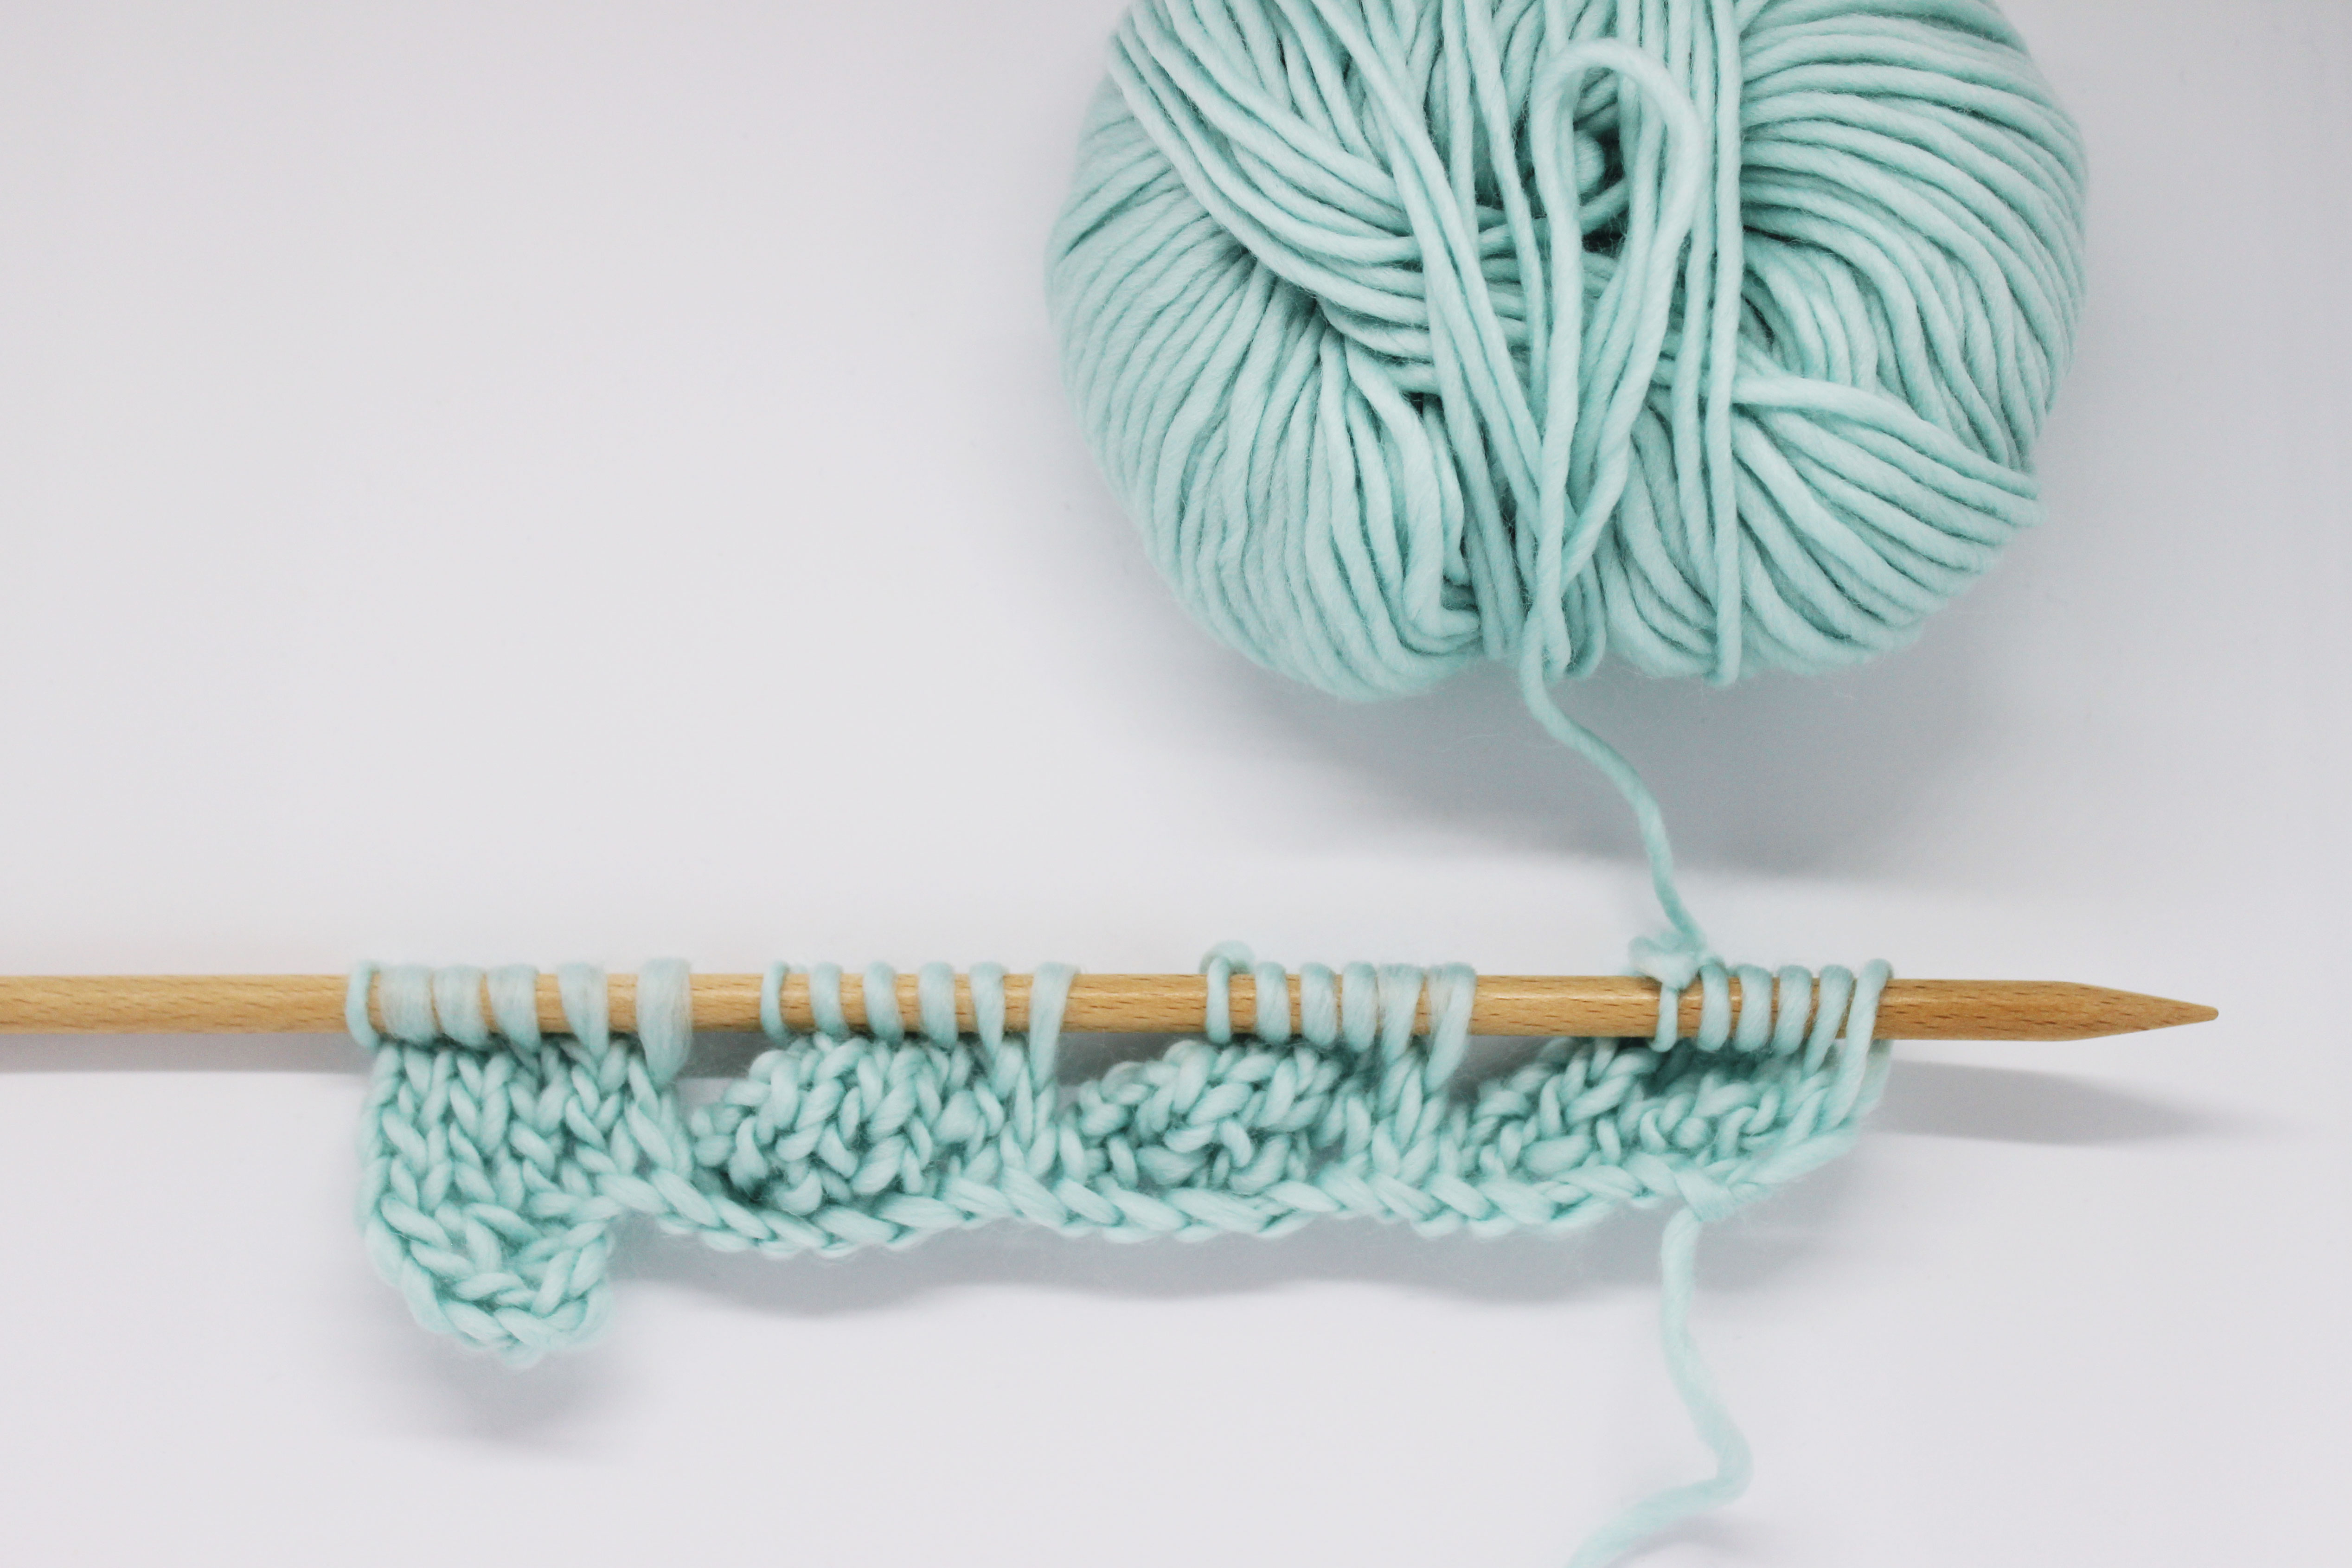
As you have seen in the video:
- First you will slip the next 4 stitches as if to knit them.
- Then, we knit the next stitch.
- Next, we will pass the 4 stitches we slipped over the stitch we just knit. Pass them over as if you were binding off a stitch.

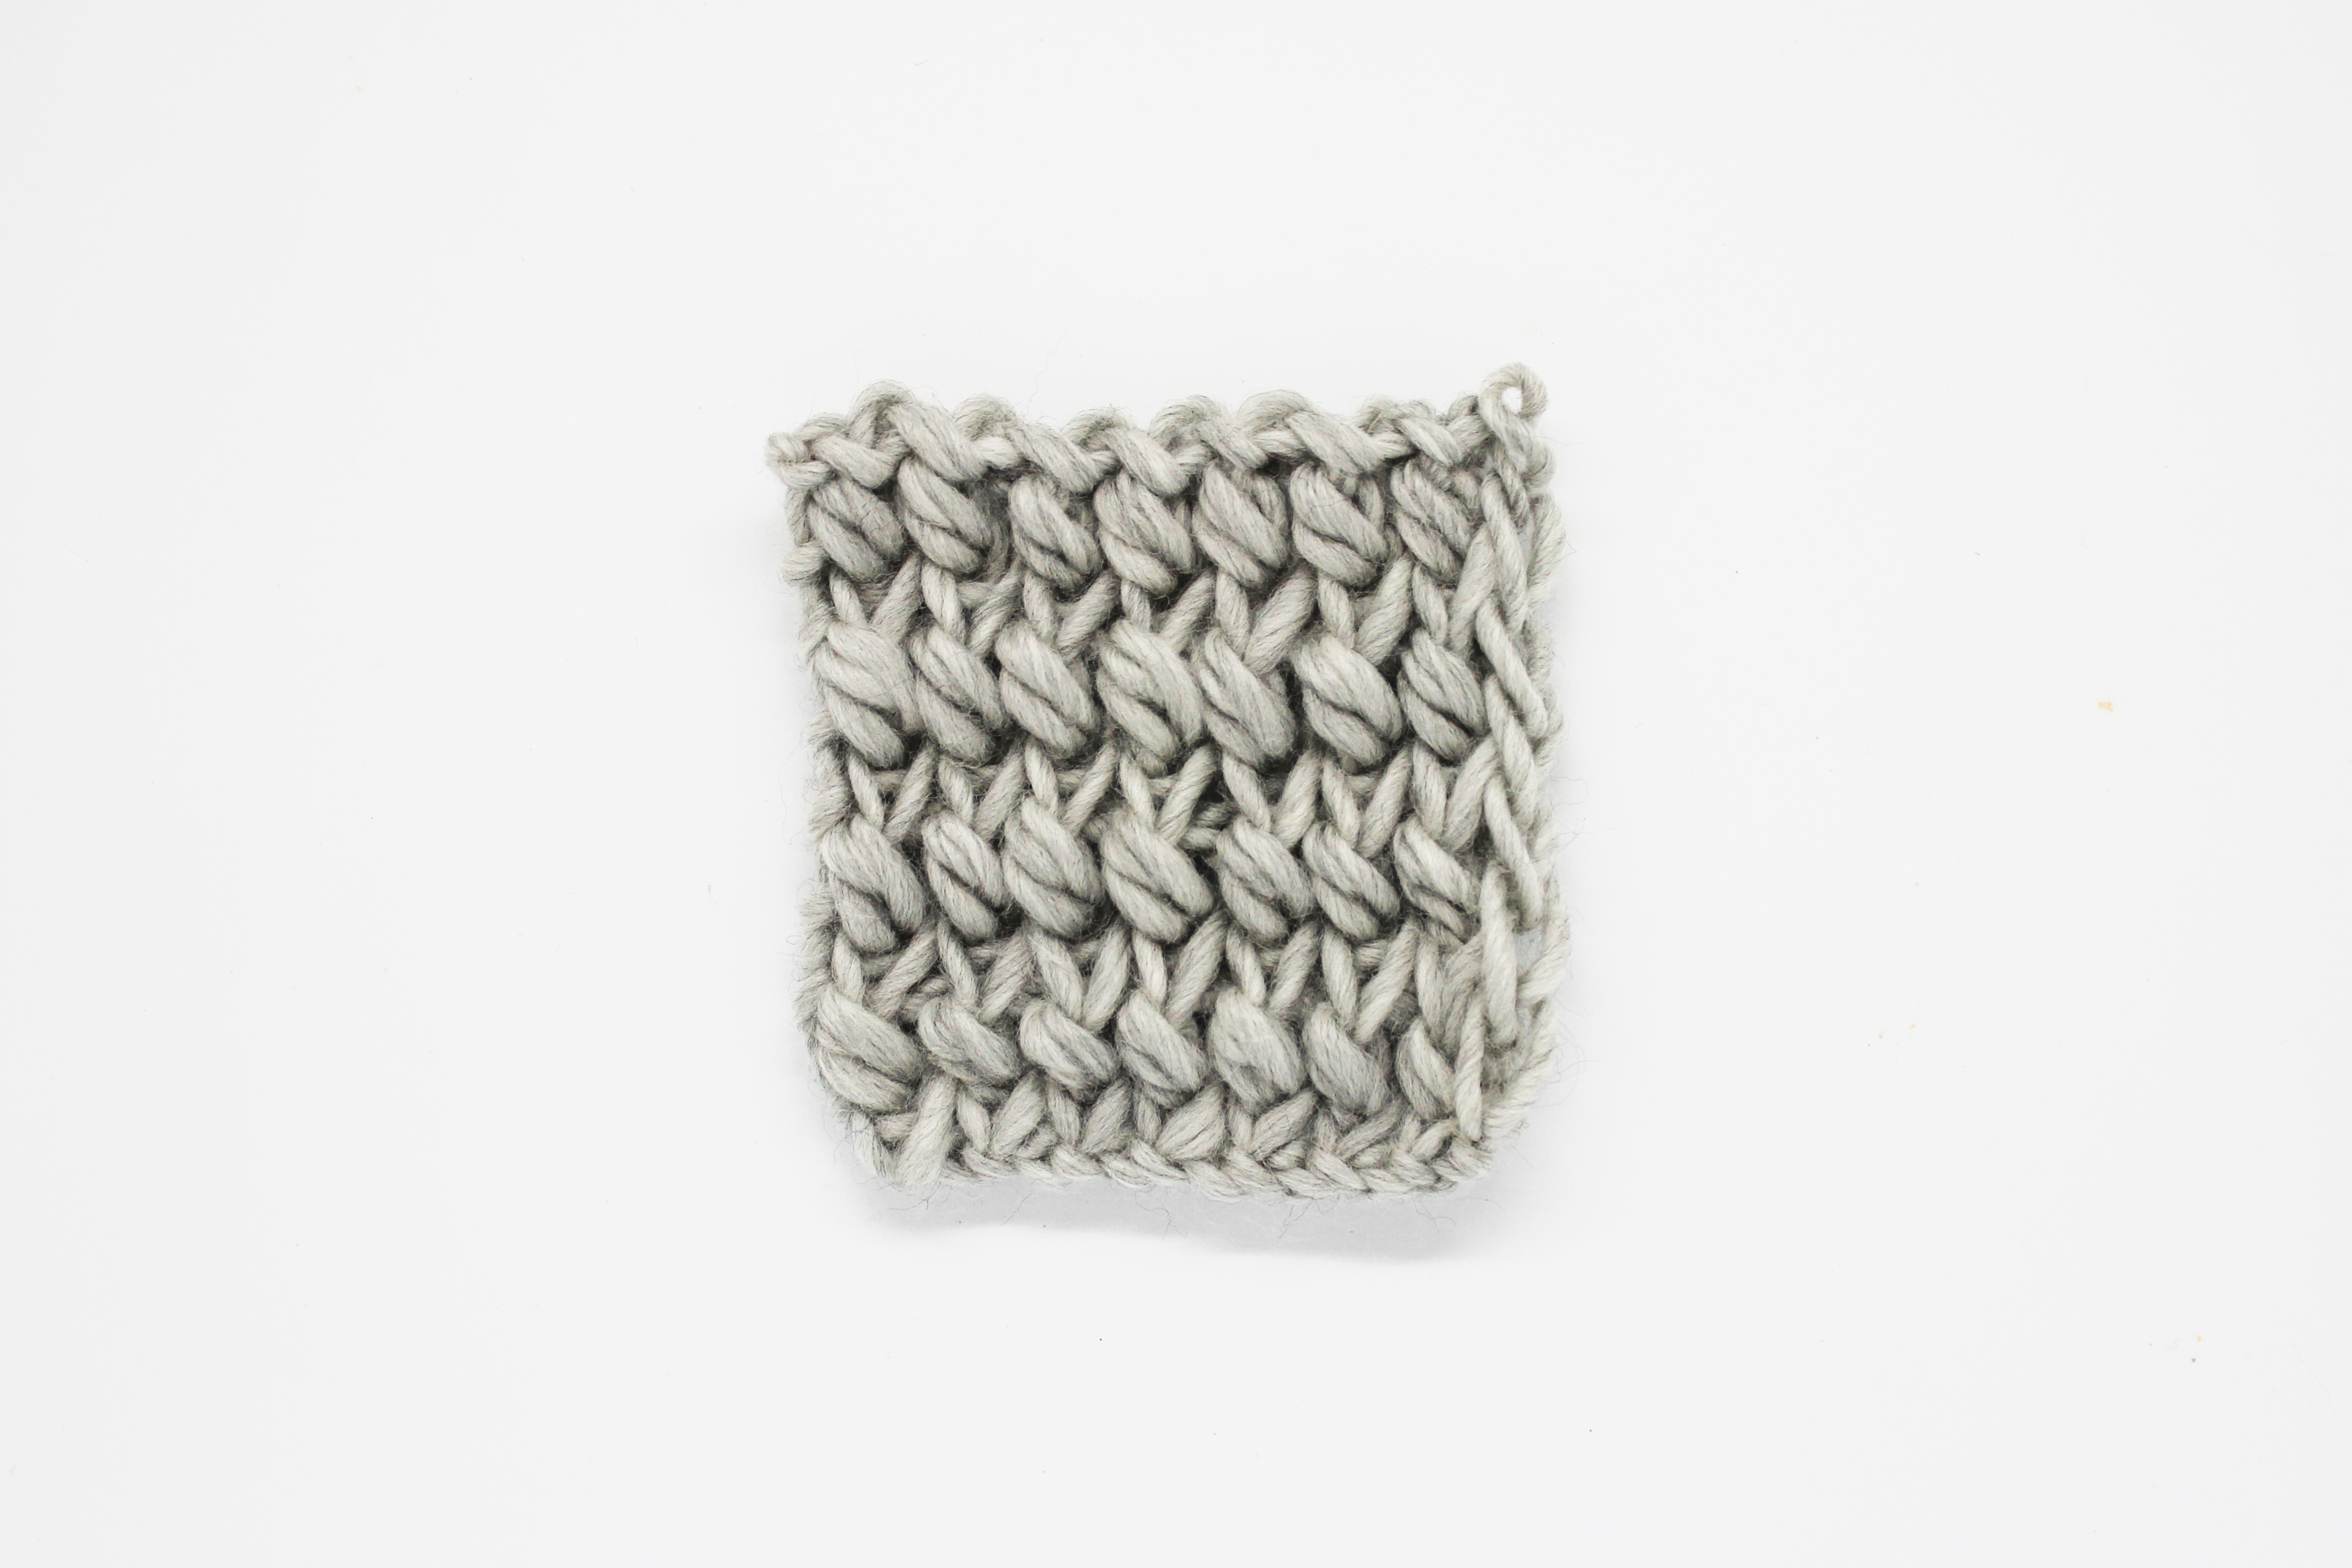
This is how the decrease will look like.

We know this was useful to you. It’s a very fast way to decrease stitches, and we are sure you will use it in many projects. As usual, we invite you to share them with us in social media with the hashtag #weareknitters.