If you have a half-finished cardigan lying around because you don’t know how to sew the buttons on so that they are in the right place and well sewn, keep reading: today we are going to teach you all the tricks so that your garments come out perfectly.

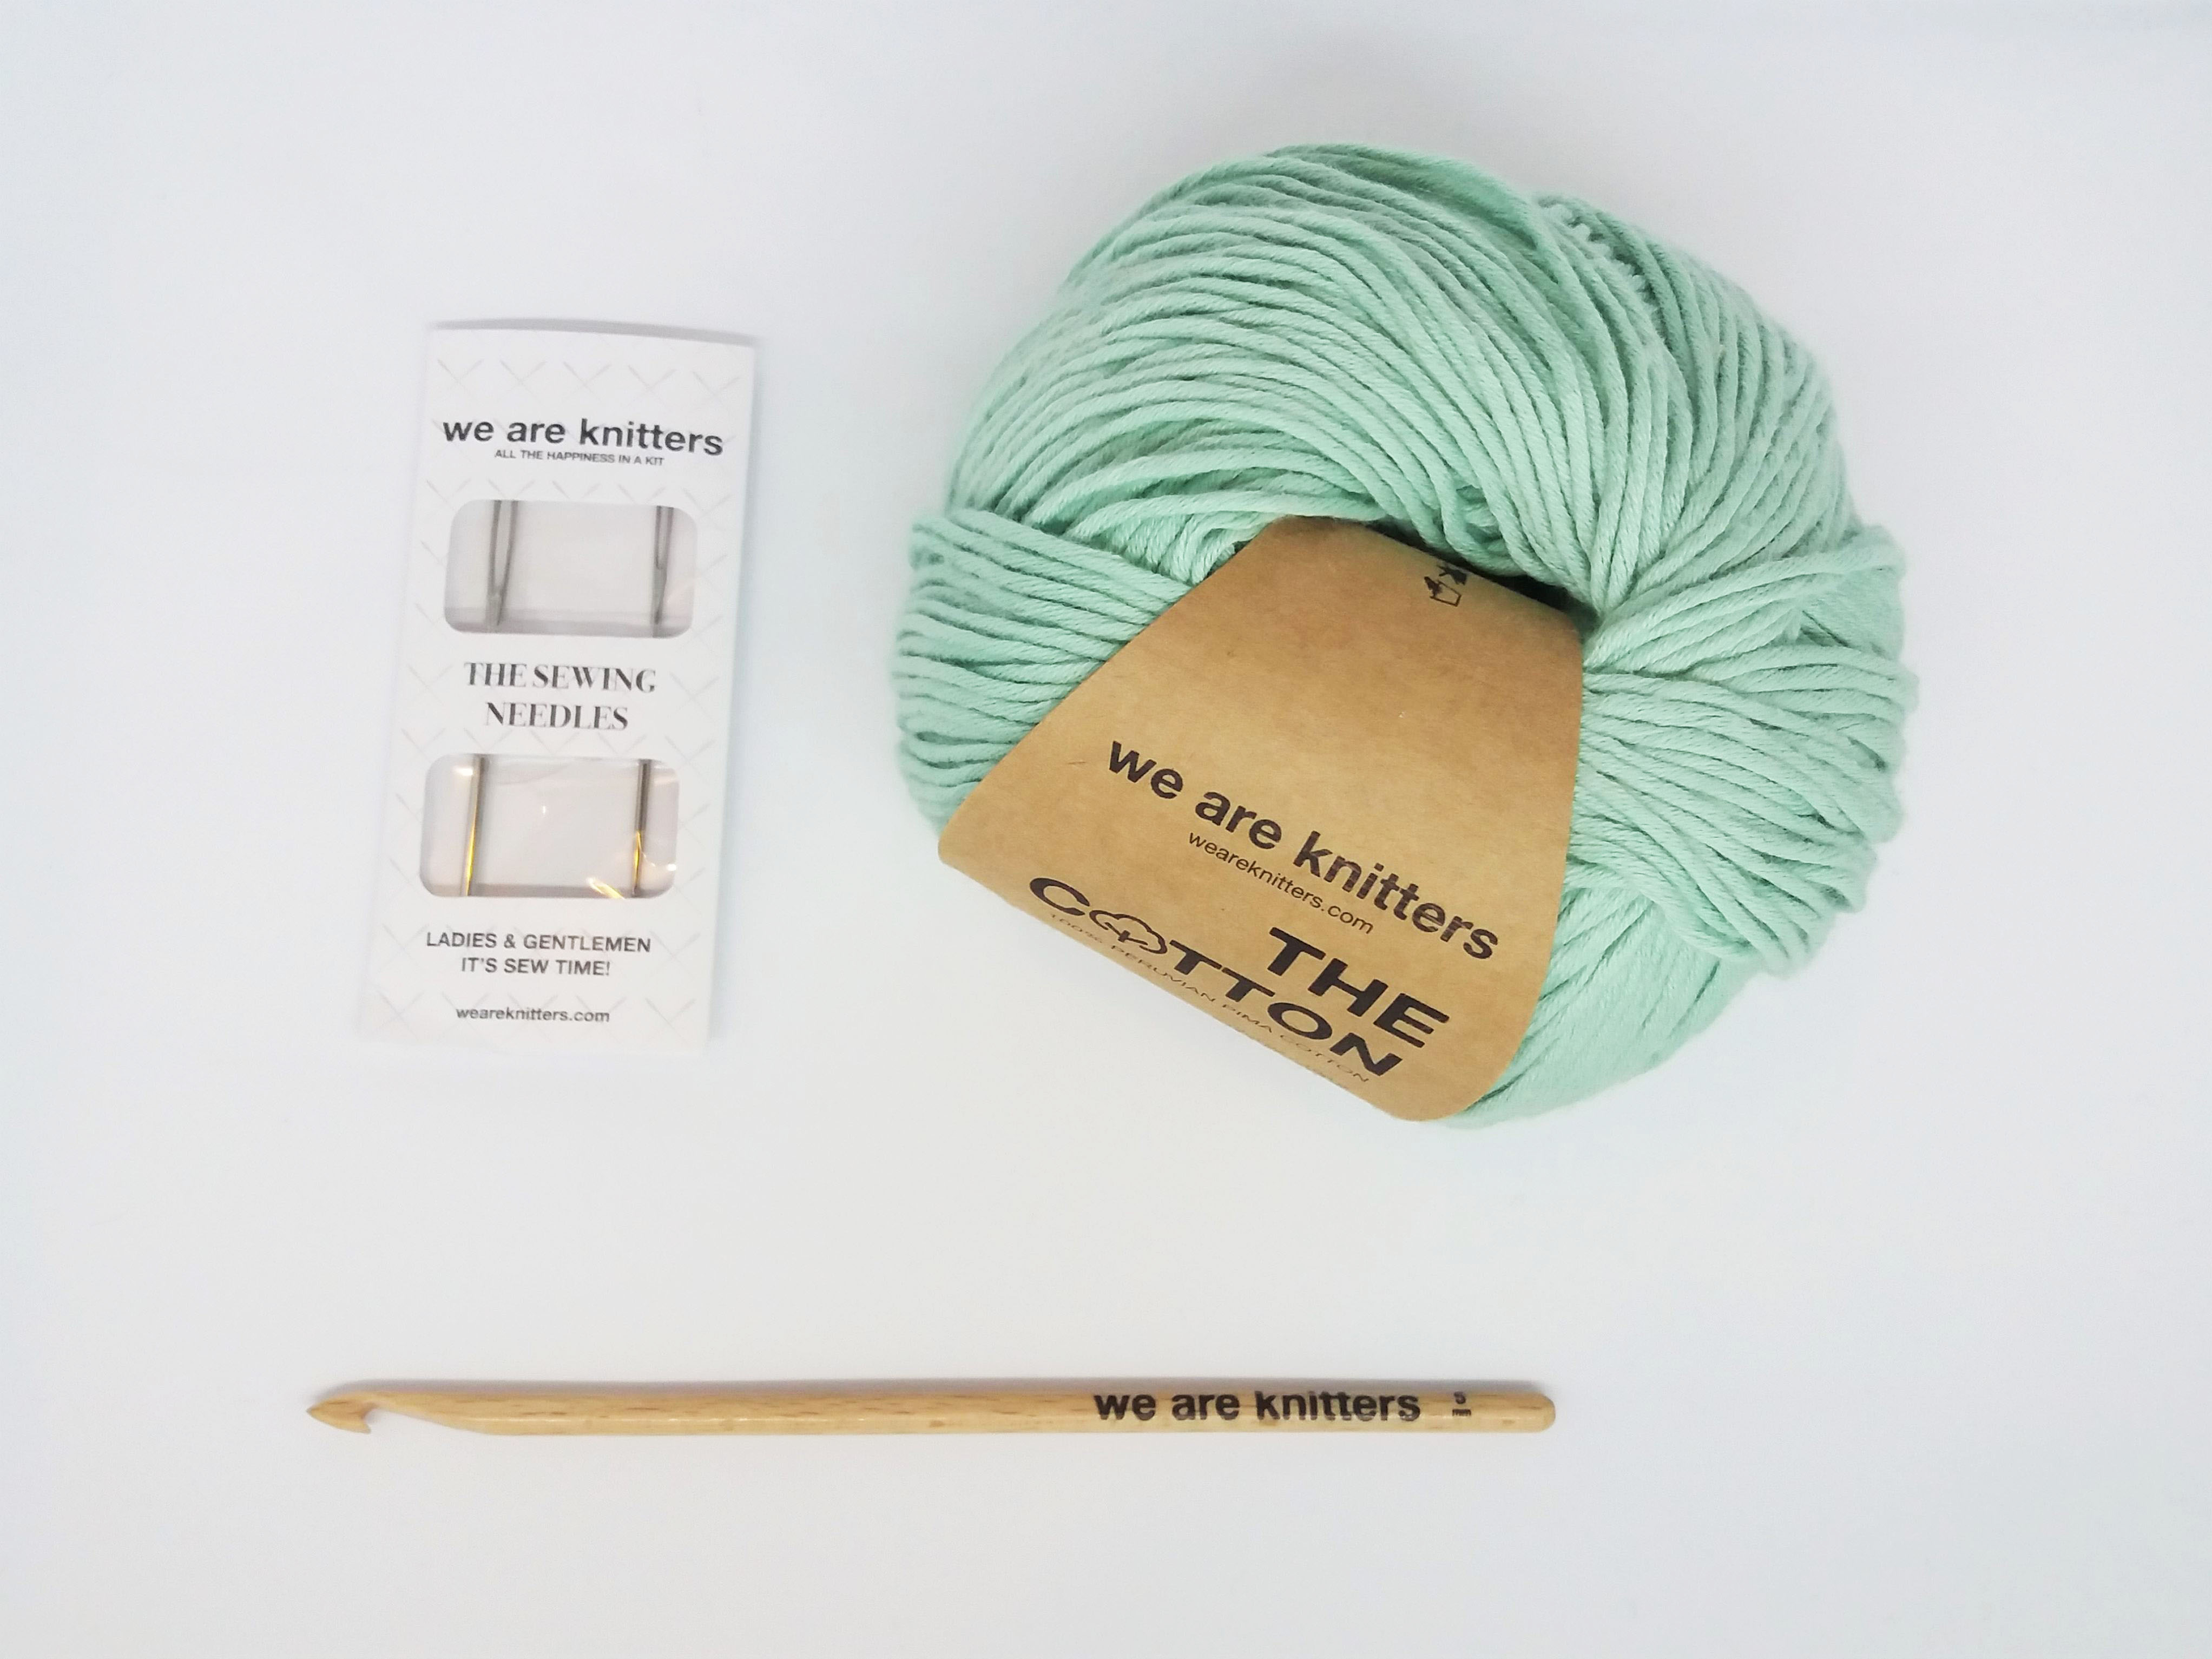
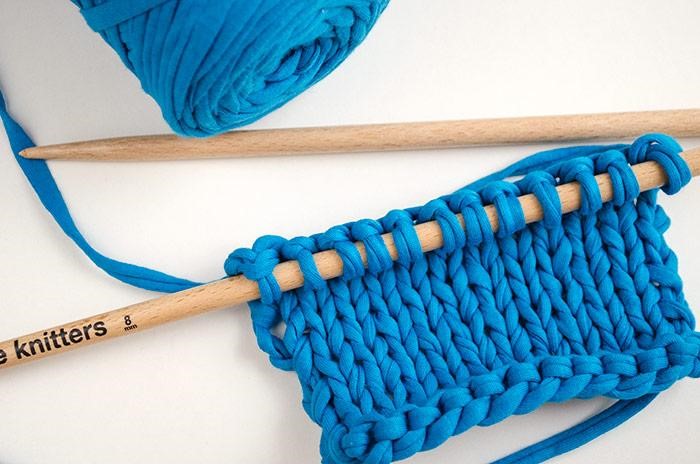
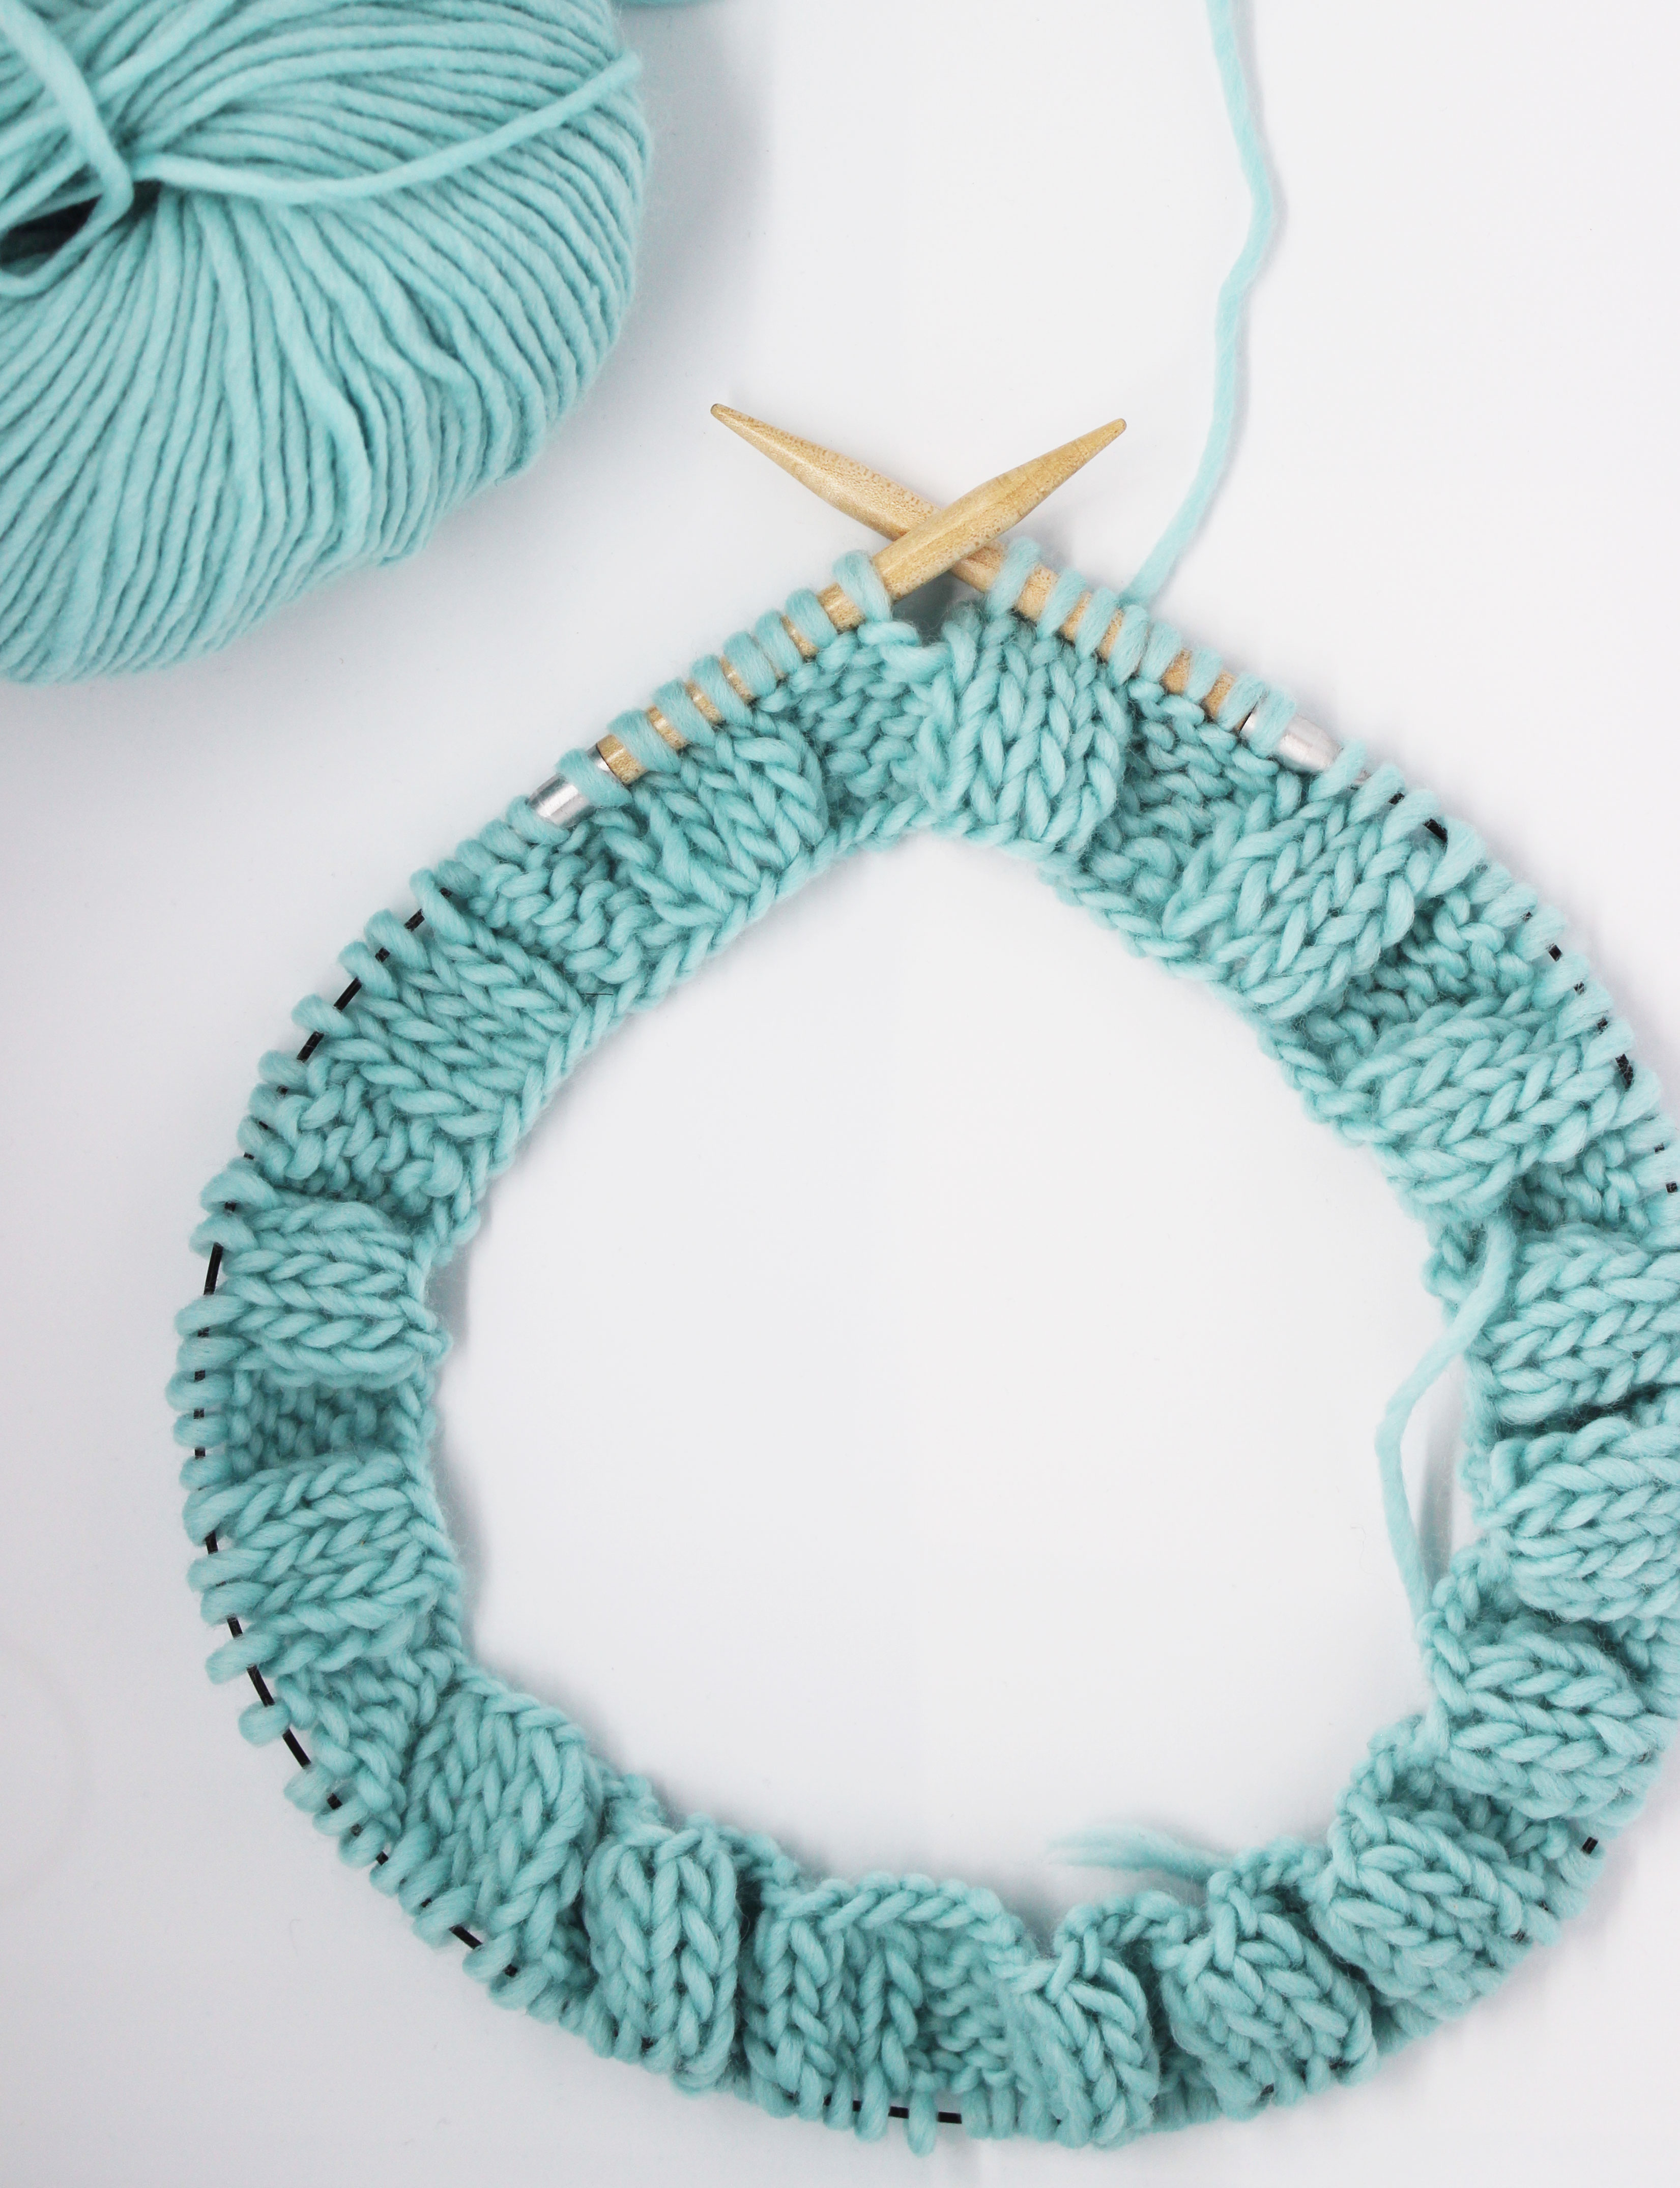
For this tutorial we used a skein of our Petit Wool and a pair of size 11 (8 mm) beechwood knitting needles to knit the swatches that we will use in our explanation. We also used some wooden buttons and a tapestry needle to sew them to the swatch.

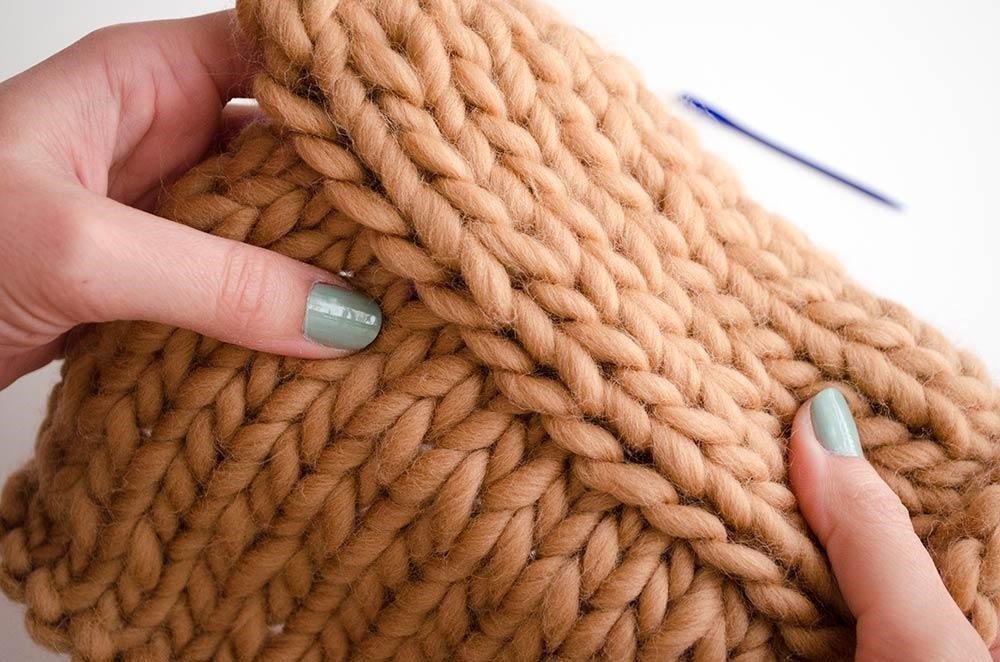
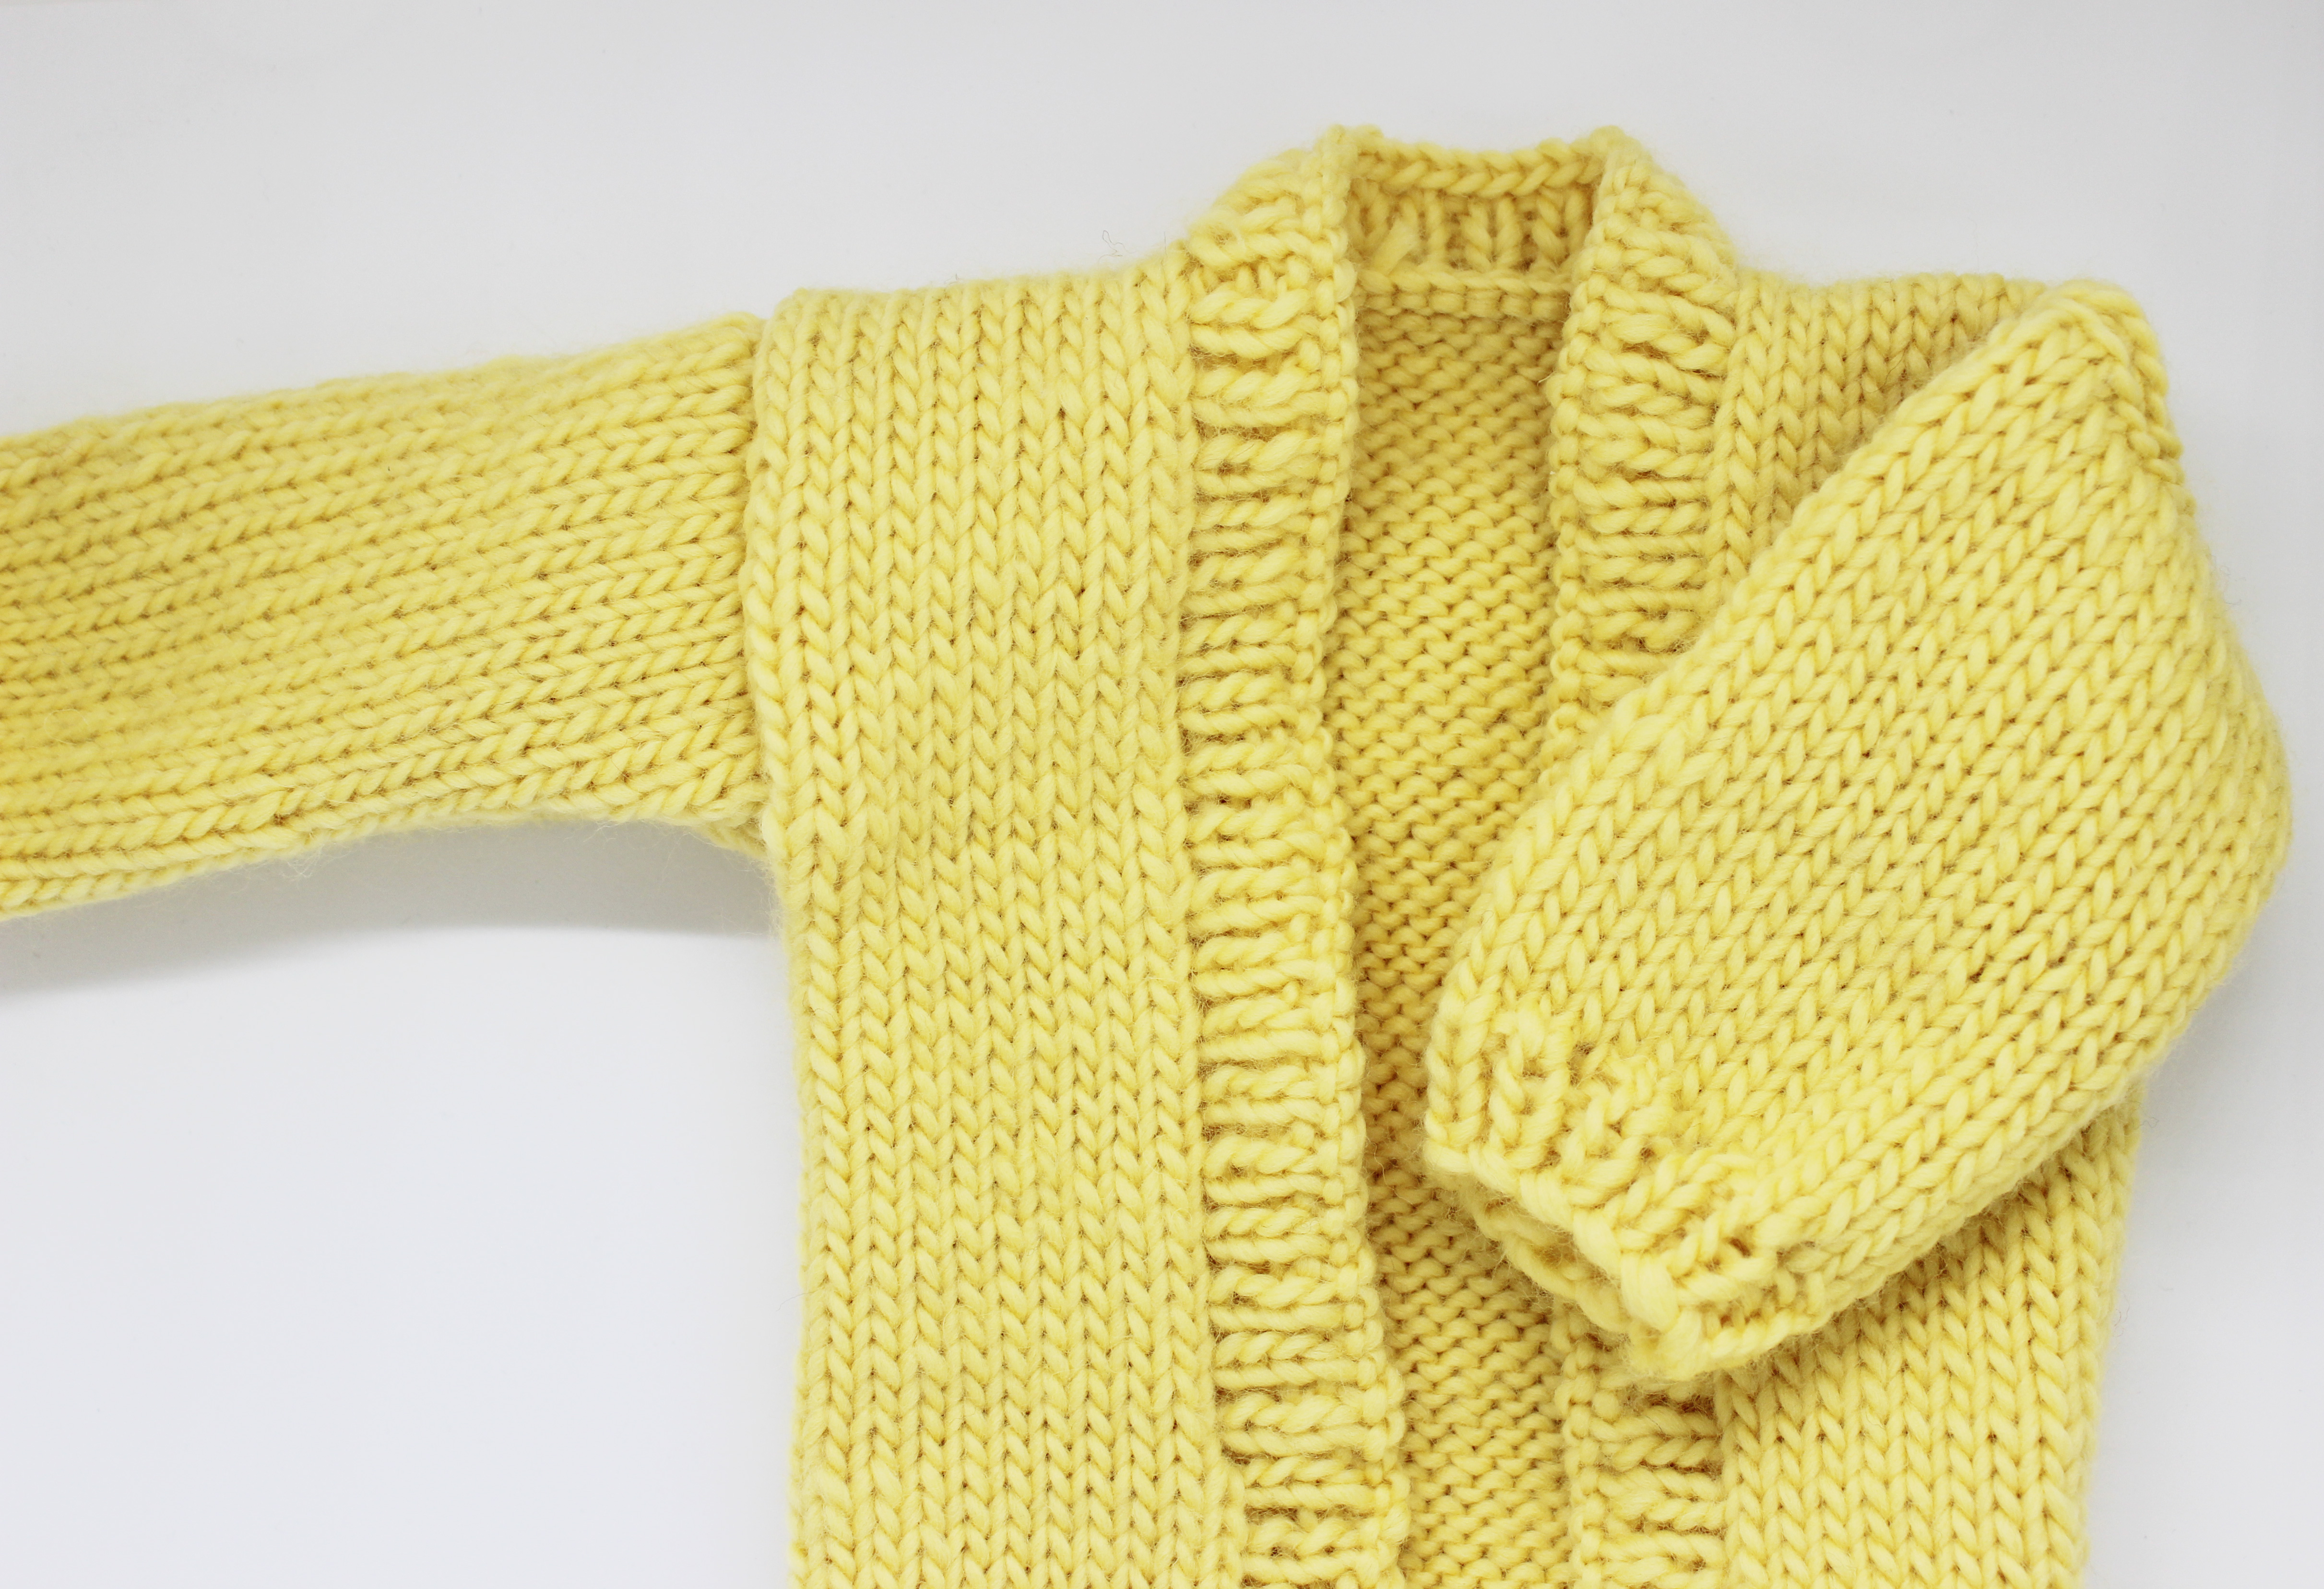
As you can see in the image above: we have the side with the buttonholes (left) and the side where the buttons are sewn on to (right).

To know where to place each button count the stitches and rows from the edge to where you made the buttonhole, so you will know where to position the button.
Another trick is to place the side with the buttonholes on top of the side where the buttons will be sewn. Both sides should be the same length, so pin both sides together (to help you) and make a mark in each buttonhole with tailor’s chalk, or soap, so you can see where to sew each button.

To sew the button, you can use the same wool that you used to knit your cardigan or, if it is too thick, a thinner thread in a similar color. Depending on whether you are using the same wool, or a thinner thread, you will need a tapestry needle or a sewing needle. Make a few stitches in the place where the button is sewn for a better hold.

Now we are going to sew the button by inserting the yarn through all of the holes on the button.

If the fabric is a little thick (as in this case), it is always a good idea to wrap the yarn around the stitches underneath the button to give it a little lift when you finish sewing it on. It will make it look better. Surely you have a coat that has the buttons sewn on like this at home 😉

Our first button is sewn on, so now you have to repeat the same process for the rest for the buttons.

And there you have all the buttons on your cardigan ready, so now you just have to put it on and show it off 🙂
We hope the tips we shared to sew your buttons in this post will be very useful. We hope to see the results, as always, through social media using the hashtag #weareknitters.