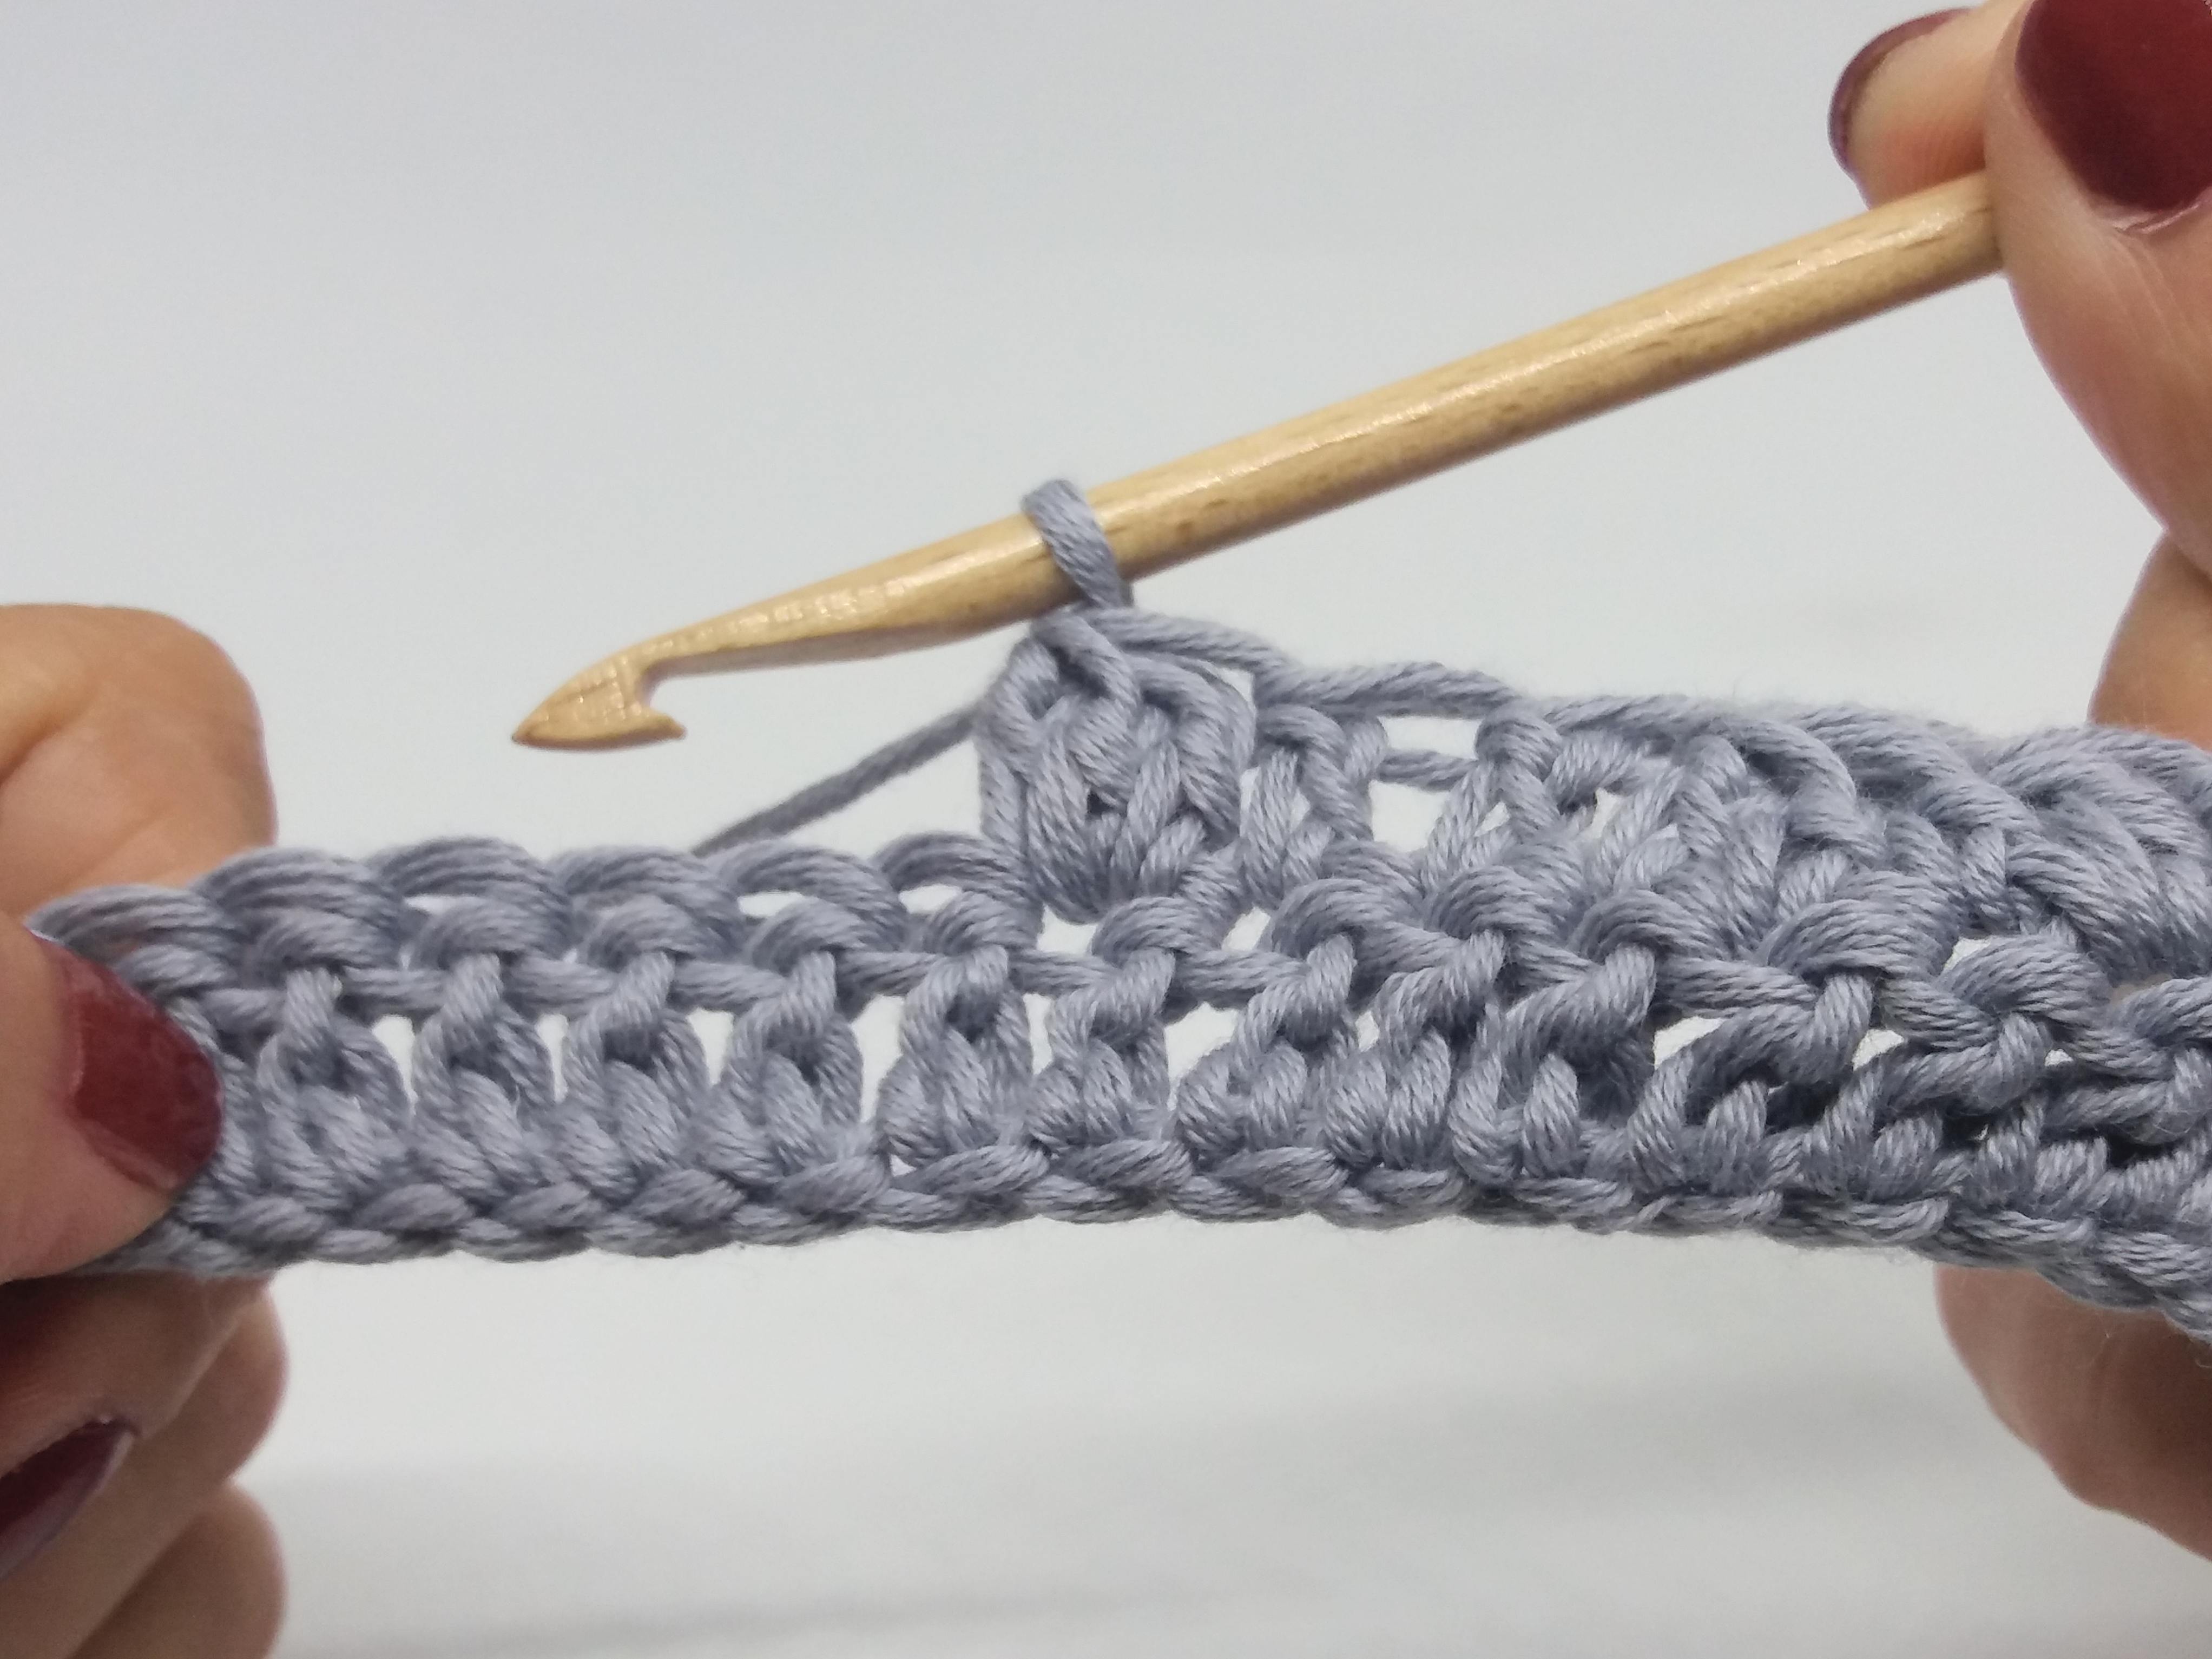
One of the best things about crochet is that we can make many things in different sizes and different shapes using the same technique. For example, using the same stitches we can crochet straight rows, circular rows, or in the round like we do to make amigurumis. But sometimes even with all the variety that crochet offers we just want to improve our skills. Make it perfect. Today’s tip may prove to be very useful for your circular crochet projects.
Have you ever noticed that seam that forms when you join each round when working circular rows? It always veers to the right every time we increase! See the image below:
This is how the seam looks when we crochet like this:
In the magic ring we work 6 double crochets. Close the ring with 1 slip stitch.
Row 1: chain 2. Increase 1 double crochet in each stitch. Join the row with 1 slip stitch. At the end of the row you will have a total of 12 stitches.
Row 2: chain 2. *Increase 1, 1 double crochet*, repeat from * to * until the end. Join the row with 1 slip stitch. At the end of the row you will have a total of 18 stitches.
Row 3: chain 2. * Increase 1 double crochet, 2 double crochets*, repeat from * to * until the end. Join the row with 1 slip stitch. At the end of the row you will have a total of 24 stitches.
Continue in the same way. So, this is how it turns out when we make the increases first, at the beginning of the row, and then the un-increased stitches. This method creates a slanting seam.
Now look at this crocheted circle:
As you can see, the seam is straight and looks much better. How do you do that? Easy! Instead of making the increases at the beginning of the row, we’ll make them after the stitches without increases. Like this:
In the magic ring we work 6 double crochets. Close the ring with 1 slip stitch.
Row 1: chain 2. Increase 1 double crochet in each stitch. Join the row with 1 slip stitch. At the end of the row you will have a total of 12 stitches.
Row 2: chain 2. * 1 double crochet, increase 1 double crochet*, repeat from * to * until the end. Join the row with 1 slip stitch. At the end of the row you will have a total of 18 stitches.
Row 3: chain 2 . * 2 double crochets, increase 1 double crochet*, repeat from * to * until the end. Join the row with 1 slip stitch. At the end of the row you will have a total of 24 stitches.
Continue in the same way.
The trick is to leave the increases until after crocheting the usual stitches.


