Hi knitters!
Today we will learn a new technique: cable stitch. It’s very easy, and we will show you how to use it for creating your own WAK garments 🙂
First of all, we need to cast on a number of stitches divisible in 4 + 2 stitches
You can knit it repeating the following steps:
Row 1: purl 2 stitches, knit 1, place the thread, knit 1. We repeat this process until the end of the row, and we always purl 2 stitches to finish the row.
2nd row (and all even rows): knit 2 stitches and then purl 2. We repeat this step on the entire row and we knit 2 more stitches to finish the same row.
3rd row: purl stitches, slip a stitch, knit 2 stitches, we place the slip stitch upside the 2 knitted stitches. We repeat this step during the entire row and purl 2 more stitches at the end.
Row 4: knit and purl the stitches on your needle as you see them coming. For example, if you see a knitted stitch, knit it. If you see a purl stitch, purl it.
You already know how to knit cables on your WAK project! We have used fabric yarn for this technique due that it really looks great! But you already know, you have more options and effects with cables. The only difference is the supply and the width of the yarn ball.
We want to see your WAK projects with mini cables on Instagram! Use the hashtag #weareknitters
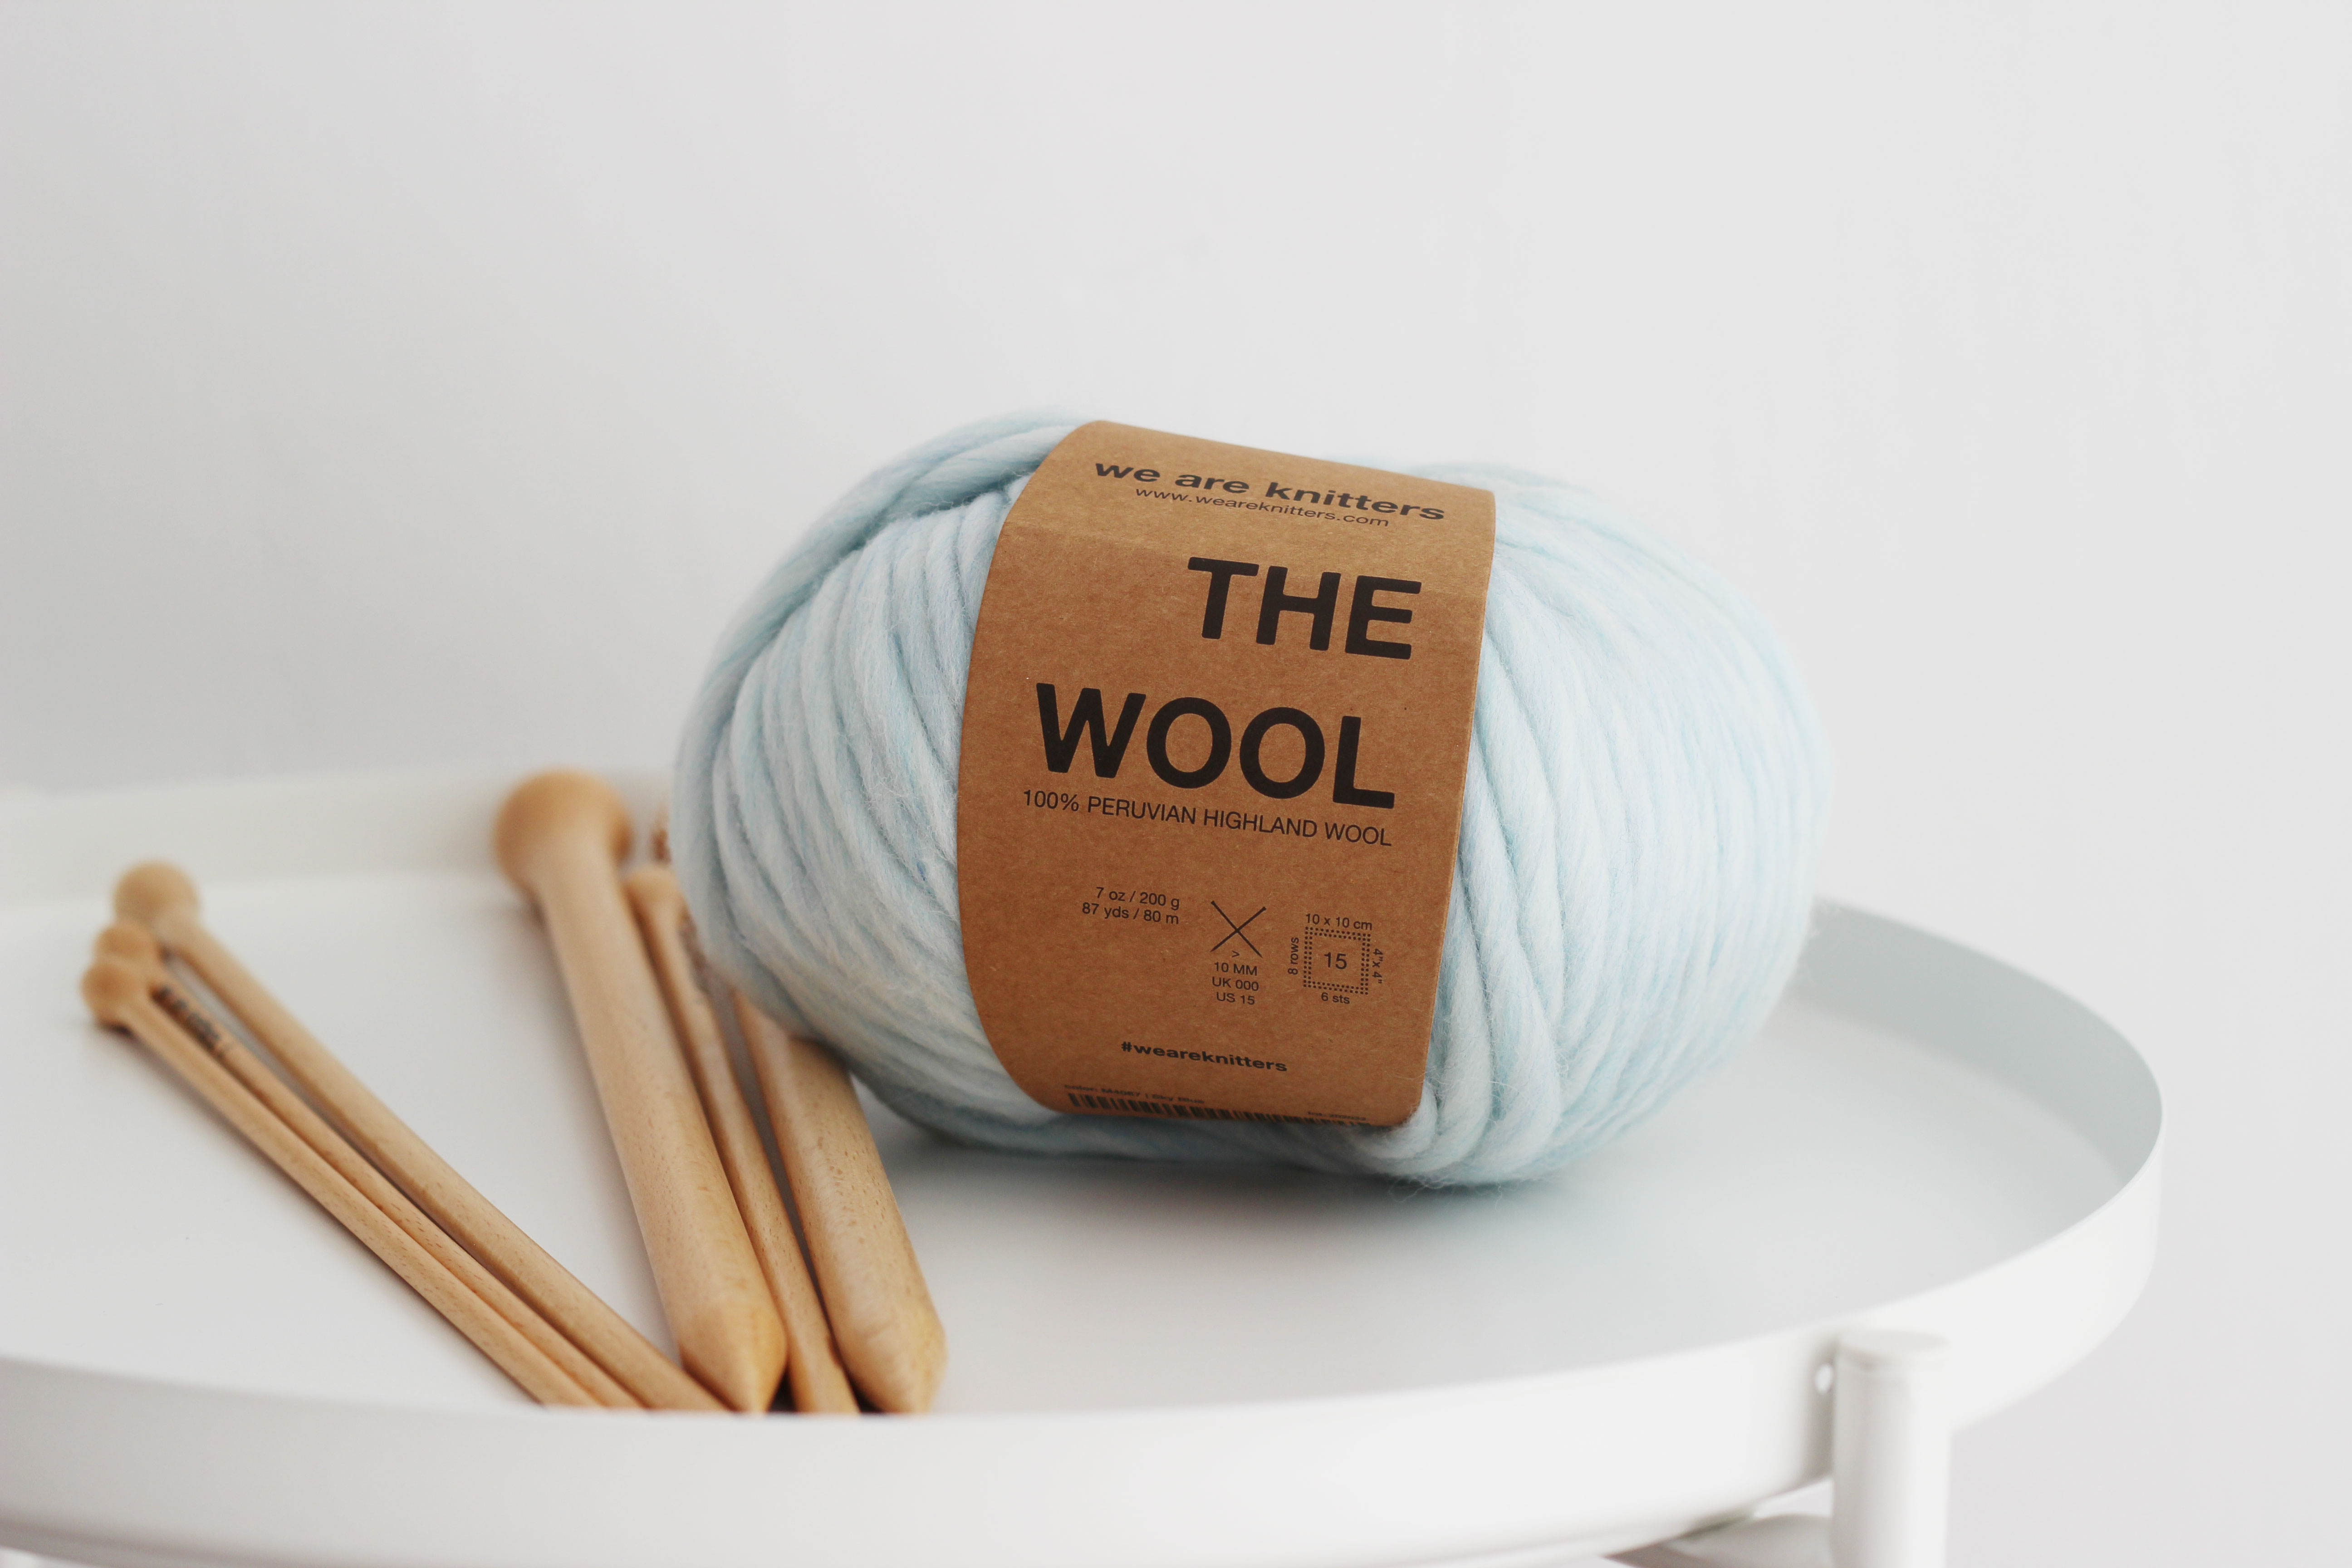
For this post we have used 8MM BEECHWOOD KNITTING NEEDLES AND DOUBLE FABRIC YARN in ELECTRIC BLUE.


