There is no doubt that the rib stitch is easy to do and really helpful for every knitter. It serves to knit edges, to knit scarves, to finish of the neckline of a sweater… But although the only thing you really need to know is how to knit and how to purl stitches, it is rather complicated to make it look perfect.

Take a good look at the picture above. The sample on the right is knitted the normal way and we can see that the rows in stockinette stitch look a little strange. However, in the sample on the left the knitted stitches look a lot better, straighter and more tense.
How can we improve the rib stitch so that it looks like in the sample on the left? It is really easy, all you have to do is follow these two steps:

1. Knit all stitches from behind.

2. Purl all stitches rolling up the thread clockwise (normally we roll up the thread counter-clockwise).

These two little changes when knitting in rib stitch will make the pattern look perfect and the explanation why is very simple. When we roll up the thread clockwise to purl the stitch, the length of the thread we have to purl the stitch is shorter. By that we assure that the last stitch in each row is more tense and firm.
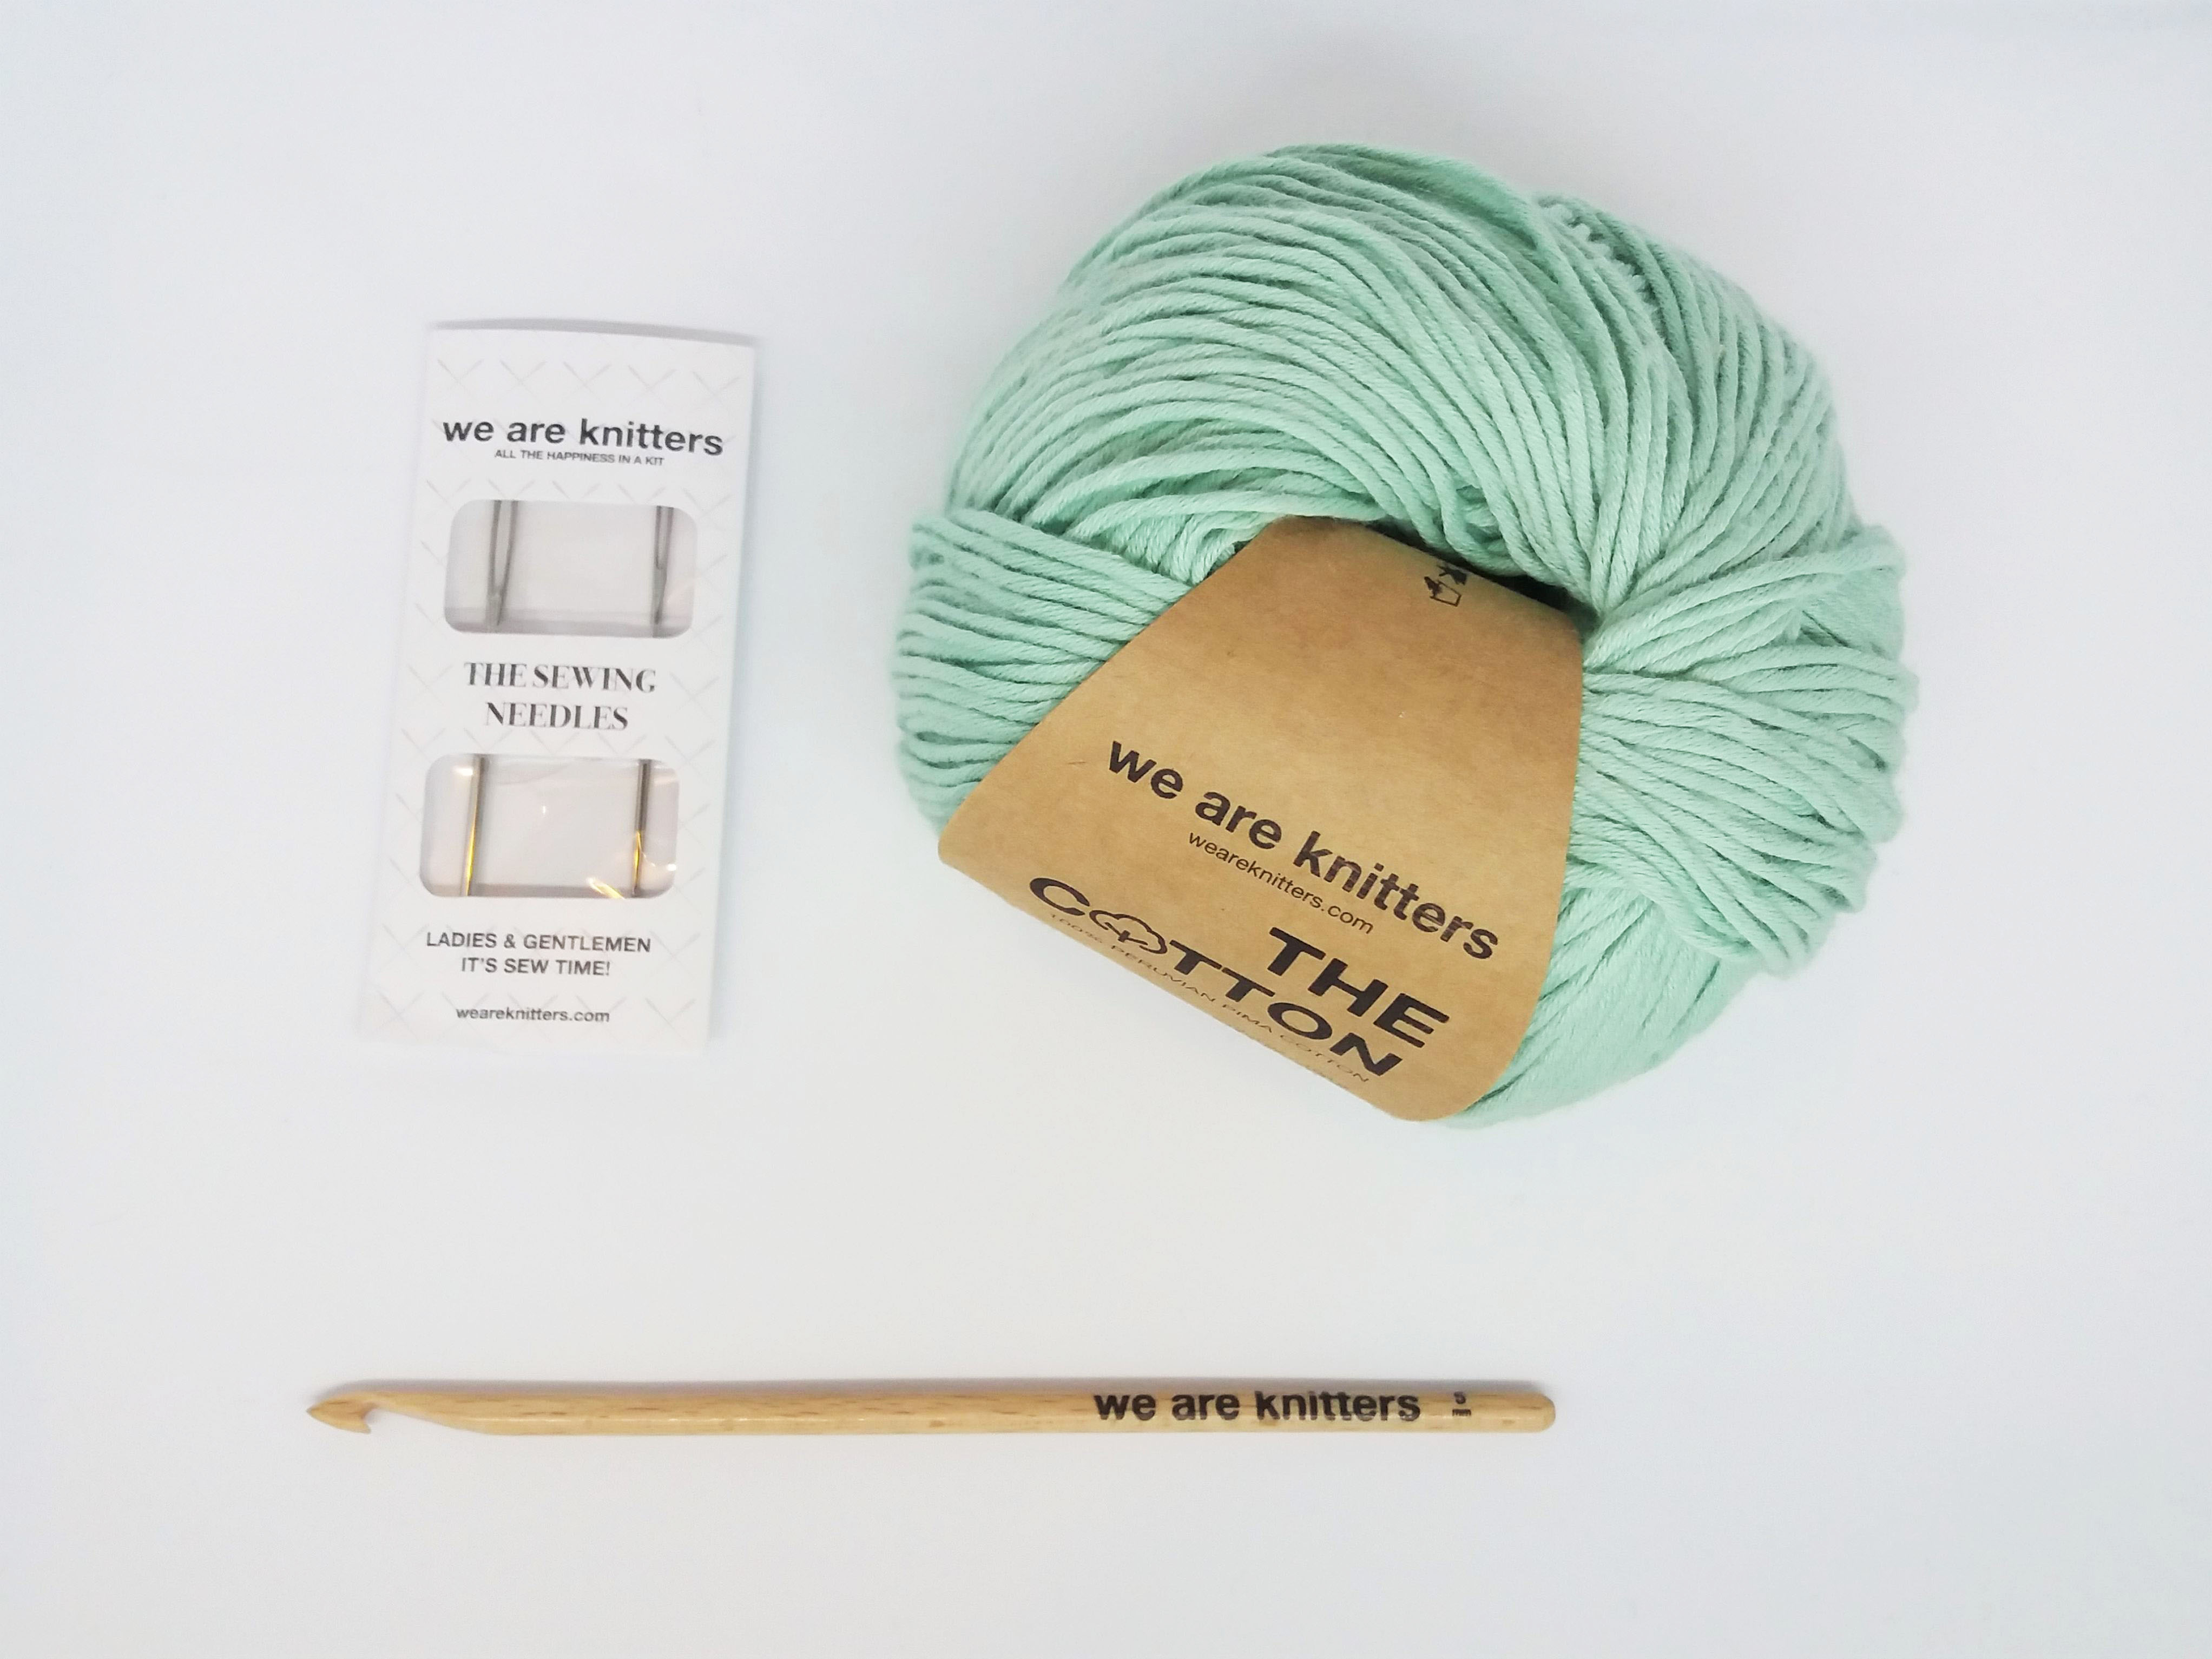
In our example we have used the cotton in green, but you can of course use any color you like and 5MM wooden needles.
It doesn’t matter whether you are already an expert in this technique or whether you have just started to use it, we are always interested in seeing your own creations. You can share them with us on Instagram with the hashtag #weareknitters.


