Today, more than a tutorial, we bring you a tip that’s really useful for making summer fabrics: how to work into chain arches. You may be asking yourself: what is that for? You have probably seen those crochet netted market bags or those lacy, cool tops that you always wear over your bikini tons of times on many blogs, patterns and websites. We are going to show you the trick to this stitch.
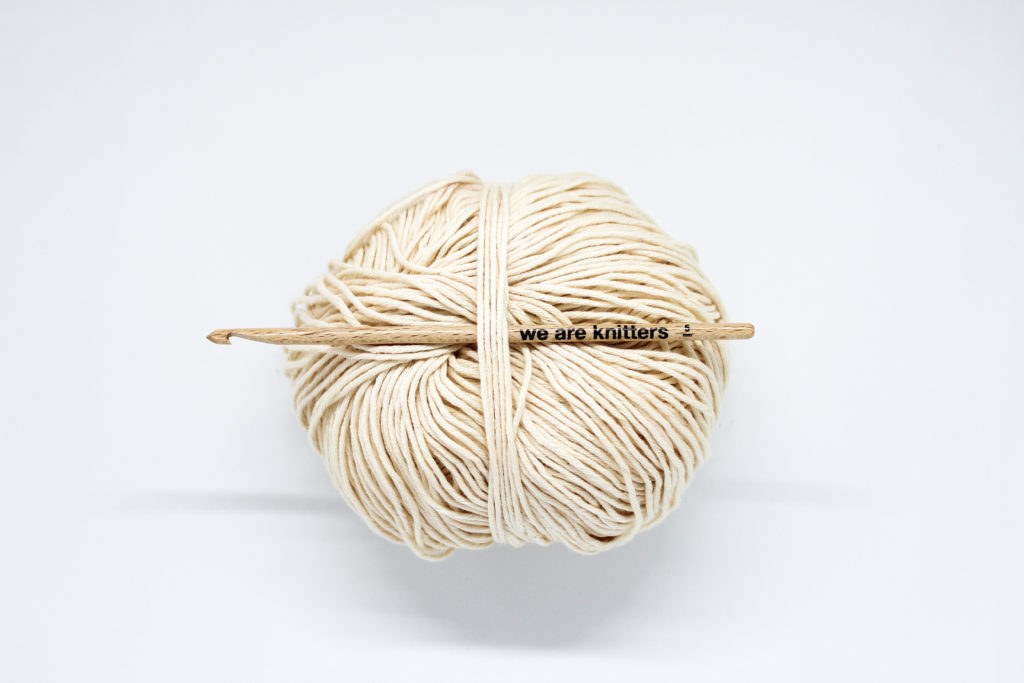
For this step-by step tutorial we used one of our skeins of Pima cotton in the color natural (there are thousands to choose from and each is more beautiful than the next) and a size 8 wooden crochet hook.
Before beginning, as always, let’s review the crochet stitches you will need to know how to:
Let’s get started!
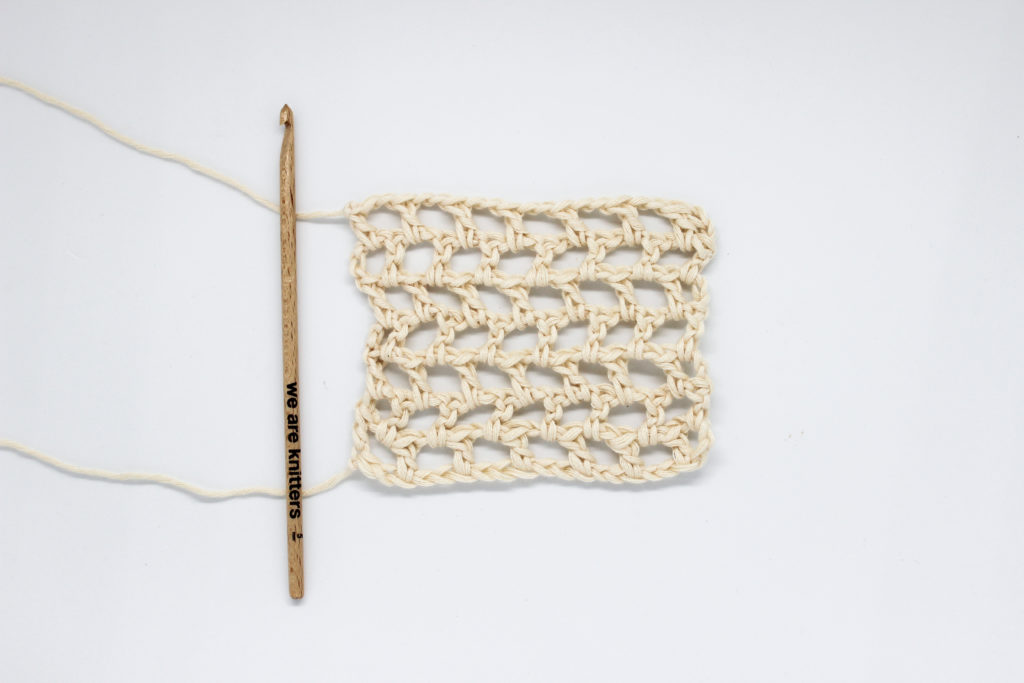
Today we are going to make our design by alternating * chain 2 and 1 double crochet * and repeating the stitches between the asterisks until the end of the row. Our spaces will come out as squares, but if you change the double crochet for single crochet you will get a different effect, a netting with a design that looks like fish scales. Also, if you want the spaces to be bigger, you can increase the number of chains, or use a taller stitch like triple crochet, but we’ll leave that up to you.
The trick to these types of stitches is that the double crochets are worked around the chain arches we made in the previous row. We show you how to do it in the following video.
As you can see in the video, the difference to this technique, in regards to others is that: in stead of inserting the hook into the chain arch, we put the hook completely underneath it to make the double crochet.
Now we will do a short review of the most important steps we saw in the video:
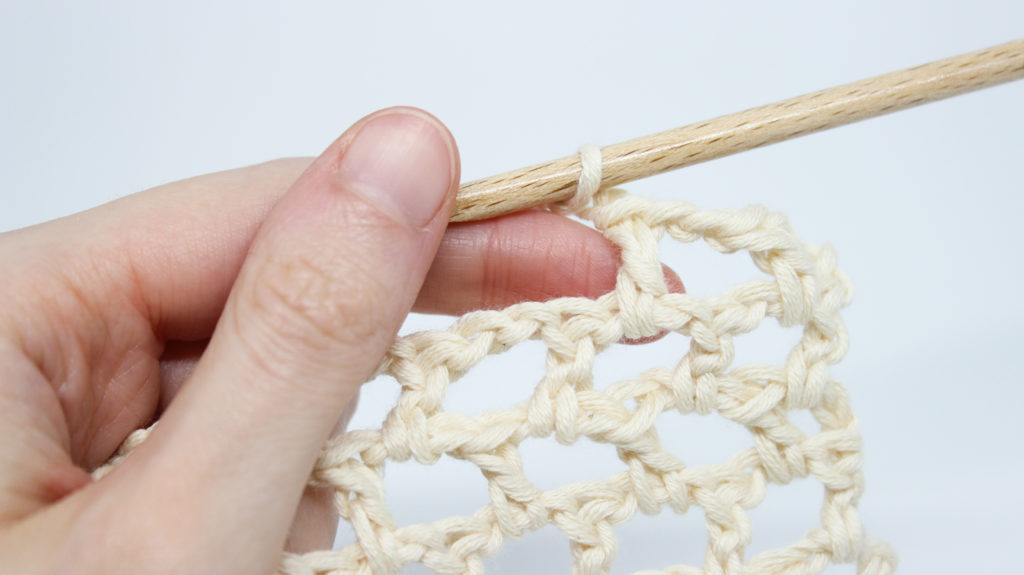
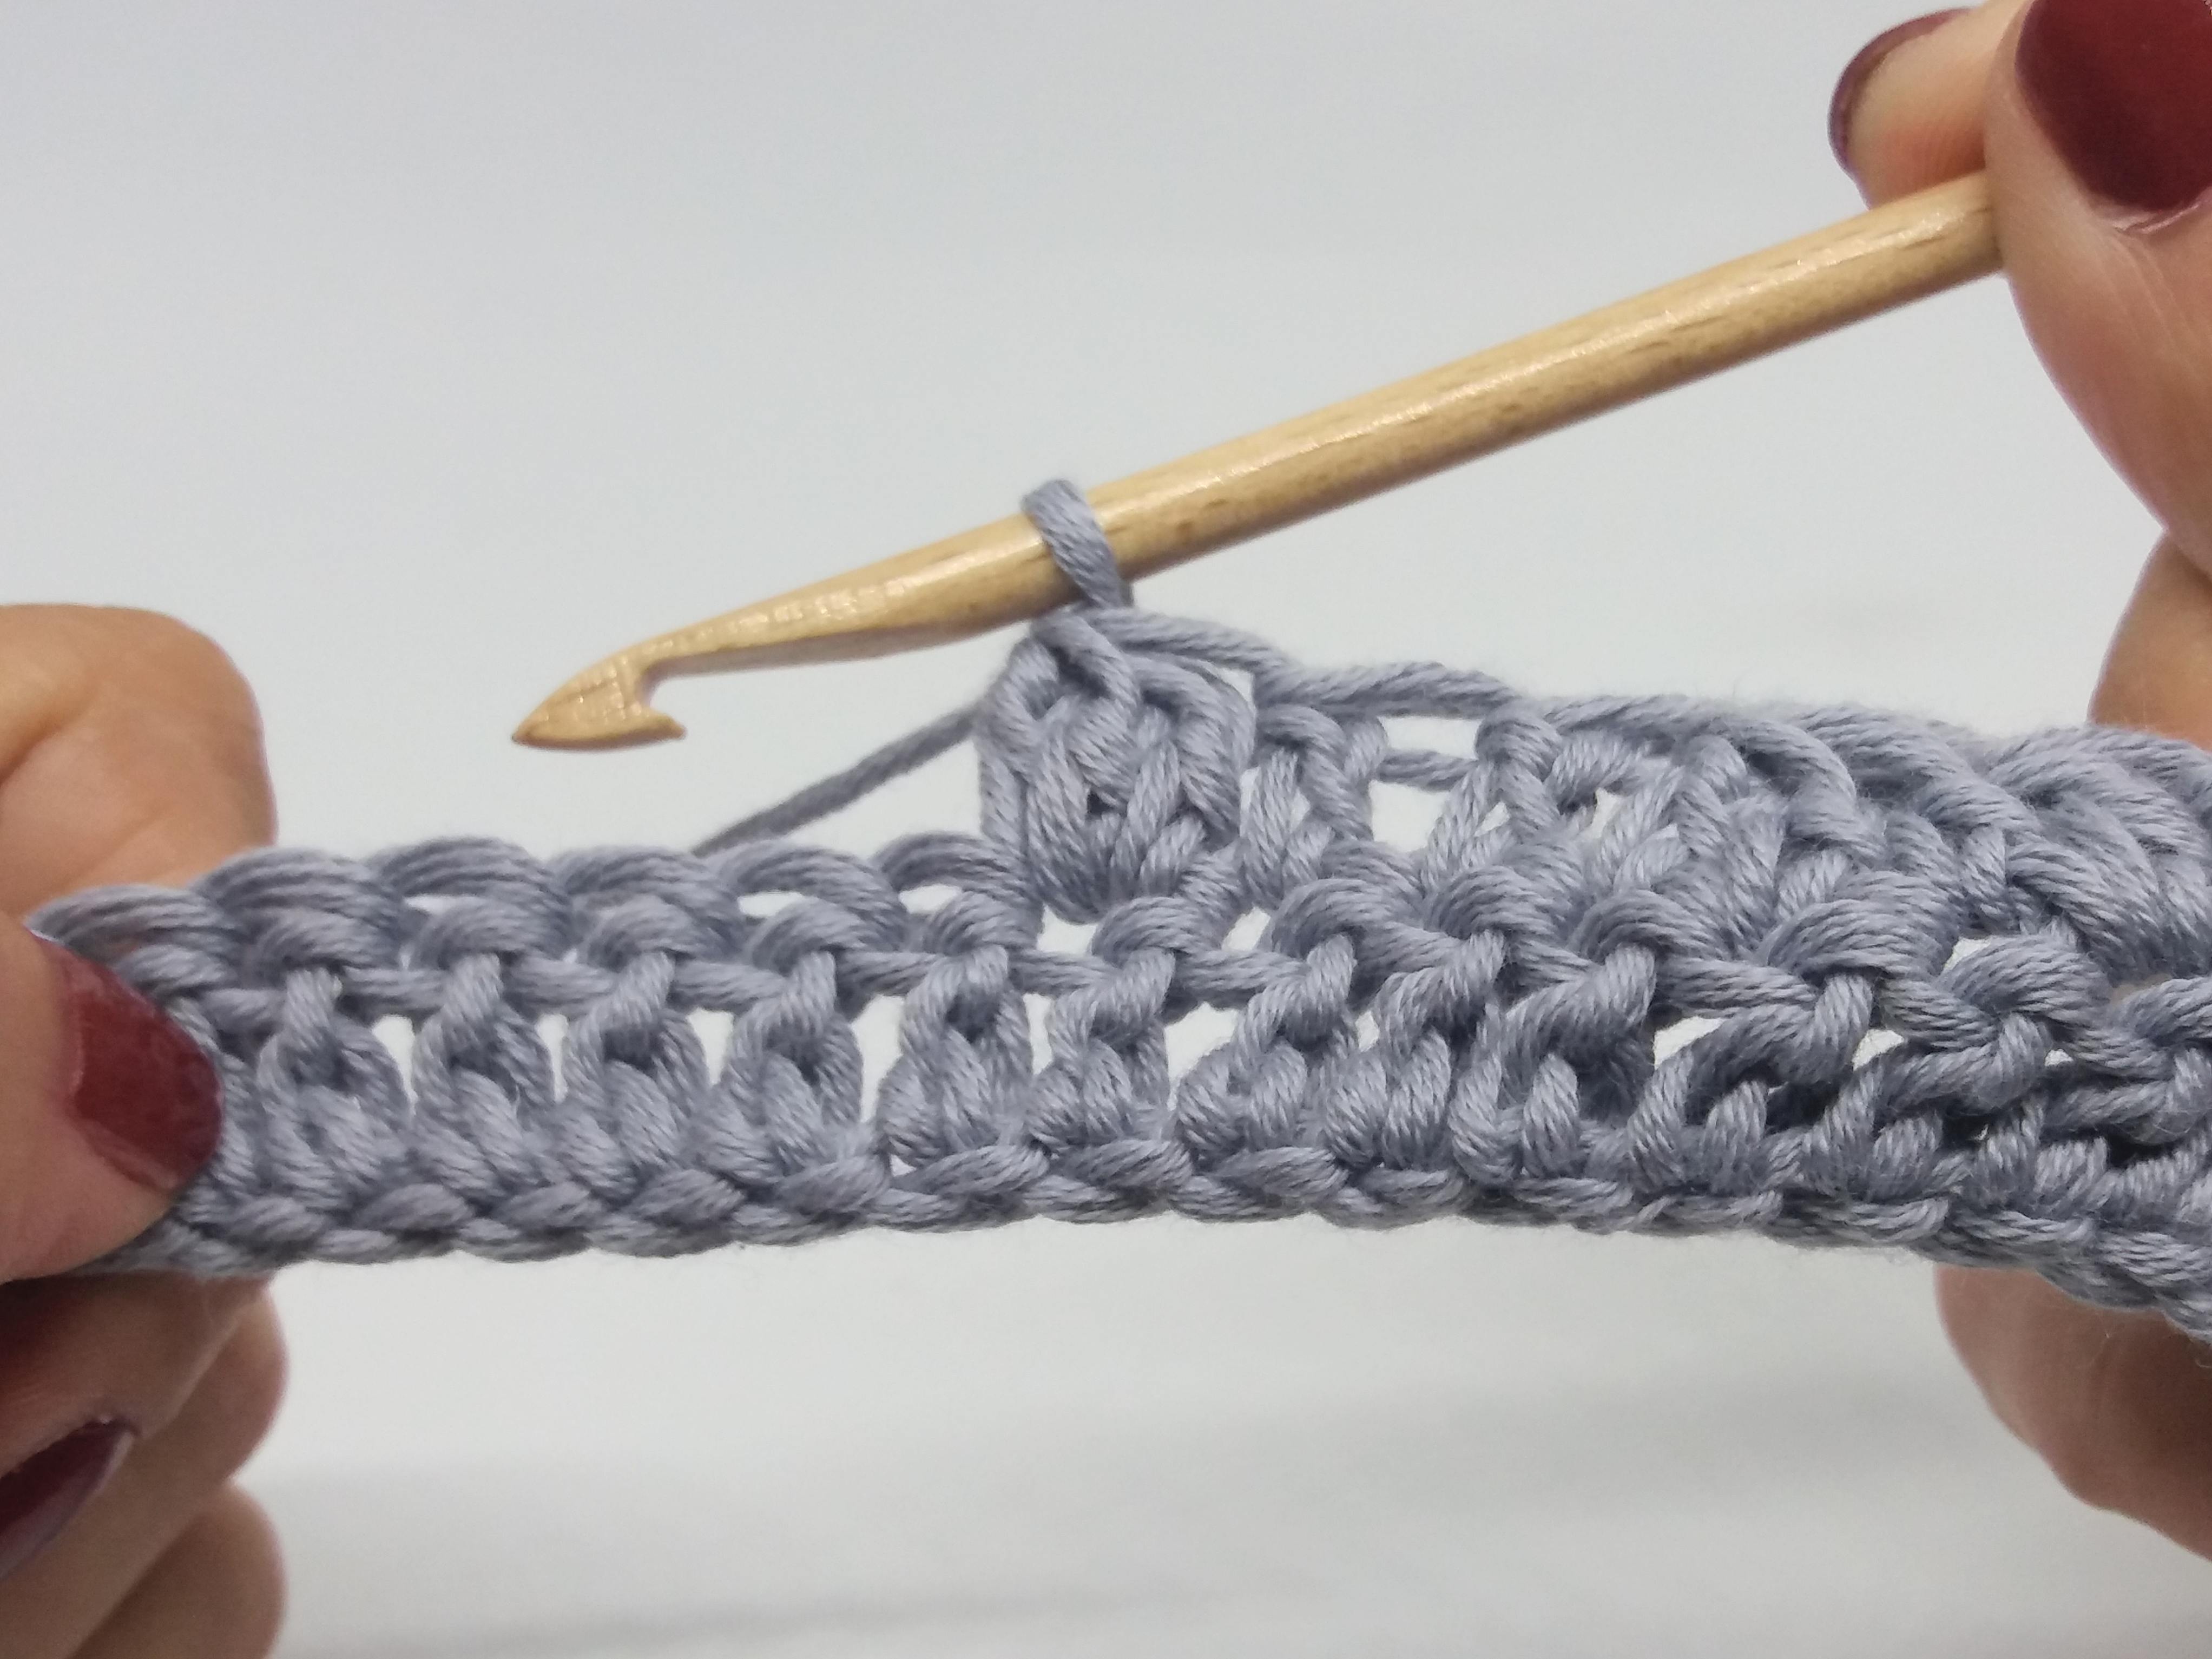
As you can see in the photo above, once we finish chaining two, we start the double crochet.
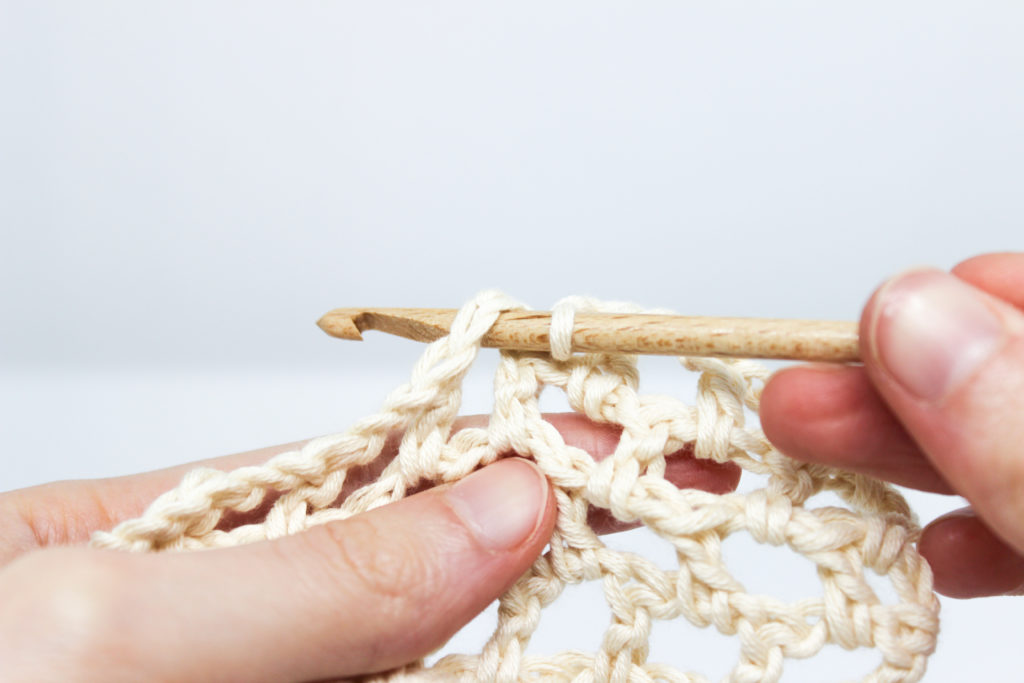
To do so, insert the hook completely underneath the chain arch, this will be the starting point where you will make the double crochet.
We hope this tip was useful, you’re probably already thinking about your next project. We would love it if you share it with us on social media using the hash tag #weareknitters. Until next time!
