If there’s something that all crocheters feel like doing when the good weather arrives, it’s to pull out their cotton yarn, start to crochet, to play with colors and tones to create projects that give good vibes.
Today we want to teach you how to work the C2C technique (Corner to corner) with which you can create fun and beautiful color combinations. This technique consists of making little squares that are worked diagonally, beginning at one corner and ending at the other. We will show you how to make this cute little placemat step by step to give different touch to your table.

For this step-by-step tutorial we used some skeins of our Pima cotton yarn in four different colors: natural, canyon rose, light yellow, and aquamarine. In the chart for the placemat (at the end of this post) you can see that each color corresponds to a letter (A, B, C, and D). These are the equivalents for each one:
- Color A: Natural
- Color B: Canyon Rose
- Color C: Light yellow
- Color D: Aquamarine
If you choose to use a different combination of colors we recommend writing down each color’s letter equivalent on the chart to make it easier to remember. When in doubt you can refer to your notes.

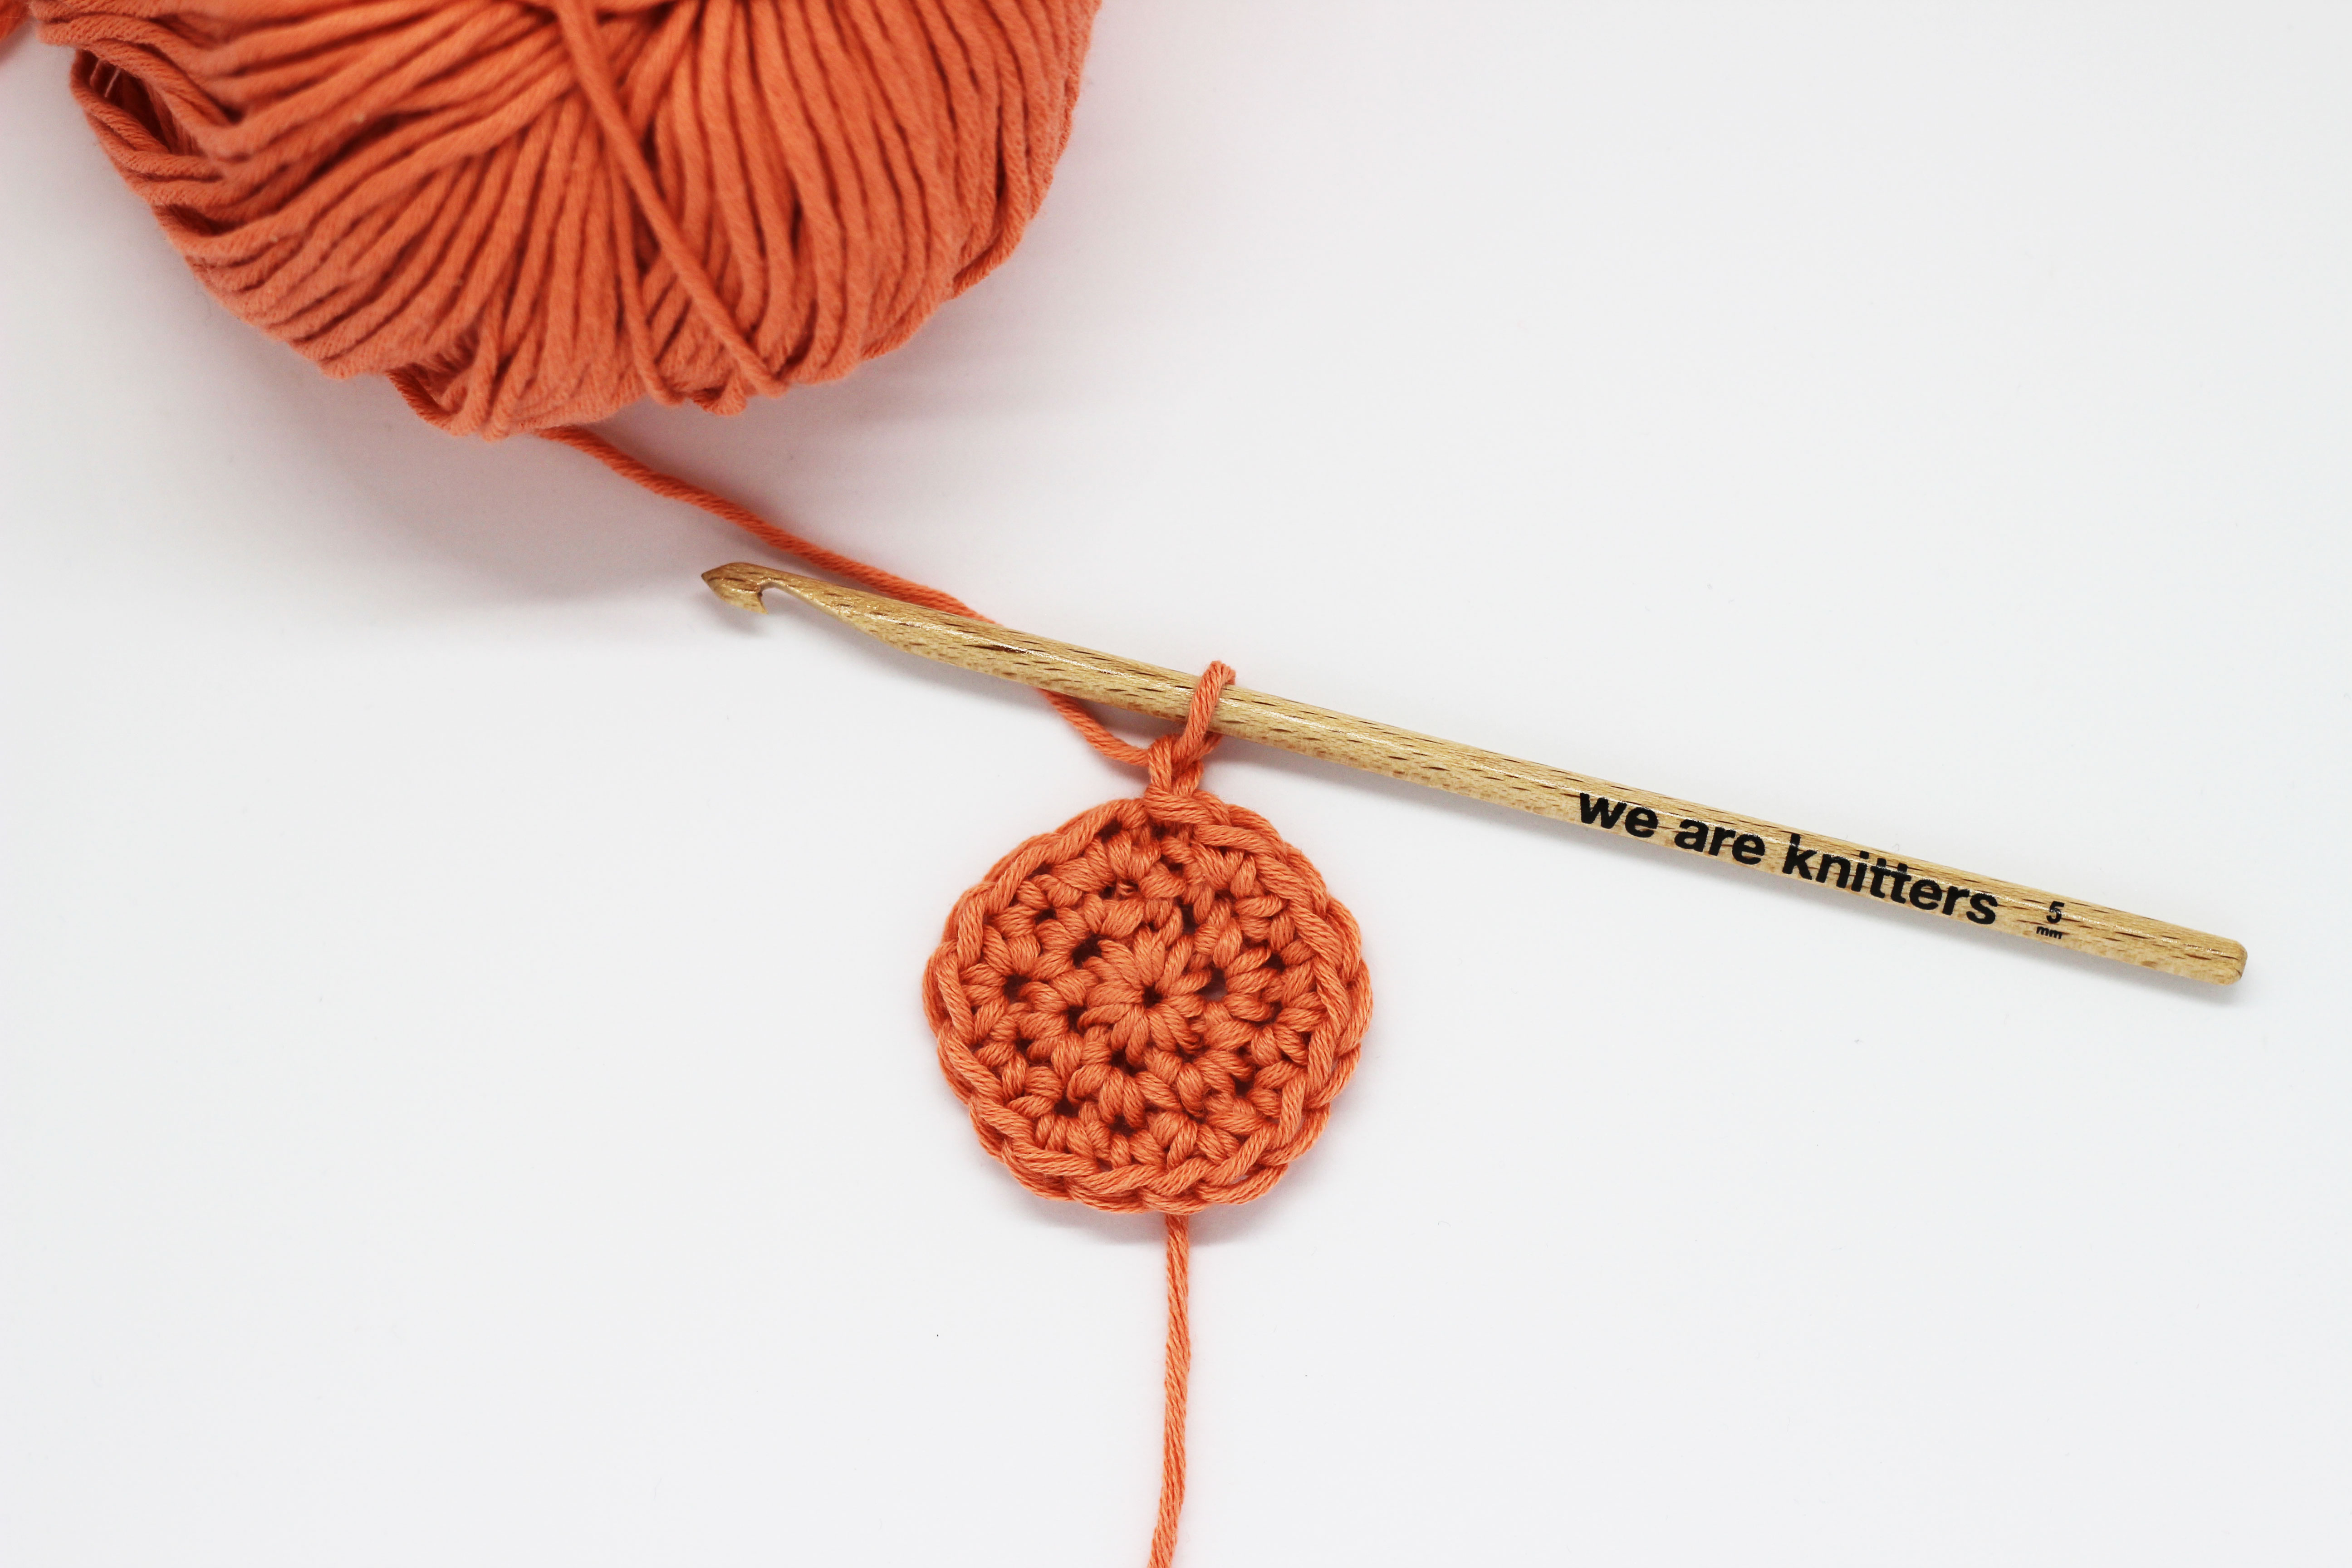
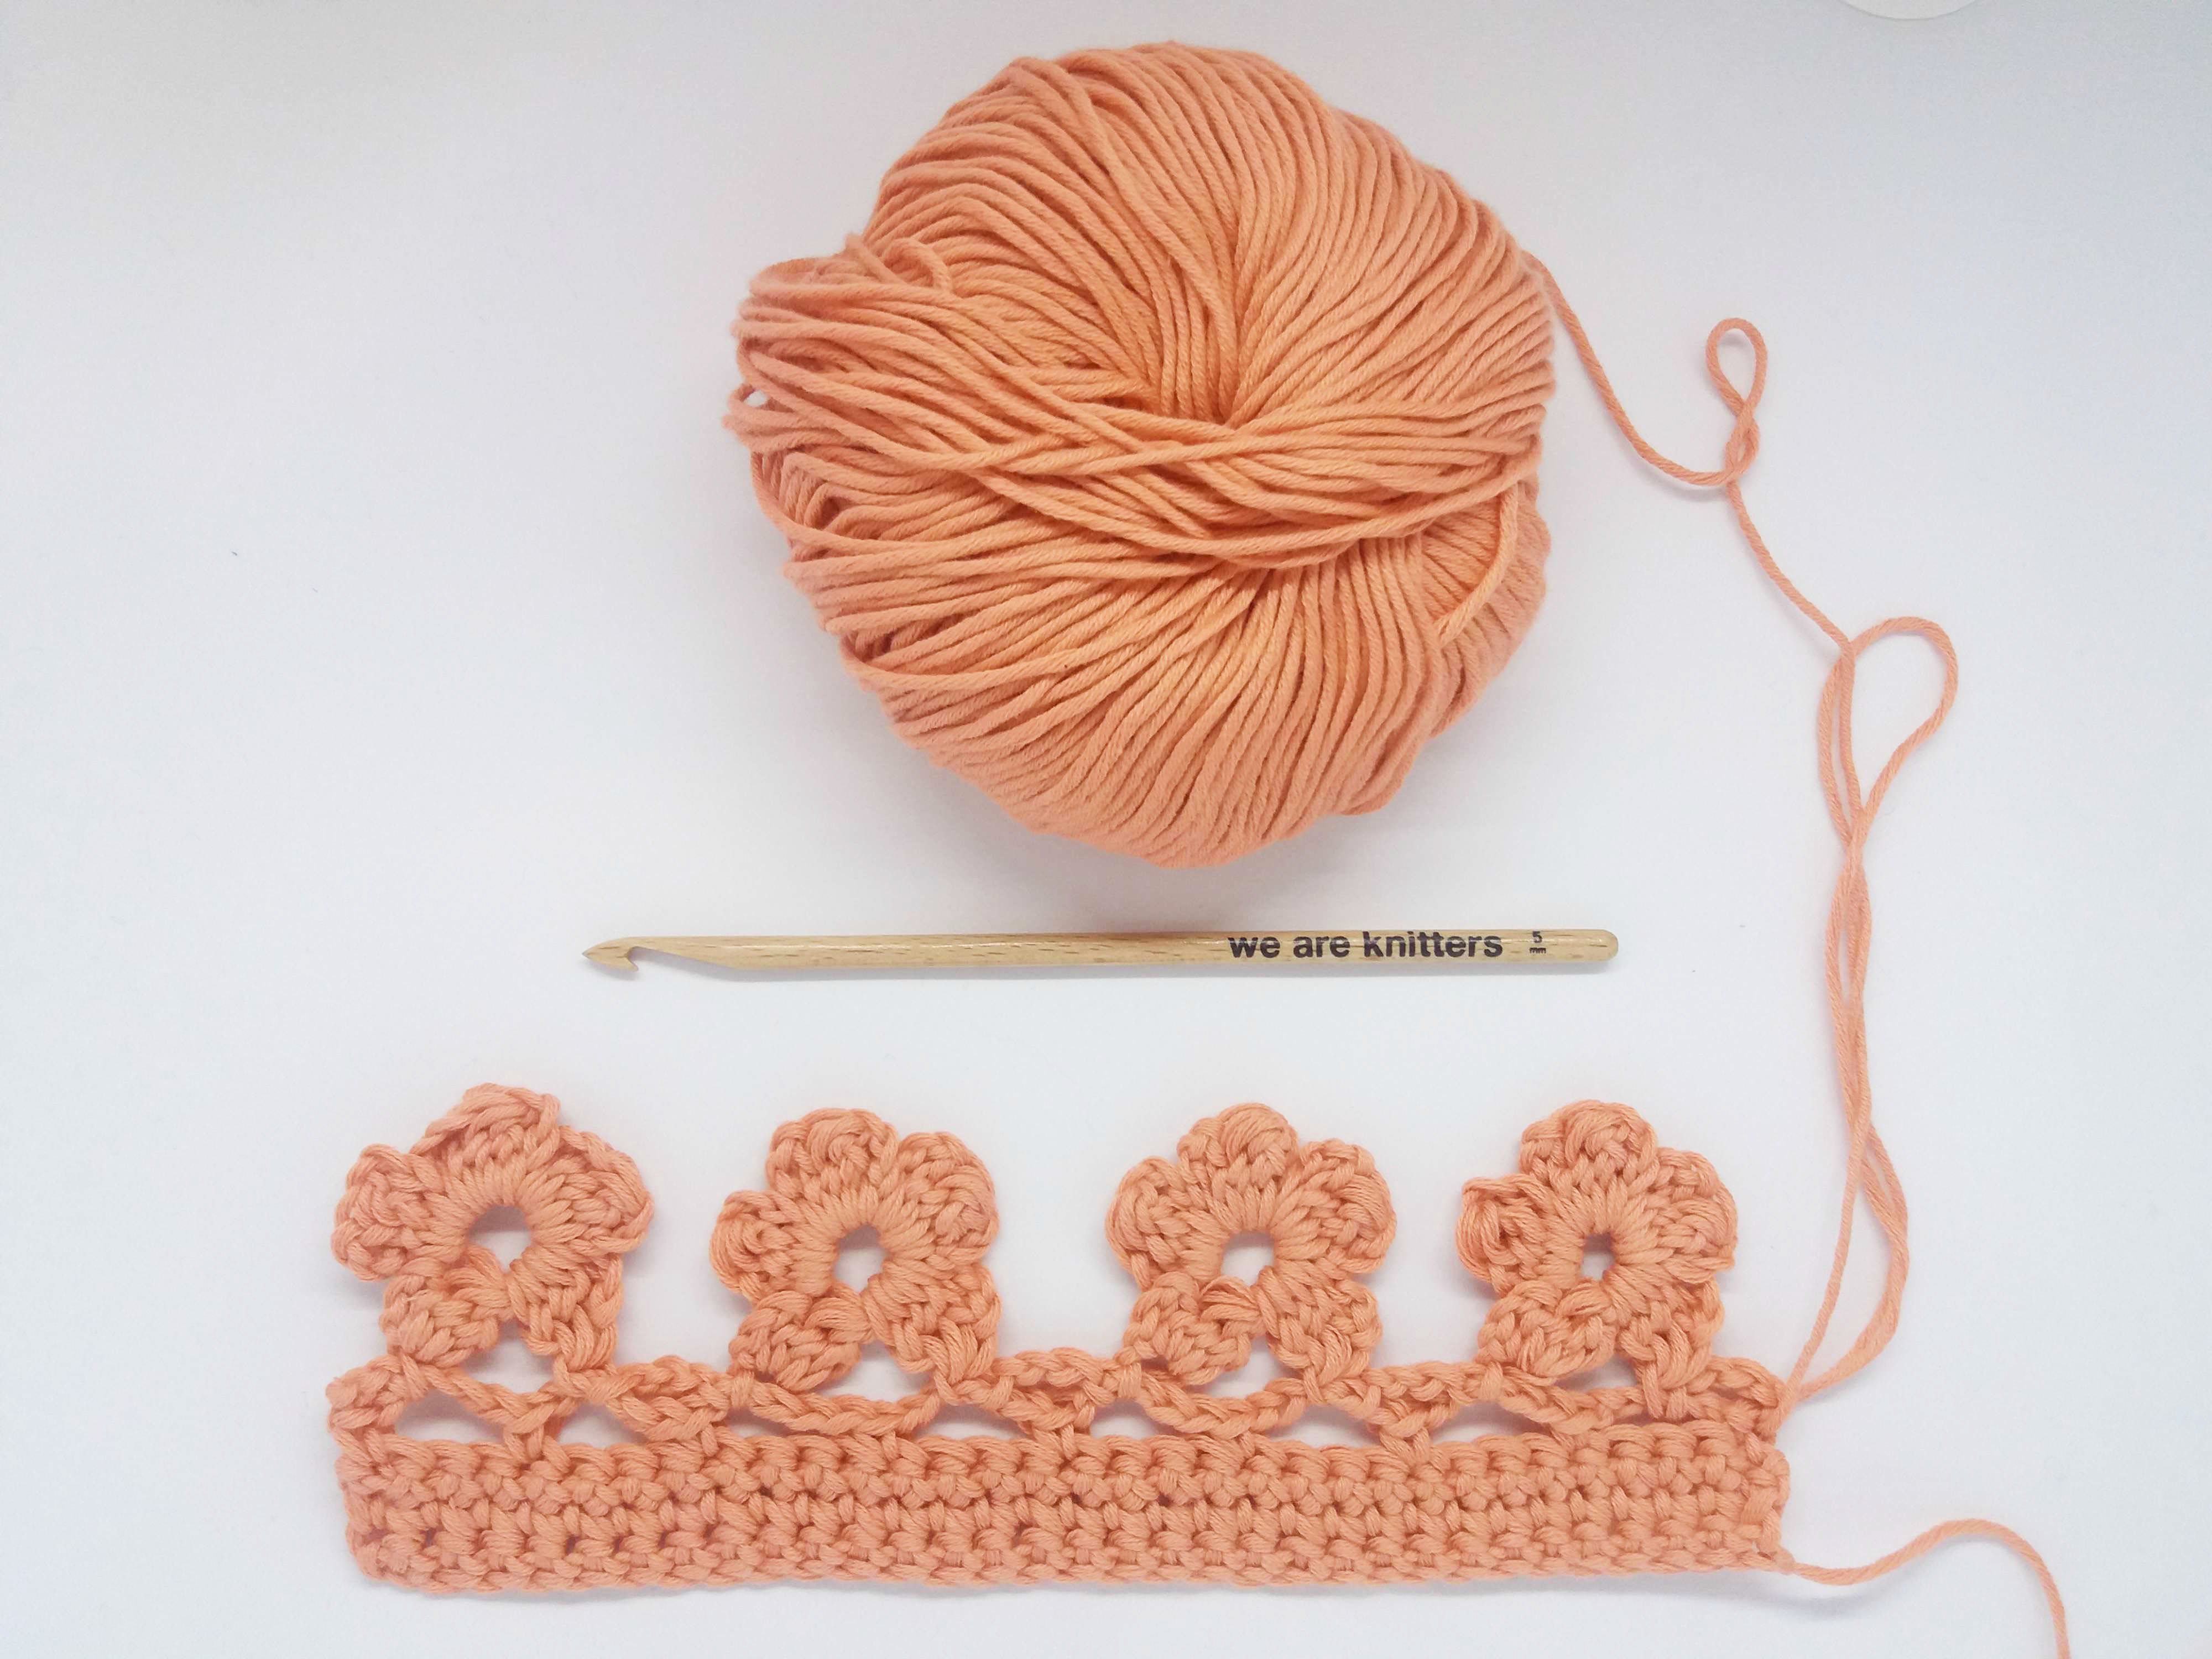
We also used one of our size 8 crochet hooks and a tapestry needle to finish your project.

Before beginning we recommend dividing color B into two smaller skeins. There will be sections where you will need to use both at the same time. So that both skeins have the same amount of yarn you can use a kitchen scale: weigh the whole skein, and start to wind one end into what will be the second skein. When they weigh about the same: you now have color B divided into two.
Before beginning, what stitches do I need to know how to do?
As always, before starting here is a list of the stitches you will need to use:
A few helpful suggestions
The pattern for this placemat is based on the C2C technique, or “Corner to Corner”. We will start working the bottom right corner and finish at the top left corner. With this technique each row worked will be a diagonal of our placemat. Each of the diagonals is formed by little squares that you crochet and join as you work.
There are two different types of squares in the first rows that we will explain later:
– The Initial square
– The Central square
The fabric is divided into 3 sections:
- The increase section, is worked until you reach the desired height. Each rows increases by one square.
- The middle section of the project, where you work until you reach the desired width, and all rows have the same number of squares.
- The end section, where you decrease one square in each row to finish the project.
When reading the chart, remember that odd rows are read from right to left, and even rows are read from left to right. To make it easier to understand: you must begin working where the row number is indicated.
Now let’s get started!
- The increase section: Start of the placemat, color changes and increases until you reach the desired height of the project.

(NOTE: you can find the chart for the placemat at the end of this post).
Row 1: this row is made up of an initial square. This will be the bottom right corner, and you will repeat this type of square throughout the pattern. We prepared a short video so you can see how it is done:
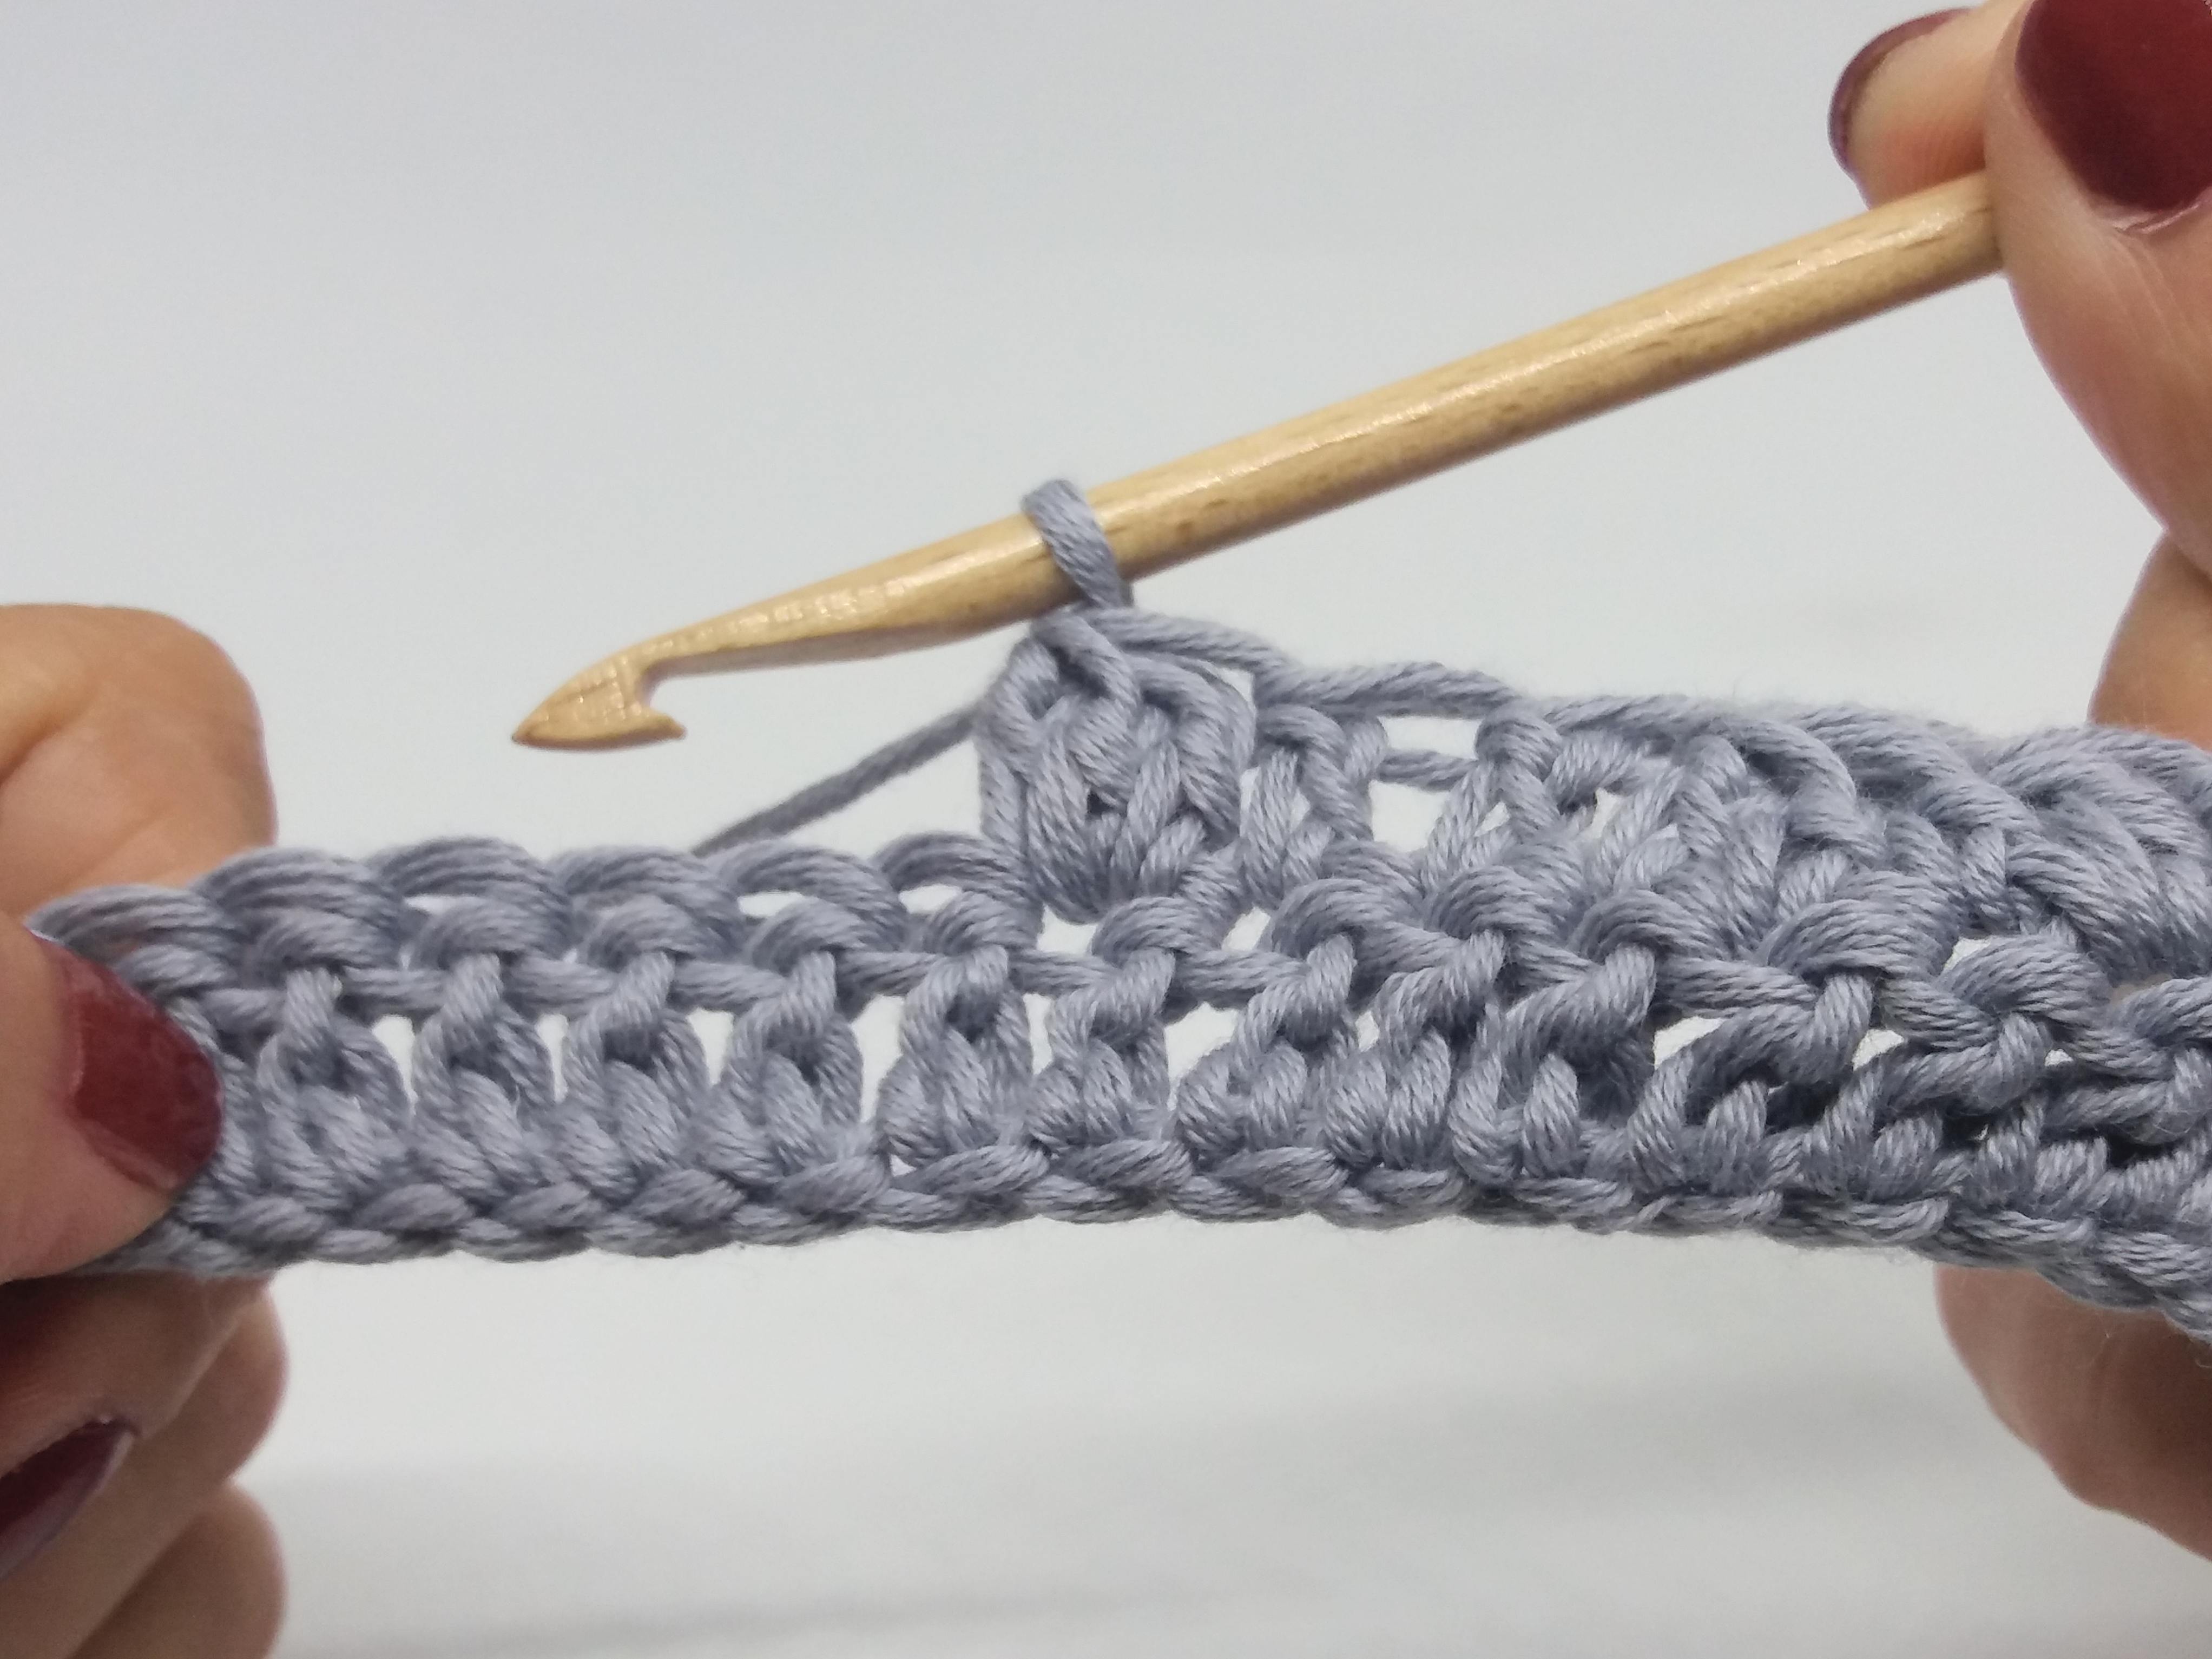
As you can see, the initial square is formed by 6 chains. Once you have made your 6 chains, work 3 double crochets: make the first in the fourth chain from your hook, the second in the fifth, and the last in the sixth.

Row 2: turn your work and make an initial square. Not sure how to this? Here below is a video to show you how easily it is done:
Once you have finished this step, we are gong to make a central square (also on row 2). Hit play to see how it is done:
As you saw in the video, before making the central square, you have to join the square just worked to the previous row. In this case it is an initial square, to join it, turn your work towards the left, make a slip stitch in the space between the three chains and the second stitch of the square in the previous row. Then you can continue making the central square. To do so, chain 3 and work 3 double crochets into the same space, between the first two stitches of the square you joined it to.

At the end of the row you will have a total of 2 squares.

Row 3: turn your work again and make an initial square. Now make as many central squares as needed to reach the end of the diagonal. Remember to join each central square to the previous row with a slip stitch before beginning the next central square. At the end of the row you will have a total of 3 squares.

Repeat row 3 until you reach the end of row 5. You will have 1 additional square at the end of each row. When you are making the last square on row 5, work only 2 double crochets (instead of 3). Stop here, now we are going to show you how to change colors.
This color change we are going to show you how to do can be used to work the initial square in a different color than the one you made in the previous row.
To change colors to make the initial square you just have to close the last stitch of the previous row with the next color you are going to use.

Row 5: turn your work and make an initial square. As you can see in the image above, you now have the first square in a different color. Now we are going to continue with the next row following the chart, you have to change colors, but this time: to make the central square. Let’s see how it’s done.
In this case our next square is a central square and we want to change colors, so you have to make the slip stitch with a new color.

The result is pictured in the image above: the initial square in one color and the central square in the other.
Continue working the row until you have made as many central squares as needed.
Now that you know how to change colors, continue working the same as for row 3 until you reach row 17 following the color changes indicated in the chart. As you can see, in each row we have increased on square. In row 17 you will have 17 squares.
As you continue working you will find that on some rows we add a new color to our placement, and in others you will have finished using a color (for now) and we will have to cut our yarn. Here below we remind you when to do this so you don’t forget:

Row 11: at the end of this row we will incorporate the last square in color D (aquamarine).

Row 13: At the end of this row we will incorporate the last square of color B (canyon rose), for which we will use the second skein of this color.

Row 15: at the end of this row cut the strand of color D, in our case, aquamarine.

Row 17: at the end of this row cut the strand of color C, in our case, light yellow.

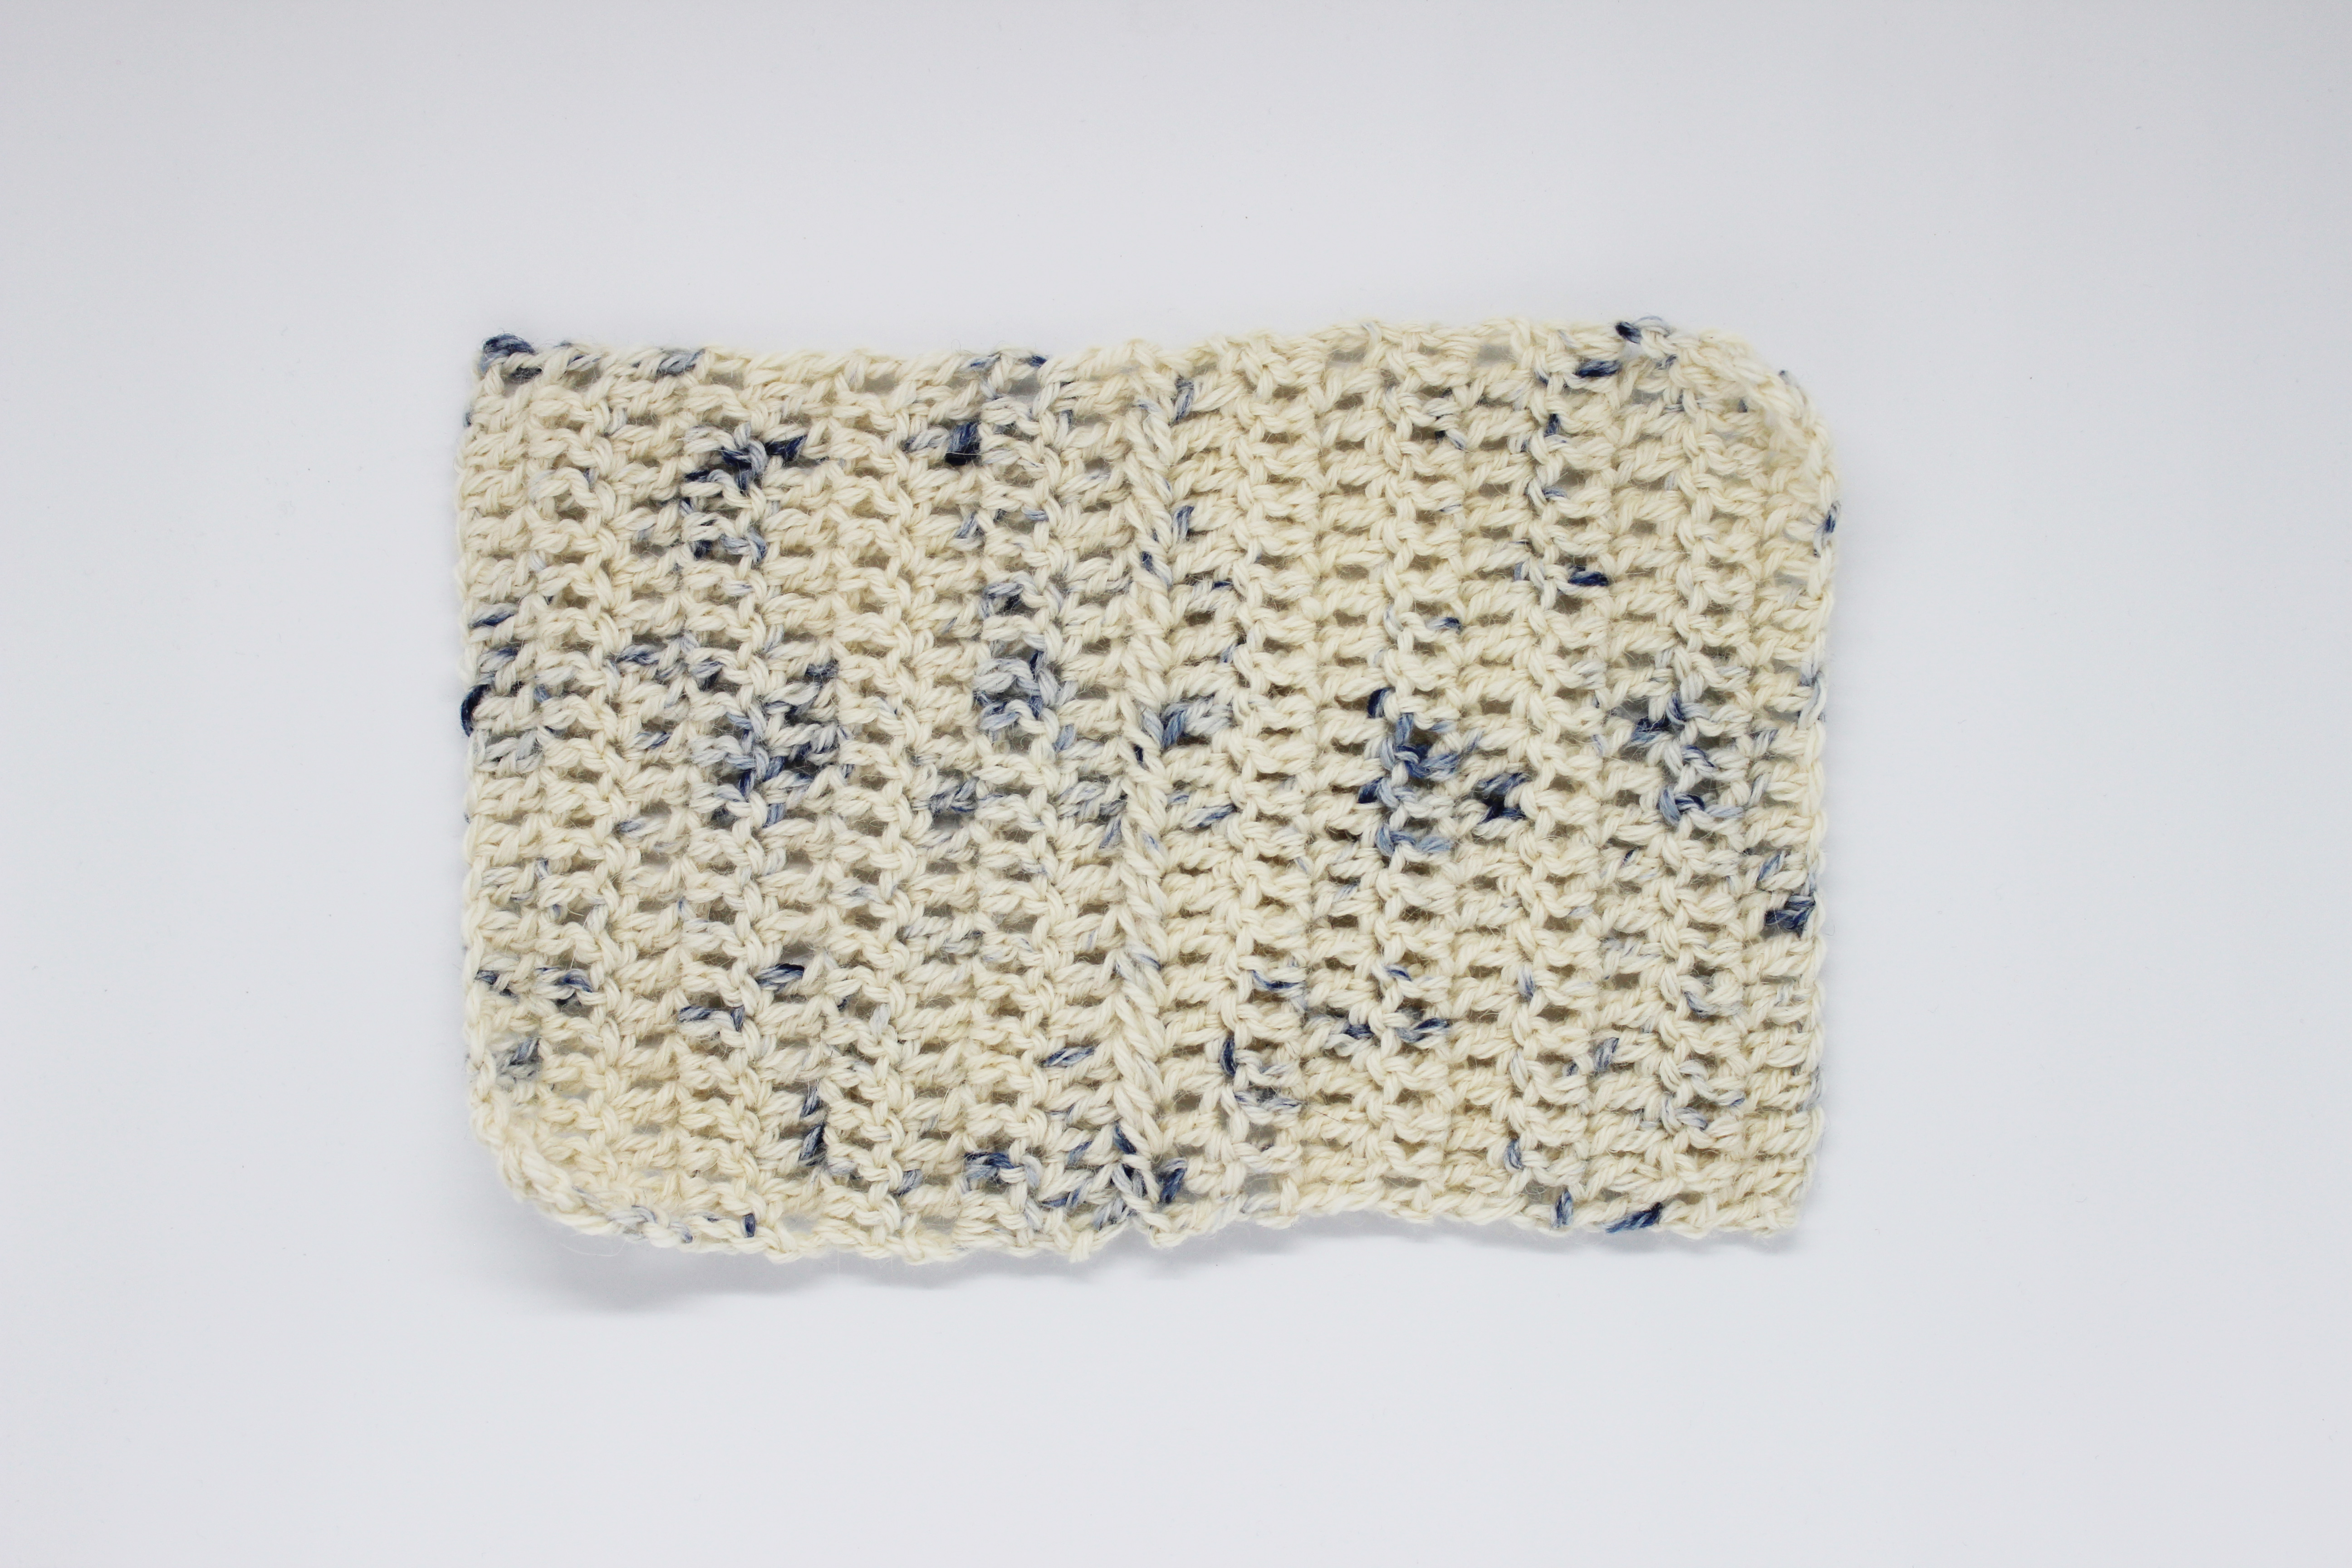
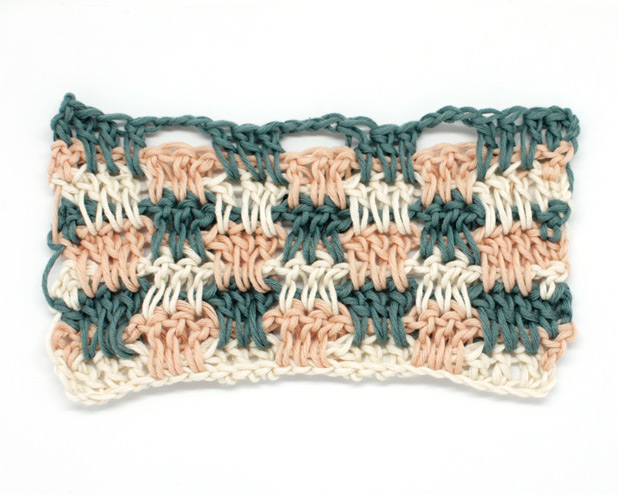
After this section, your placemat will have the necessary height and it will look like the image above. Pretty, isn’t it?
2. Central section: Total width of placemat and straight bottom and top edges.
In this section we will make the central section of the placemat. We will stop increasing along the top edge and work straight across. Here below we will explain how to do it.
Row 18: turn your work and make an initial square. Work 16 central squares, following the color changes in the chart. Now we will work the end of the row.

At the end of the row, except for the last square, your project will look like the above photo. To see how to do this last step, hit play 🙂
You just have to work a slip stitch in the space between the three chains and the second stitch of the square in the previous row.

At the end of this row you will have stopped increasing on this side and started working the straight top edge.
Row 19: turn your work. Now we must continue to make a straight edge, to do so we are going to work three slip stitches and keeping making the central squares. We made a short video to show you how to turn your work and start the first part of the row we just explained:

When you finish this step, your work will look like the photo above. Now continue working the central squares (17 total) changing colors when indicated in the chart.

Continue working rows 20 to 26 according to the chart, repeating the end of row 18 and the beginning of row 19, so that the edge comes out straight, without increasing.

Row 26: when you finish this row, remember to cut yarn C (light yellow).

Next, finish this section by working Row 27.
In the first two sections you will have obtained the desired width on the bottom edge for your project. Now we will continue working the last section to finish your placemat.
3. Final section: Decreases to finish the project
In this section we are going to finish the placemat by decreasing one square in each row and forming straight edges on the left side and the top edge. To do so, we will work rows 28 to 43. We explain how to do this below.
Row 28: the side of the placemat will be shaped at the beginning of the row. We are going to see how to do it step by step:
As you can see it is very easy to do, and the top corner starts taking shape. Let’s review the most important stitches step by step:

At the end of row 27 our placemat looks like the photo above.

Turn your work and start row 28. This time we won’t make an initial square, because we don’t want to increase, but rather decrease.
Instead, we make three slip stitches and one central square. Now we can continue working the rest of the row, keeping in mind the color changes indicated in the chart.

Don’t forget to cut color D (aquamarine) at the end of this row.

When you finish row 29 you will clearly see how the edge begins to take shape.

Continue working rows 29 to 42, always following the chart and keeping in mind the color changes indicated.

Row 43: You’ve reached the end of the placemat! Now we are going to work the last square and just to make sure you know how to do it we made a short video to show you:
As you can see you just have to make one last central square and you’re nearly done.
4. Finishing Touches

There will be a mess of loose ends on the back of your work and you are probably wondering how to make it look a little nicer?

Using a tapestry needle weave in any loose ends, as shown in the photo. We recommend weaving ends of yarn into the same color square as the yarn so that they are less noticeable. You don’t have to weave in the entire length of yarn, just a small section is sufficient to avoid the piece from unraveling. You will find that it is done very quickly.

And…you’re done! It was fun to follow the chart, change colors, make squares, wasn’t it? We hope you share your new placemats on social networks using the hash tag #weareknitters. Try making it with different color combinations to give it your personal touch 🙂
______
Placemat chart