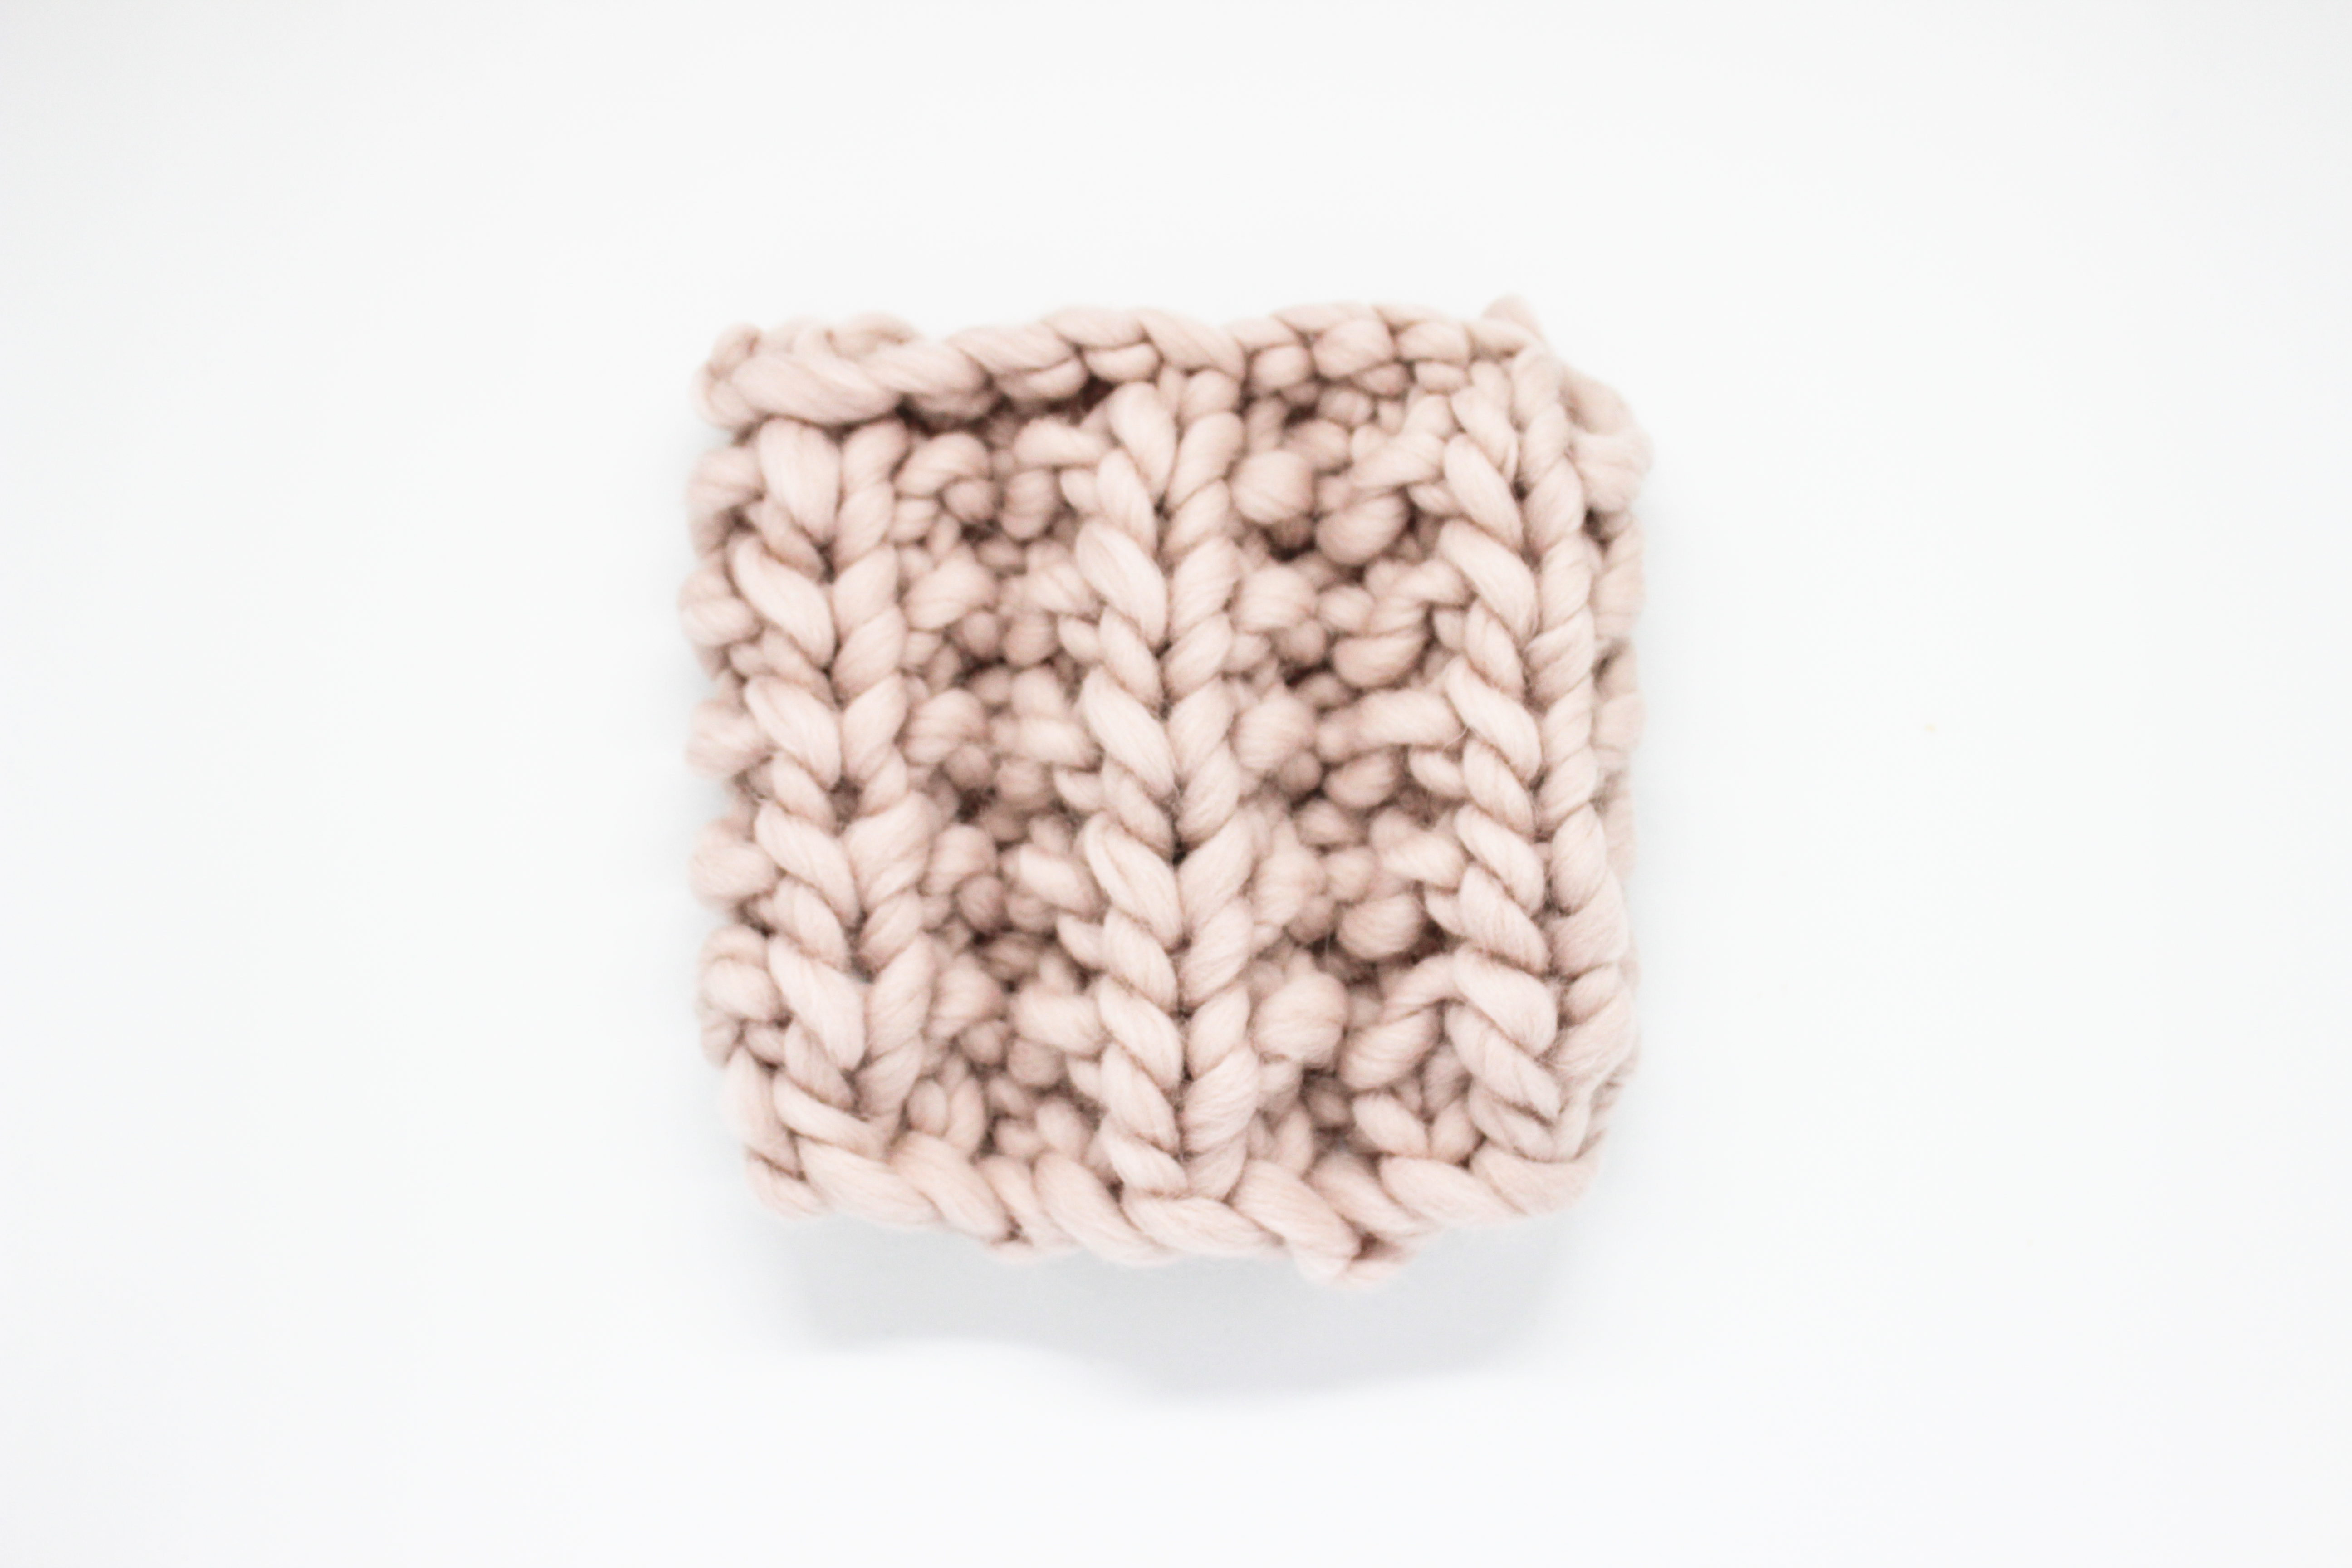
Now that good weather is here, we want to dust off those wicker baskets that accompany us throughout the spring and summer and that are perfect for taking our knitting projects wherever we go, no matter how big or small they may be. Do you want an easy way to personalize yours while using up scraps from other projects? In this tutorial, we’ll show you how to make a feather pendant with those little bits of cotton that you have left over.
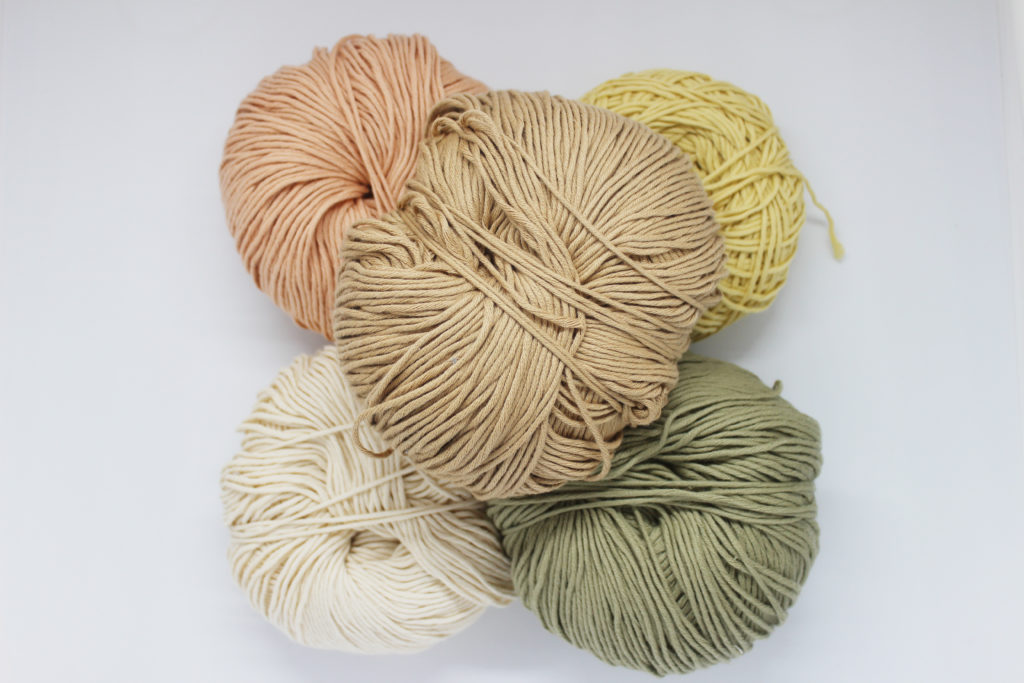
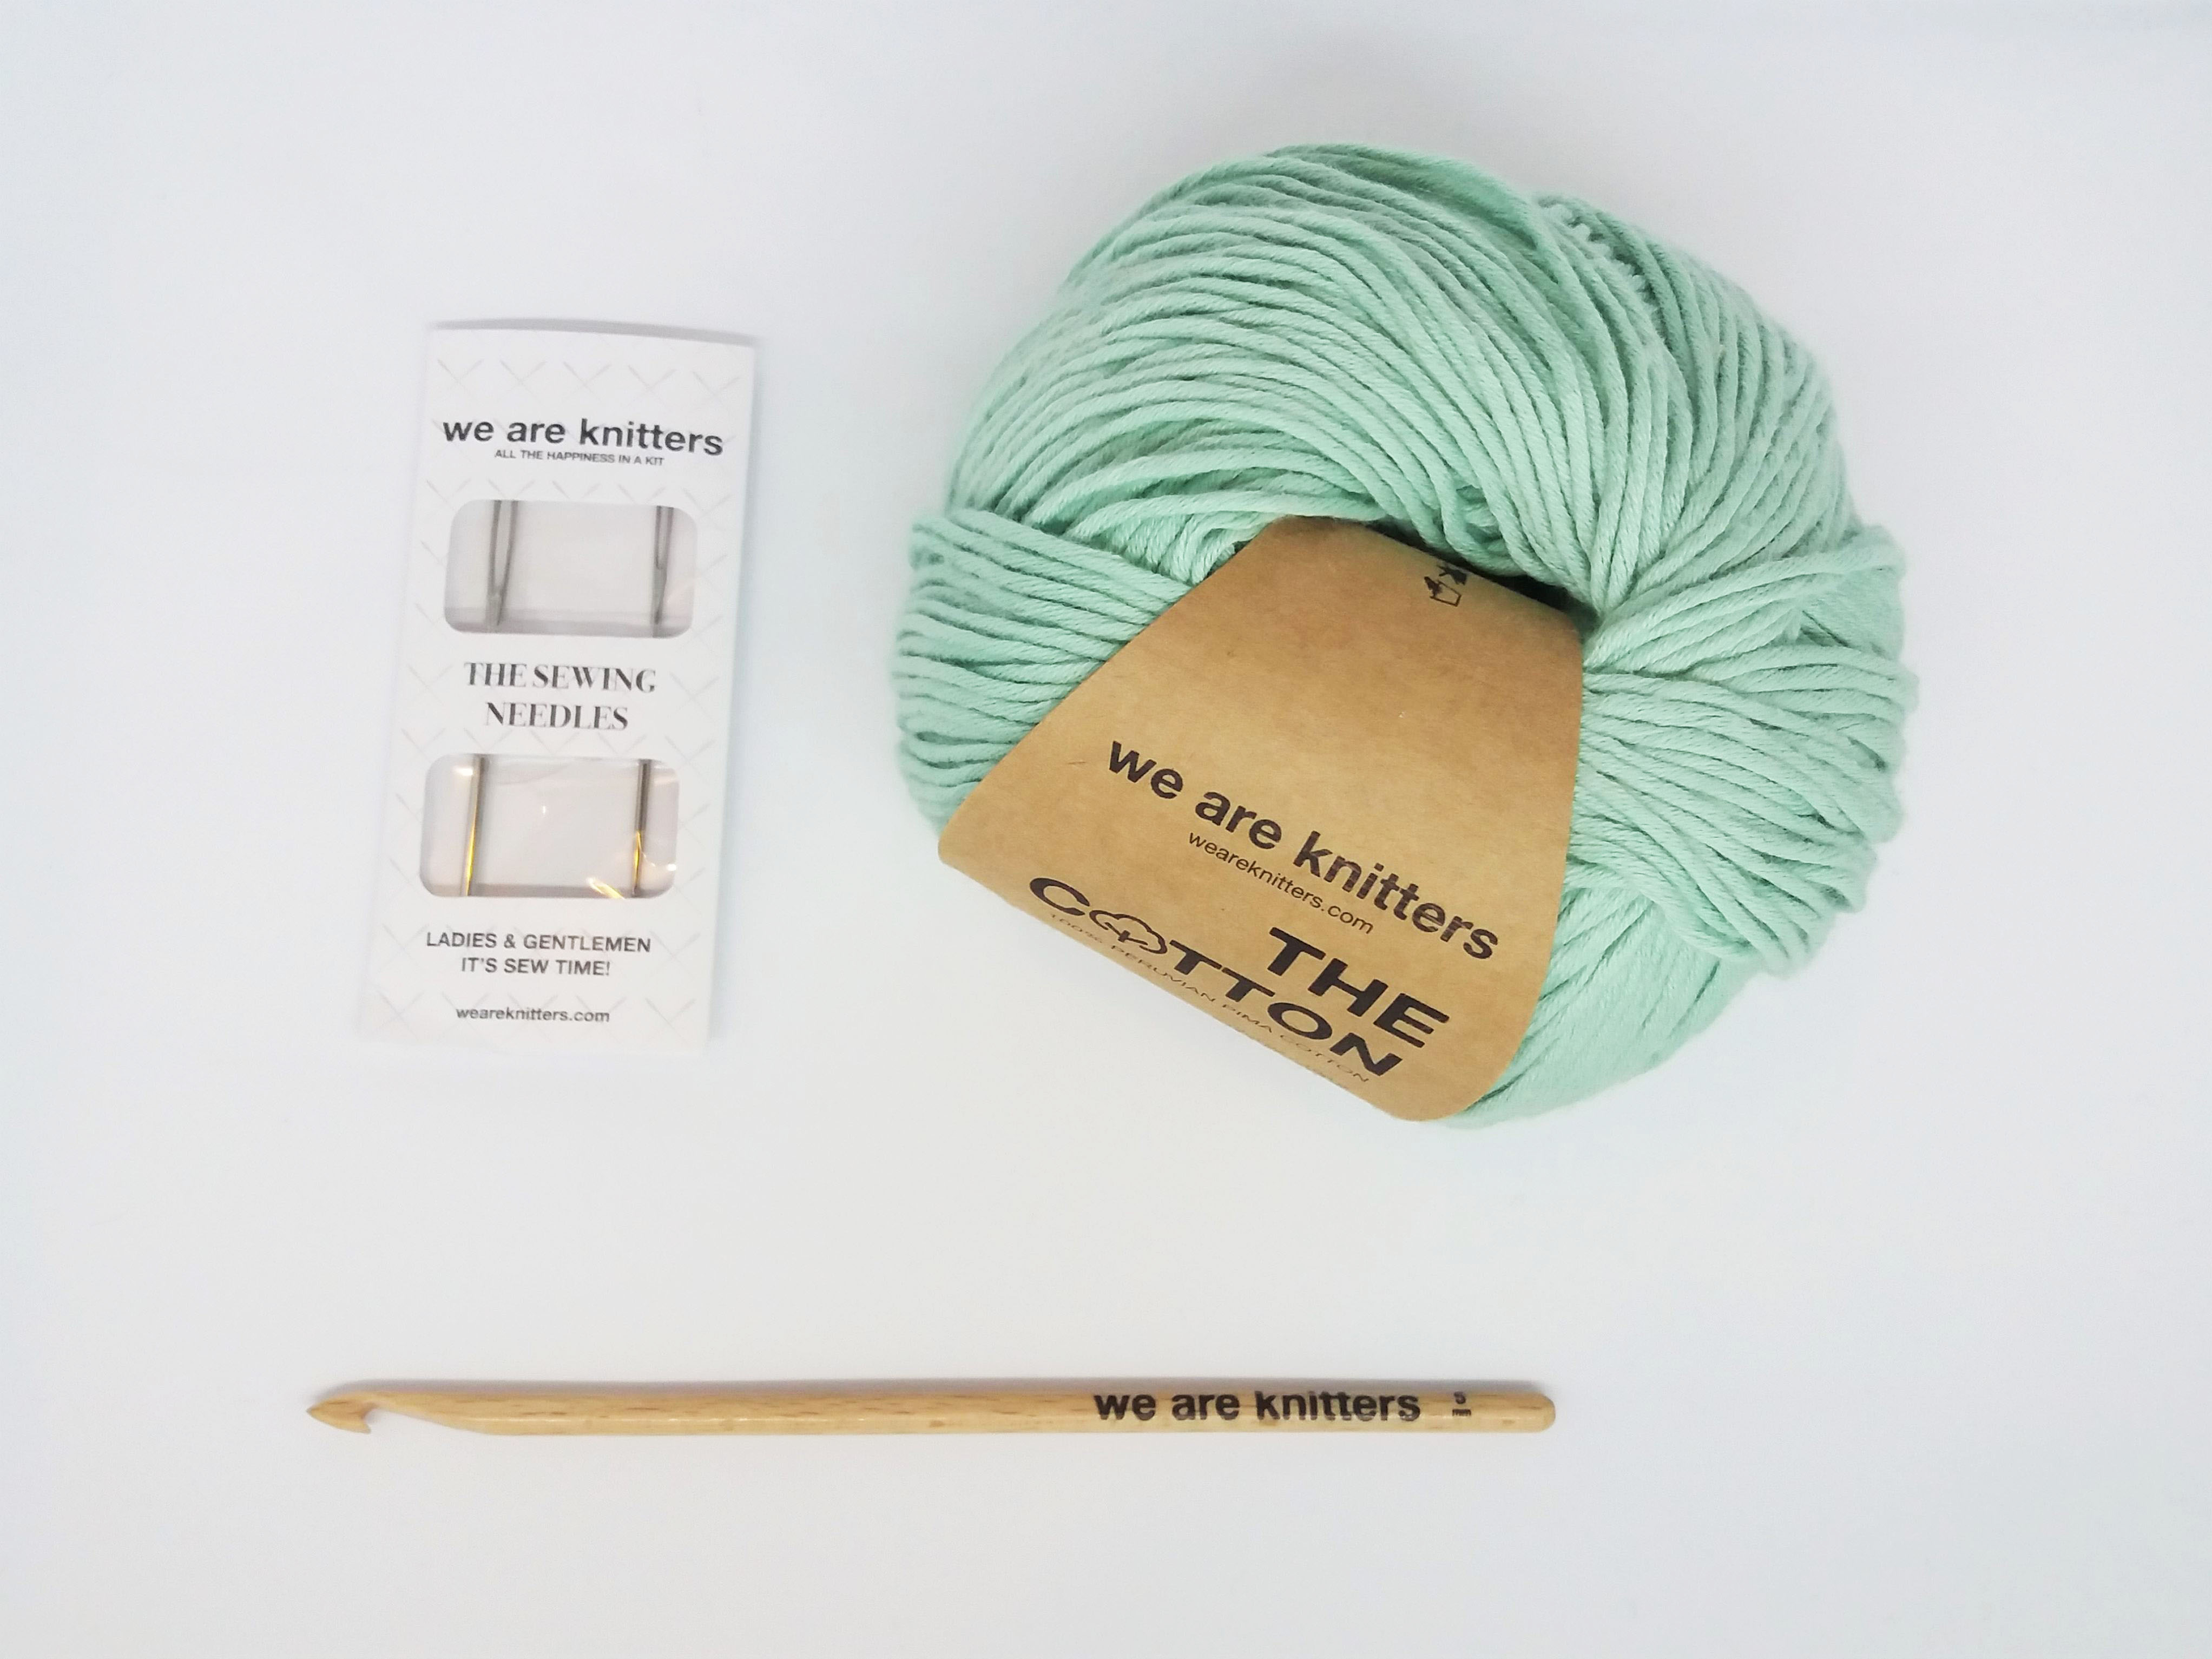
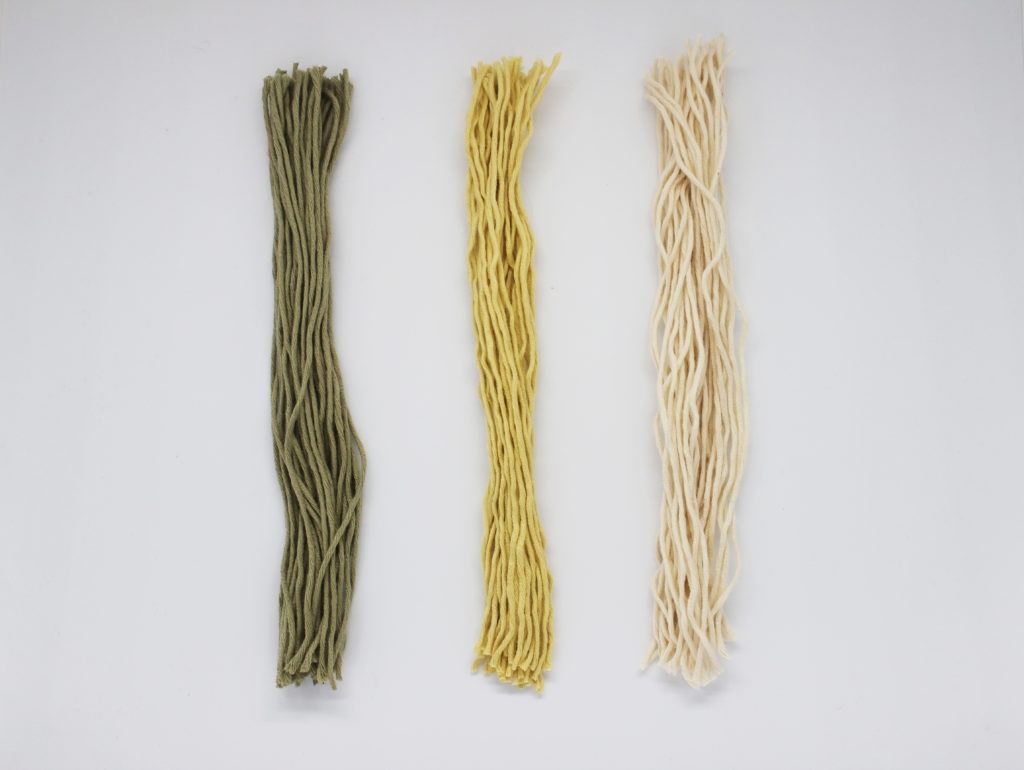
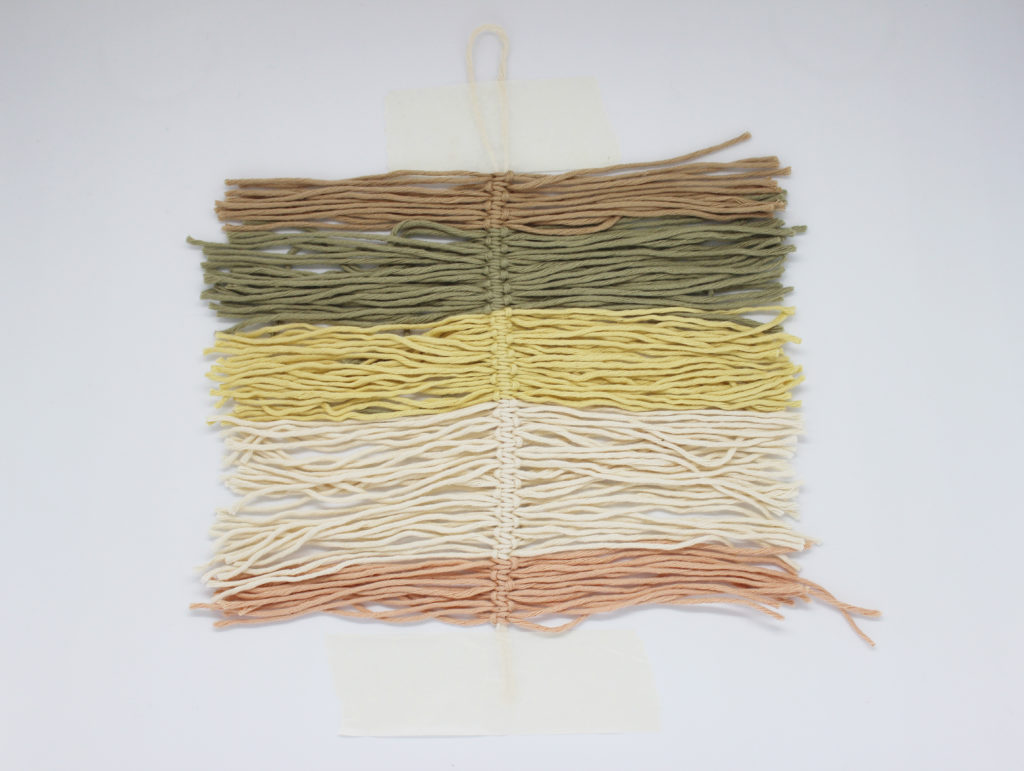
For this step by step, we’ve used several colors of our Pima Cotton yarn—in this case, earth tones.
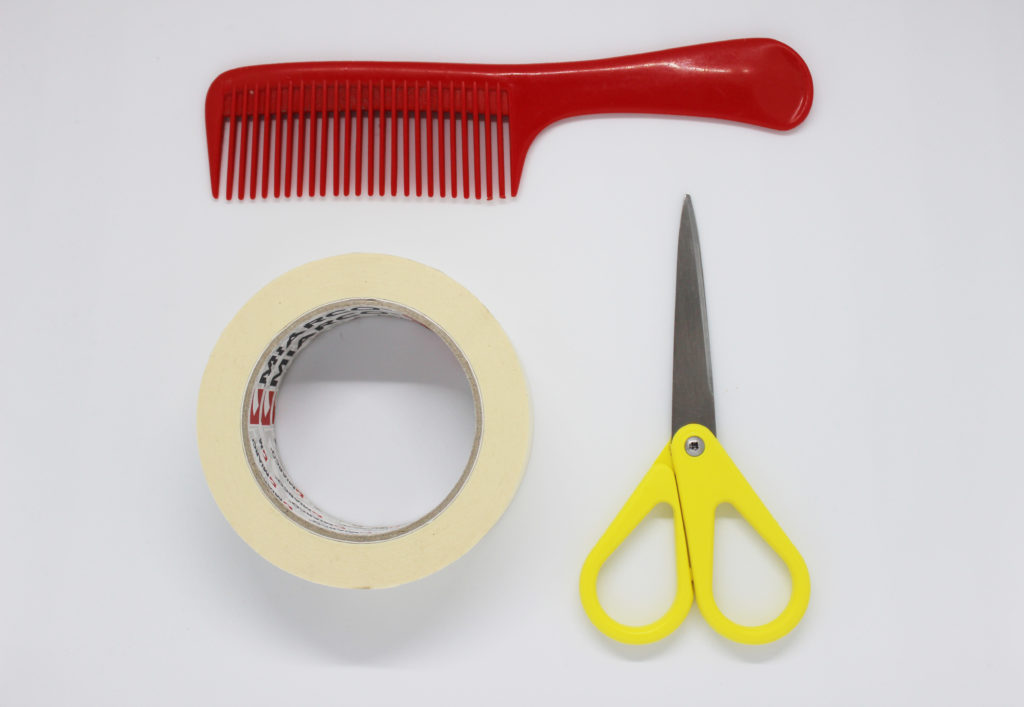
We will also use a comb or a brush (the more teeth, the better), scissors, and masking tape (or something similar).
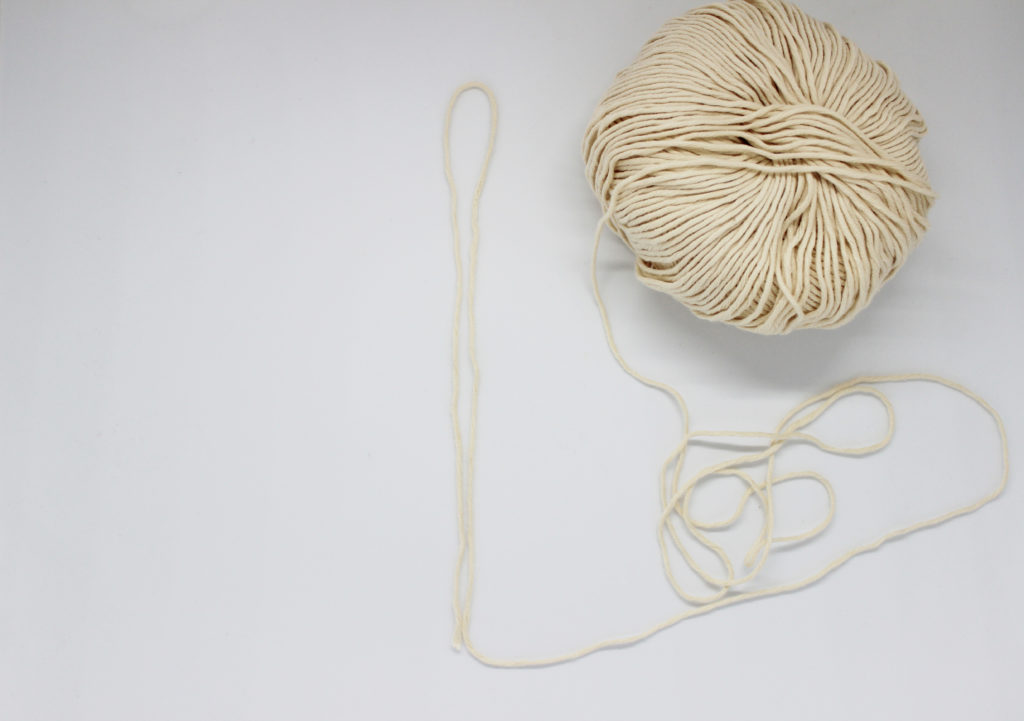
We’ll start by calculating the length of our pendant. The total length will be the length of the handle to hang, plus the length of the body of the pendant. Leave about 7 or 8 cm for the handle.
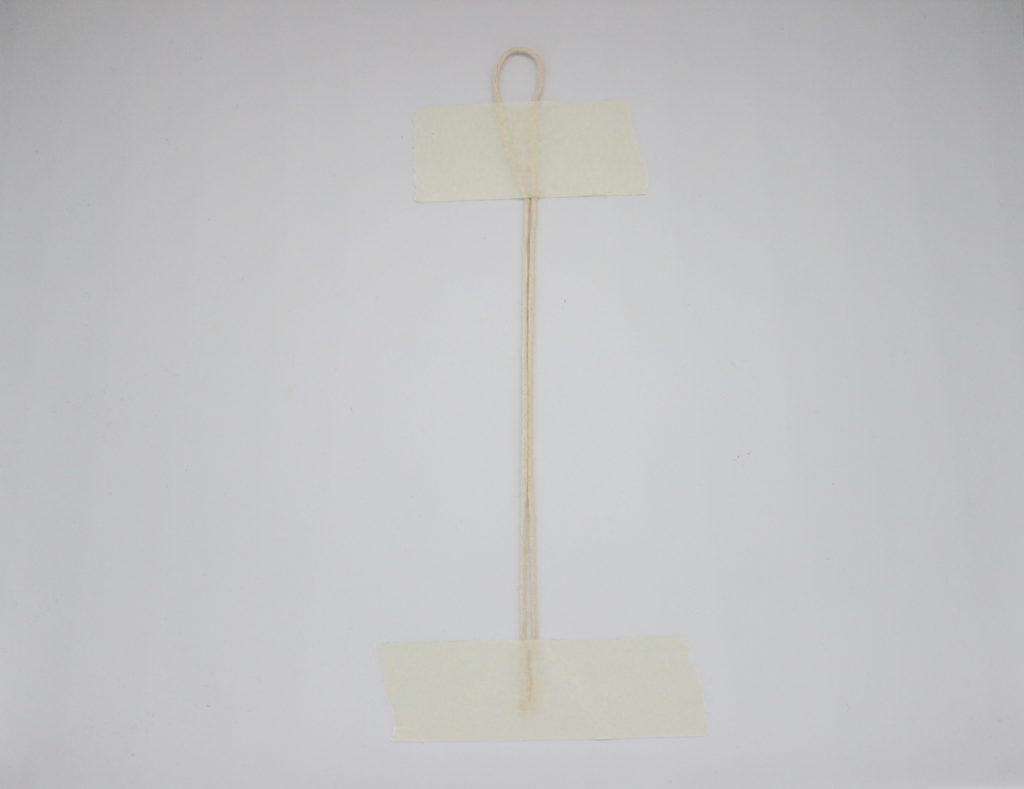
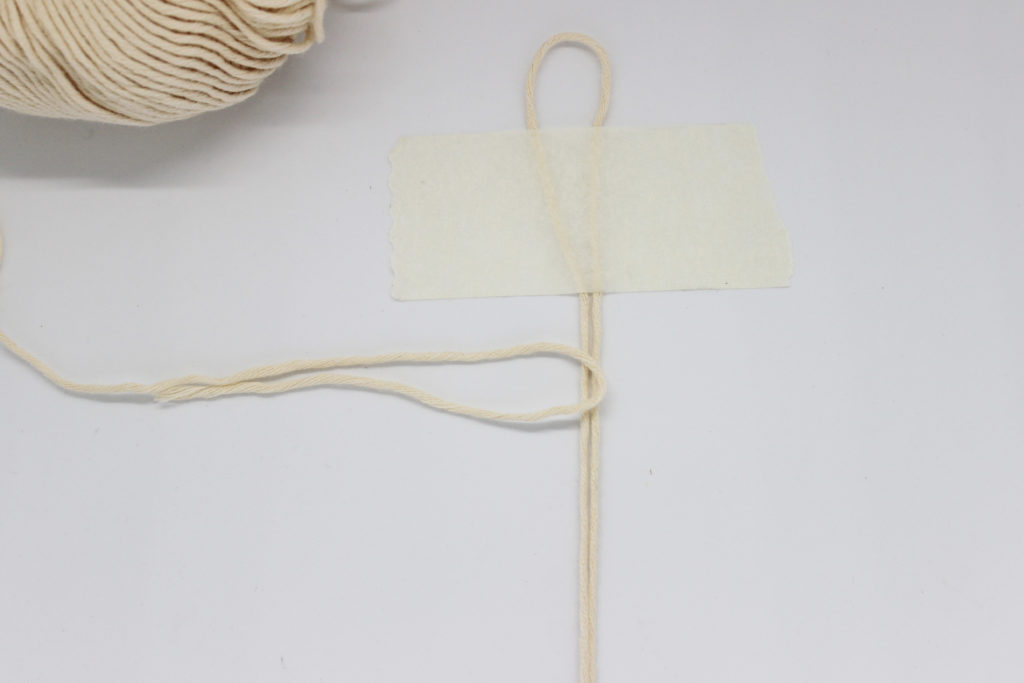
Cut a strand from the ball once you know the length of your pendant. To work comfortably, we recommend holding the strand of the body to the work surface with masking tape both above and below. That way it will not move as we make the knots.
Now let’s calculate the width of the pendant. We recommend that you add 2 or 3 cm to the length of the thread in case you later want to shape the pendent when you finish it.
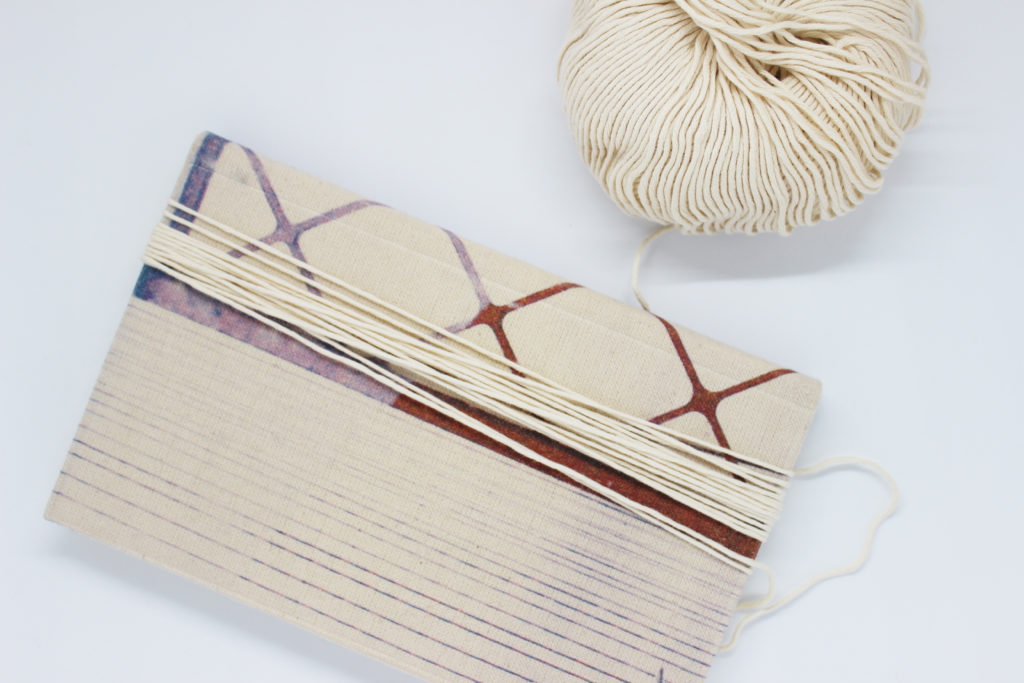
As you can see, you’re going to have to cut a lot of strands to make the knots, so use a book to help. We’ve rolled the cotton around it several times. This will save time and ensure that all your strands are the same length.

When you finish winding the strands around your book, remove the mini skein you have made and snip it at both ends.
Repeat this process with all the colors you want to use.
How to tie the knots along the body of the pendent
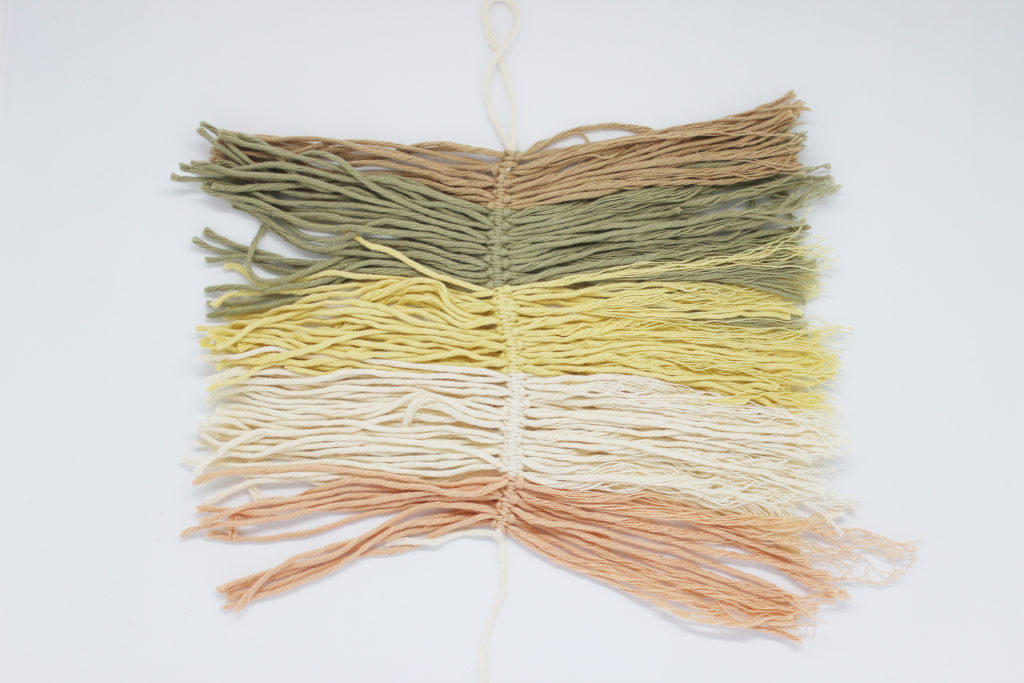
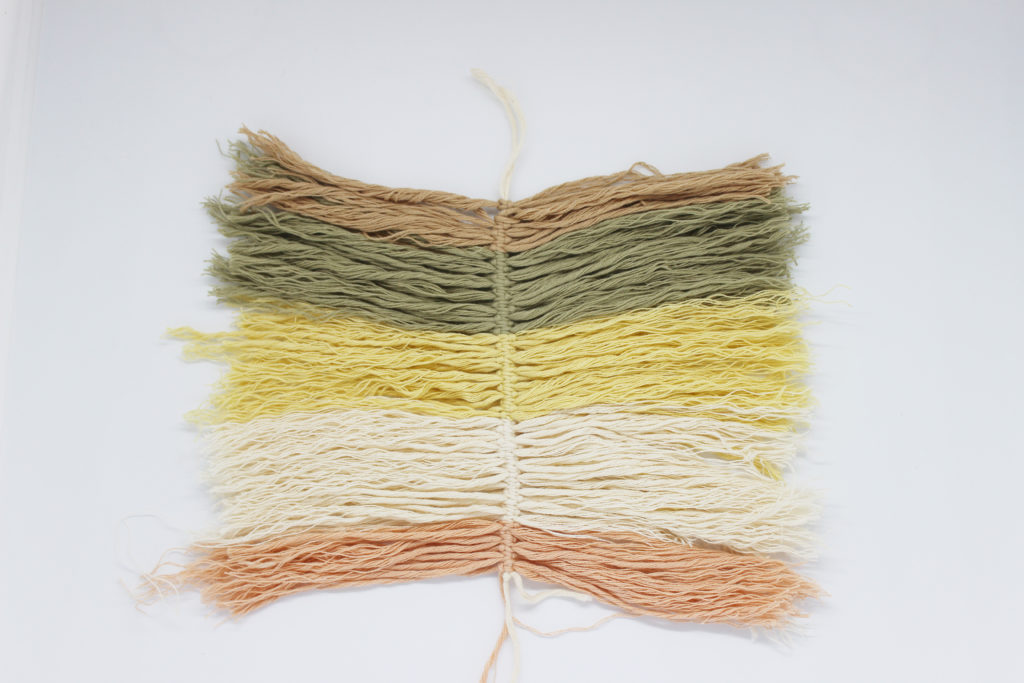
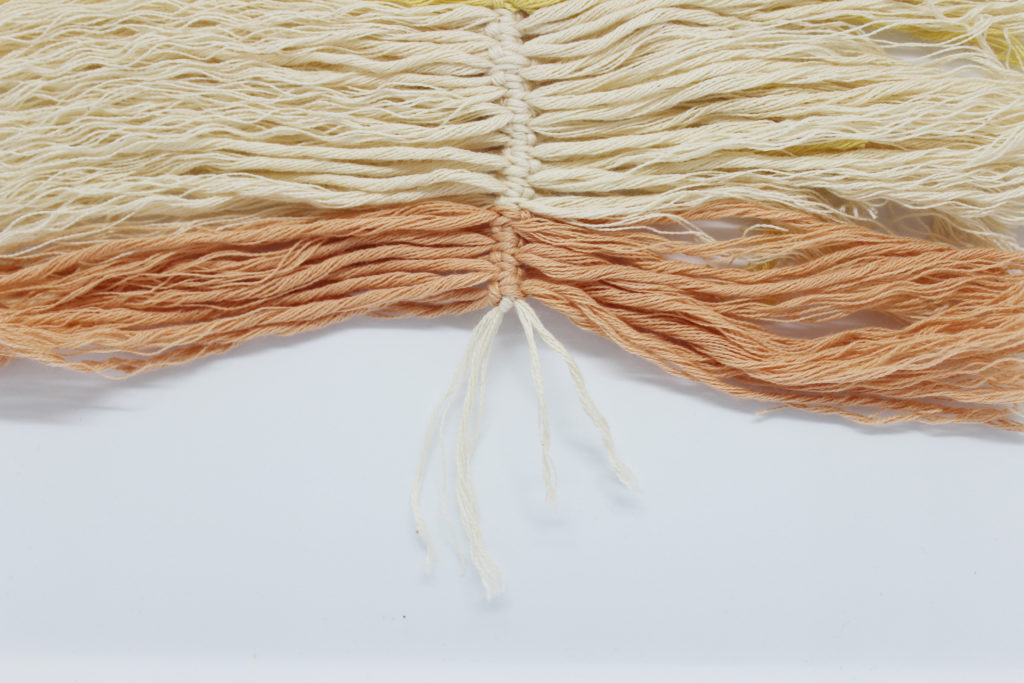
The pendent is formed by a series of knots tied along the central axis, made from that first thread that we cut after we calculated its length.
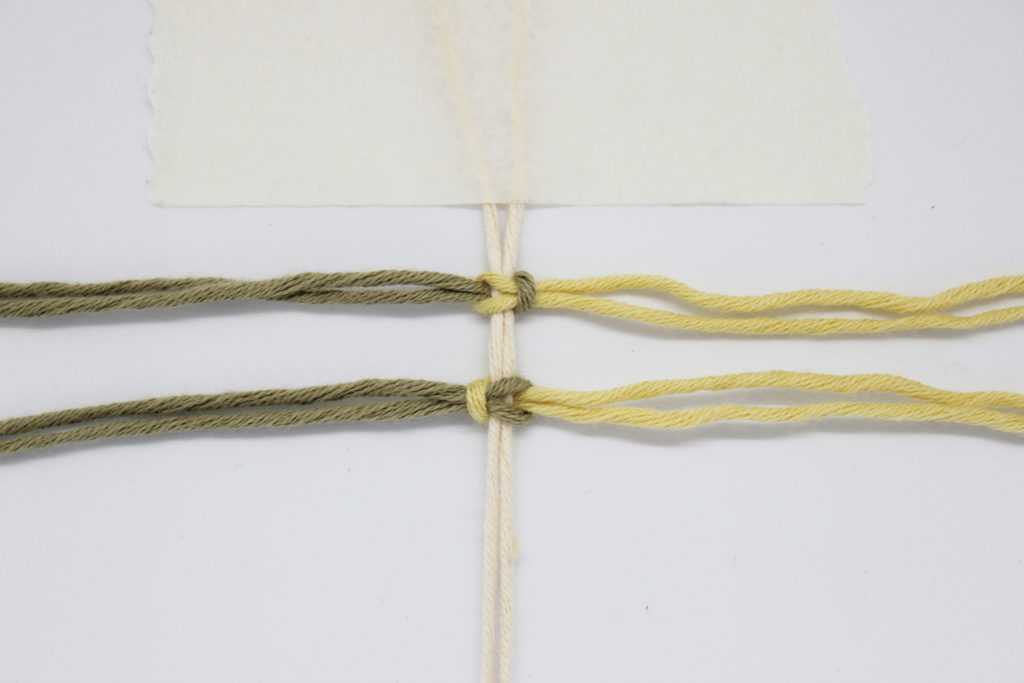
There are two types of knots that we’ll be making: right and left. To make it easier to see how each one is knotted, we have done the step by step with strands of different colors on both sides of the central axis. Then we will use threads of the same color on both sides to form the feather.
Right Knot

Place two strands on both sides of the central axis, with the ends facing out.
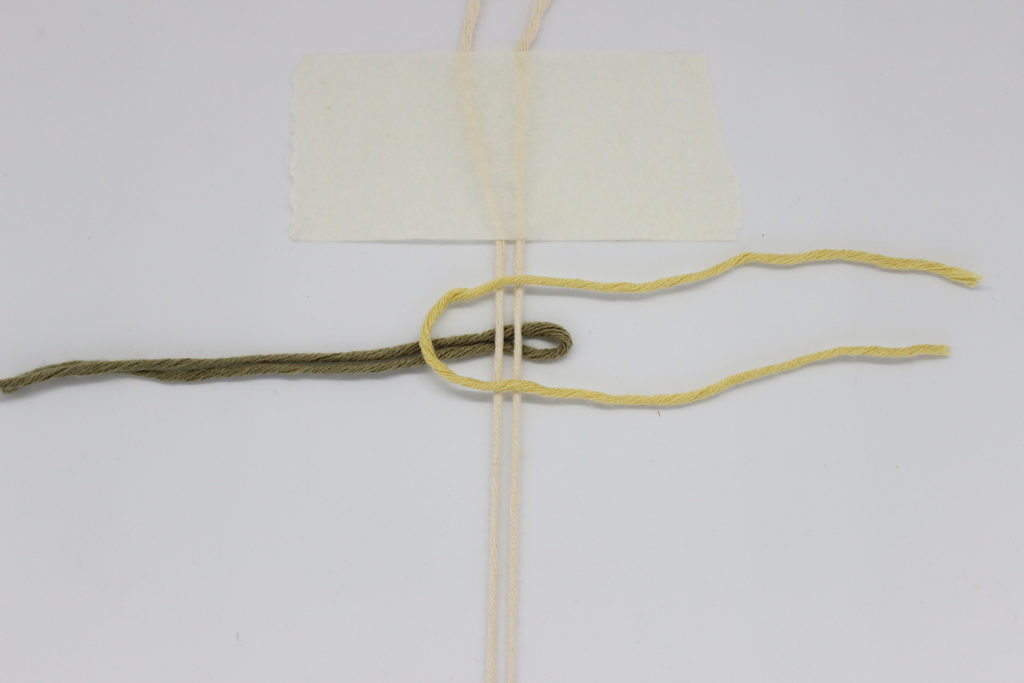
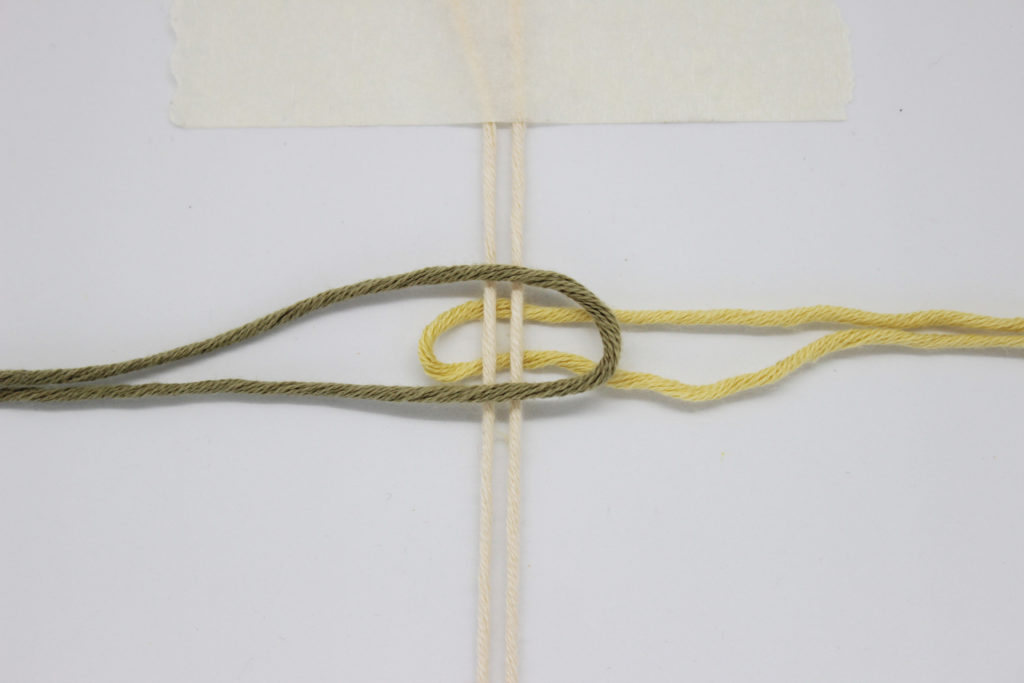
The thread on the left passes below the center axis. Place the right thread over it.
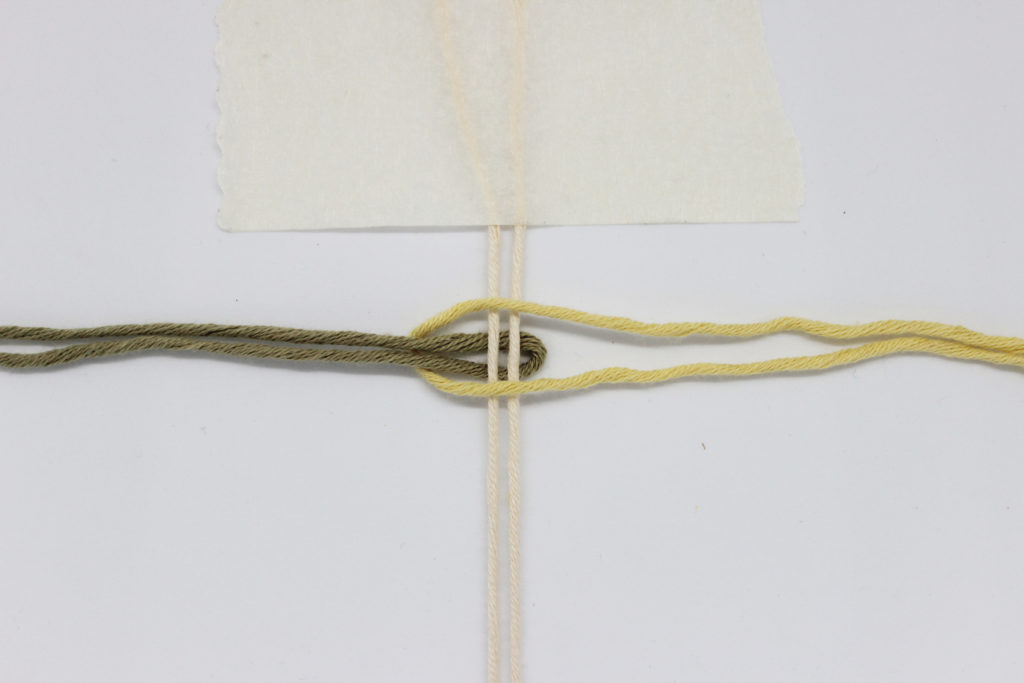
Pass the ends of the left strand over the loop that forms the right strand
Now pass the ends of the right strand below the loop that forms the left strand.
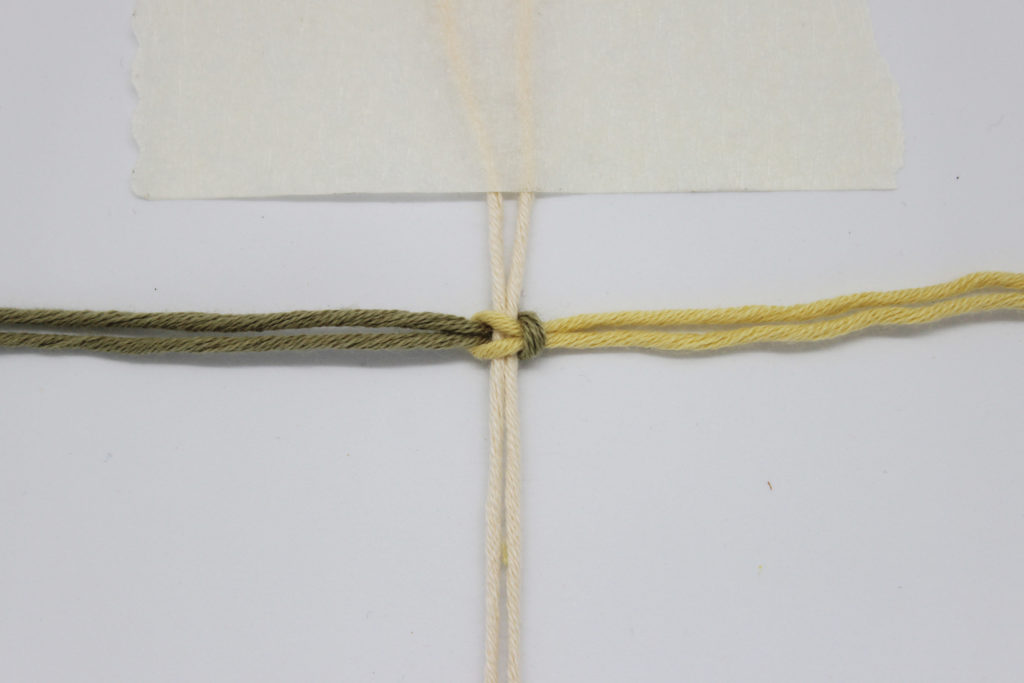
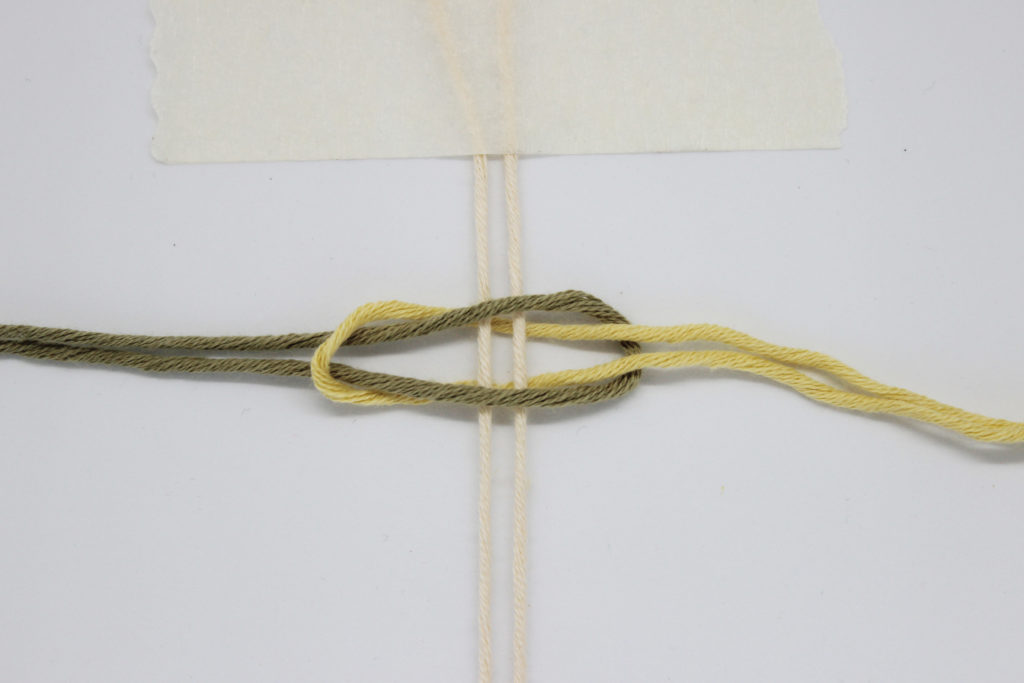
Pull both ends of the strands and … you have the first knot!
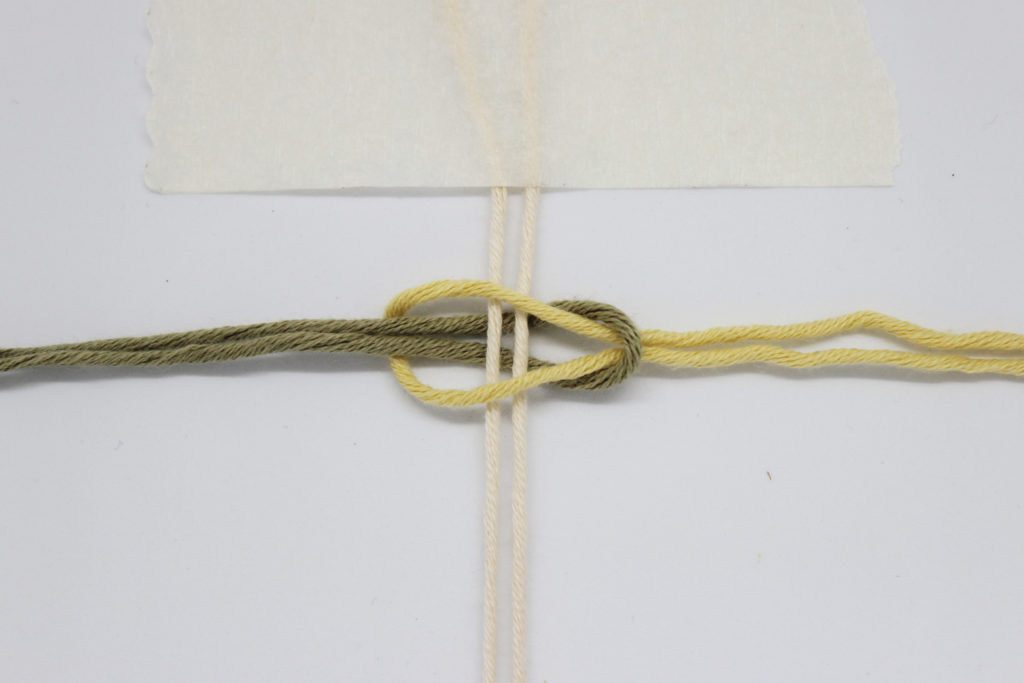
Left Knot
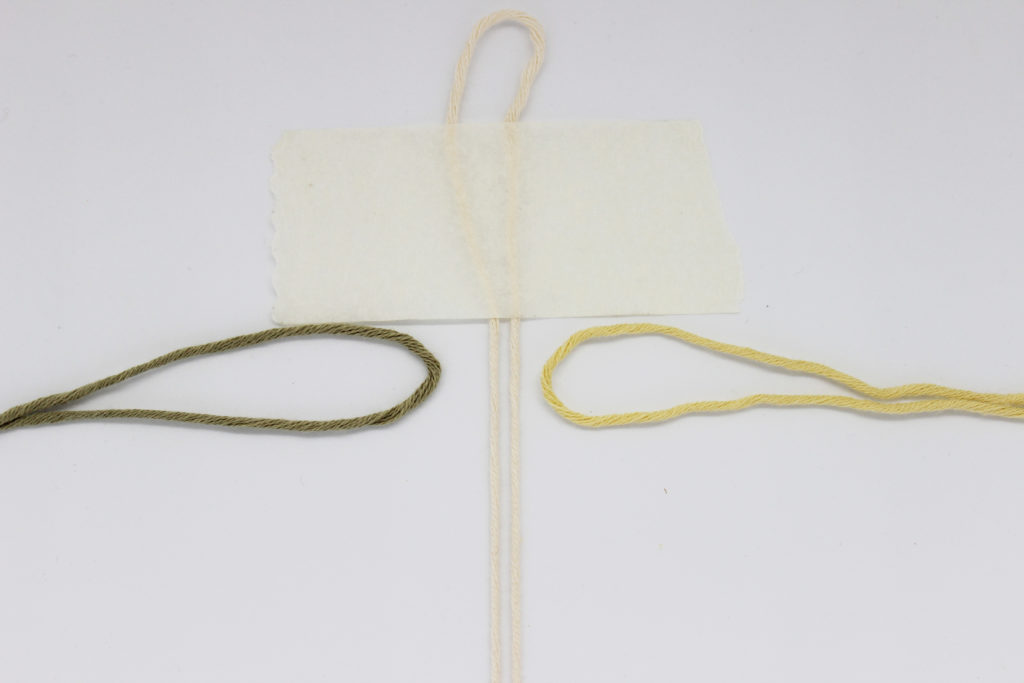
Place two strands on both sides of the central axis, with the ends facing out.
The right strand passes below the central axis. Place the left thread above it.
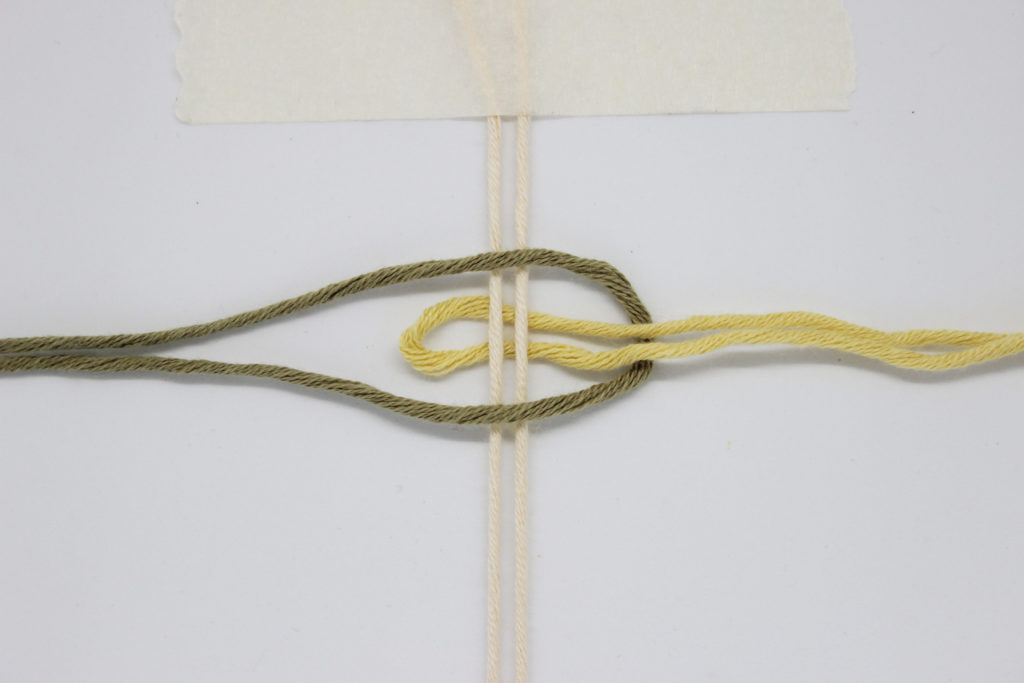
Pass the ends of the right strand over the loop that forms the left strand.
Pass the ends of the left strand below the loop that forms the right strand.

Stretch from both ends and … you have the second knot!
We’ll form the body of the feather by combining these two knots, repeating the right and left knots together.
How to not get lost and know which knot comes next

It’s very easy to lose track of which knot comes next. Which was the last knot I made? And the one before? To avoid this, place the strands that go under the central axis in pairs. When these are already placed, you’ll only have to place the threads that go up and make the knots.
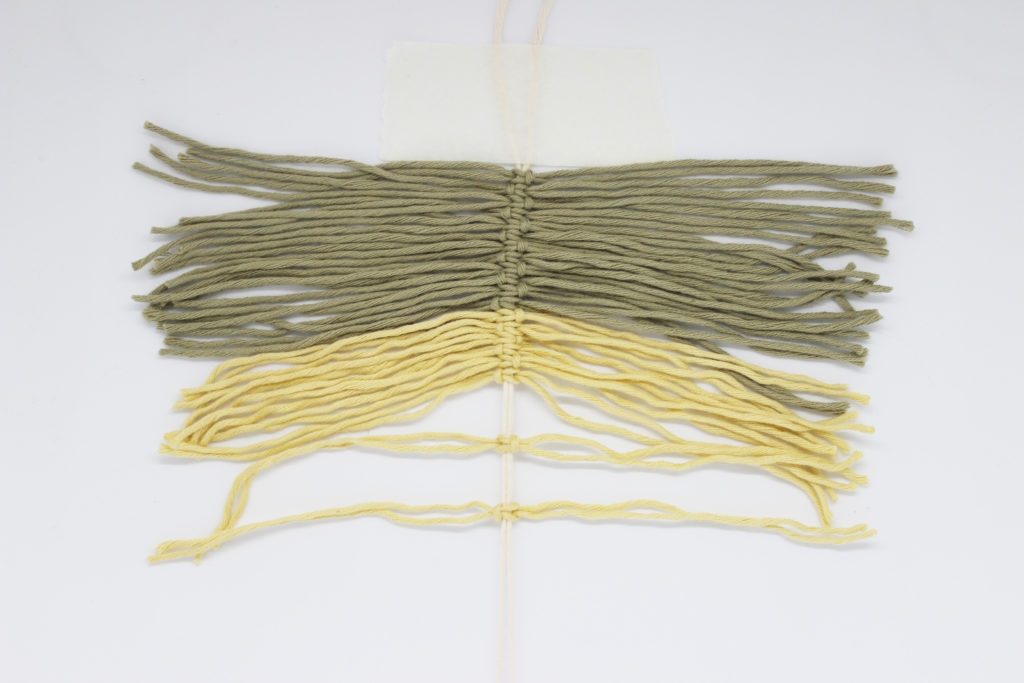
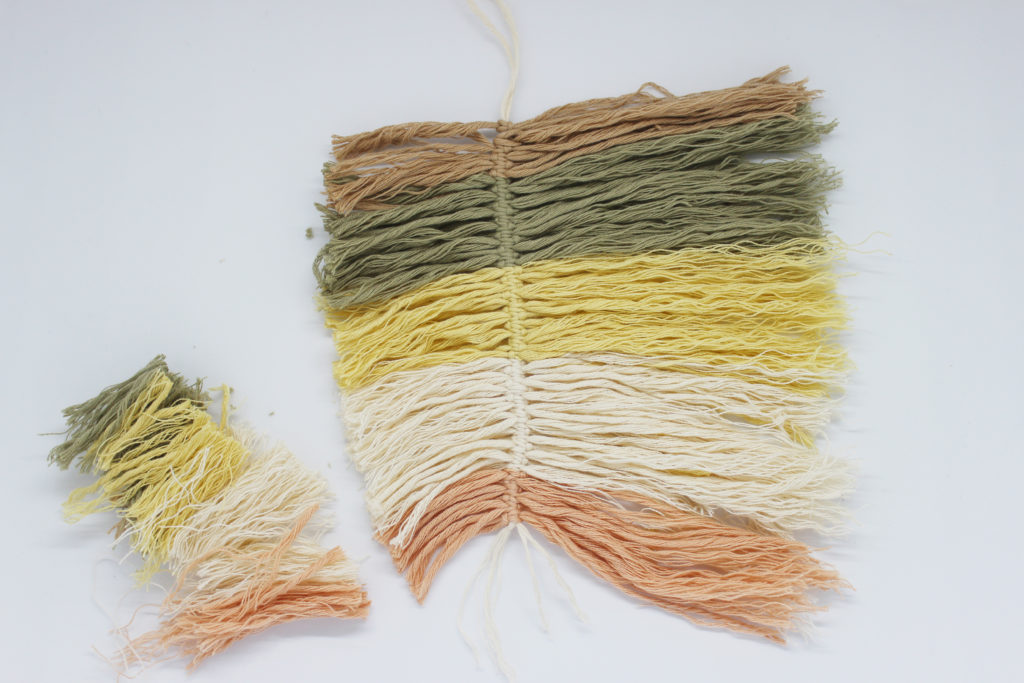
As you can see, it’s easy to build the body of the pen. Another color? Simply change the color of the threads you are knotting.
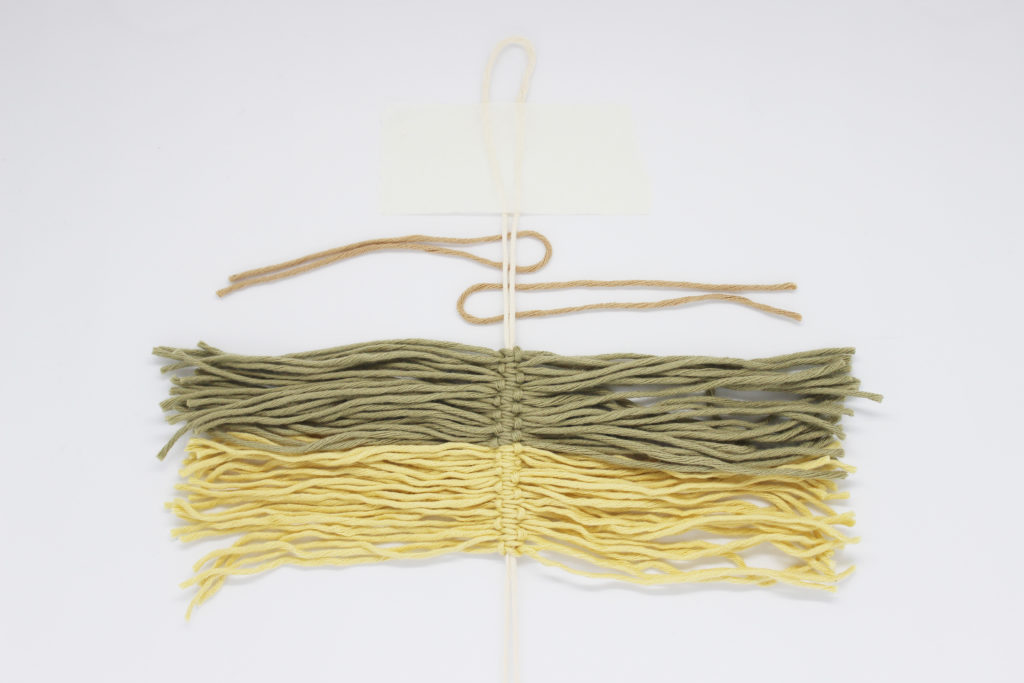
What if I want to use a different color before one that I have already knotted? Just slide the knots along the central axis to knot the color you want at the point where you want it.
When you’re done, slide the knots back down the center axis and you’re done.
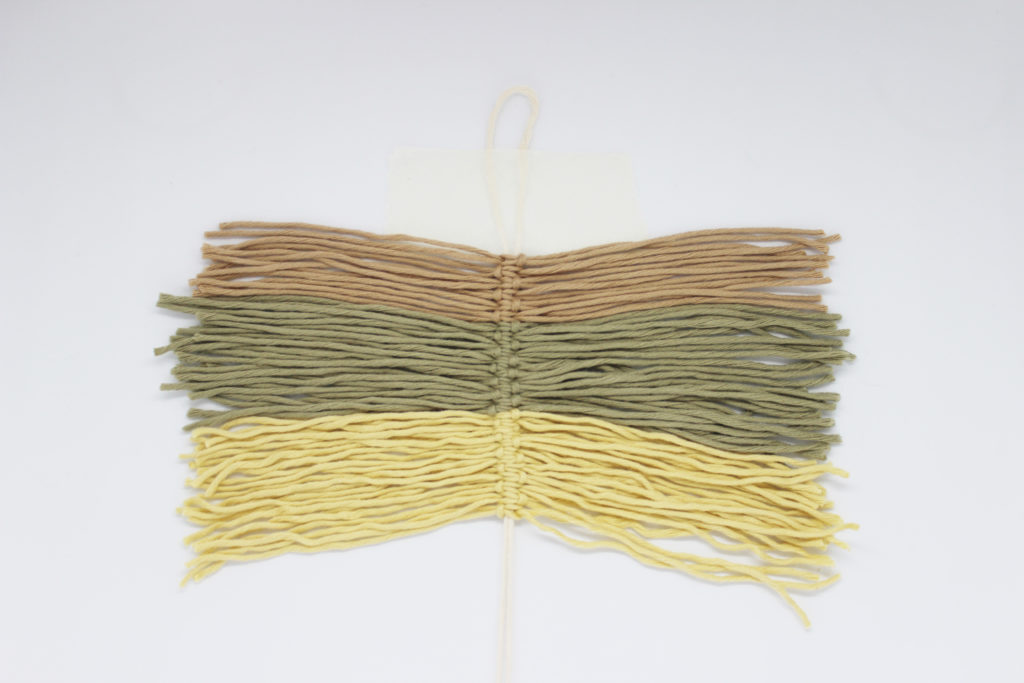
Keep making knots until you get to the bottom of the axis. Now we’re going to teach you how to give the final touches to your pendent.
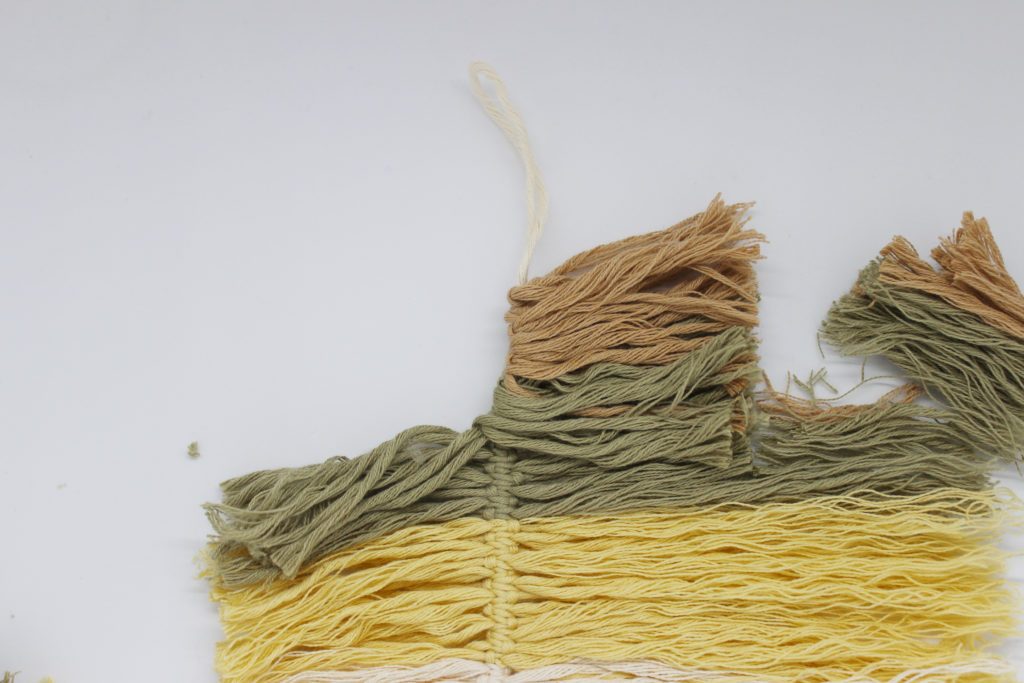
Combing the Pendent
Yes, yes, you read that correctly. Let’s comb the pendent to separate the strands of cotton. The finer the teeth of your comb, and the closer together they are, the easier this step will be. In the image above, you can see the difference between the combed part (right) and the un-combed part (left).
The pendent should be combed on both the right and wrong sides to ensure that the strands are as separated as possible. Always comb the center out, holding the pendent by the handle.
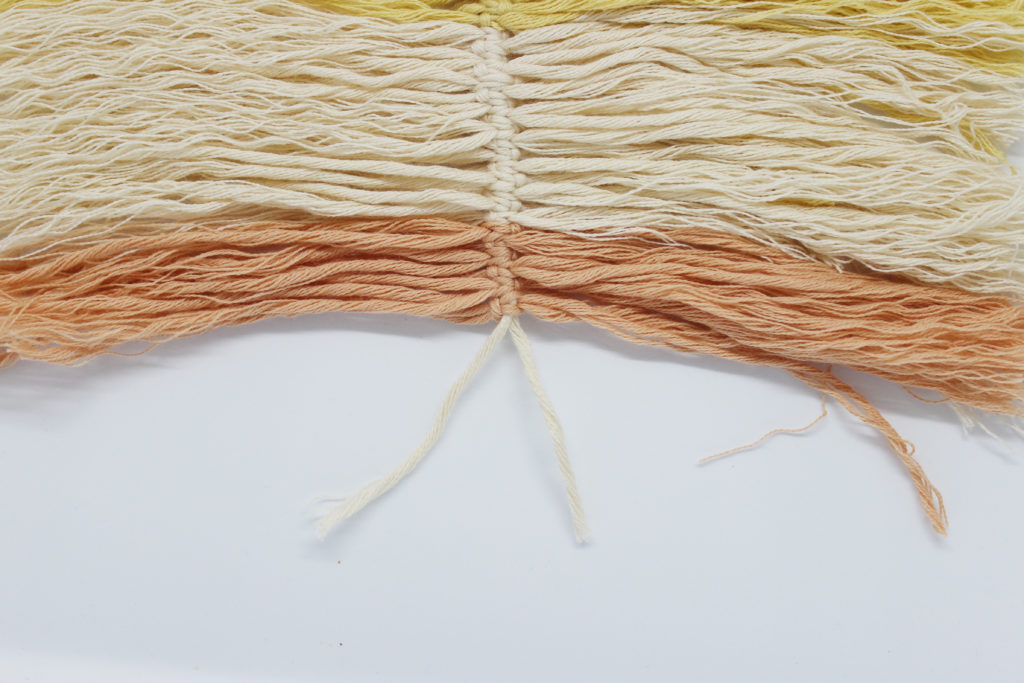
Now we just have to finish the bottom edge.
To do this, tie a knot and comb the remaining strands.
How to shape the feather
This is the most feared moment: shaping the pen by cutting the ends with scissors. If you are not sure about the shaping, the simplest thing to do is to print a template, place it on top, and cut the strands, following its form.
If you dare to do it without a template: cut the ends in a U shape. Now we’ll make a first cut and then we’ll refine it more.
To make the cut symmetrical, fold the ends that you’ve already cut on top of those that are not and follow the length of these.
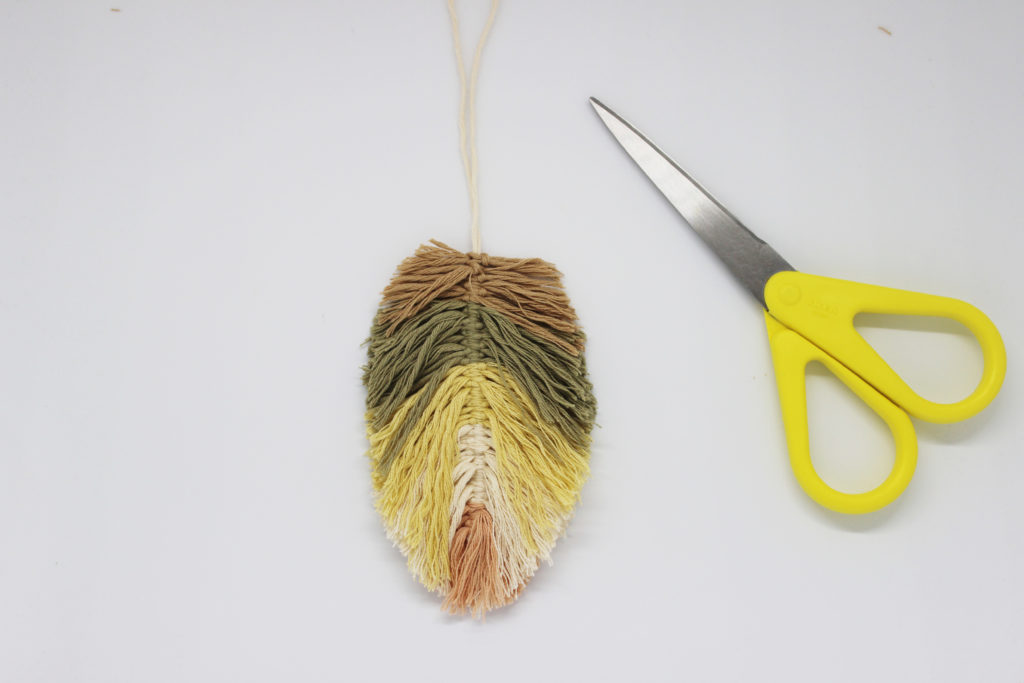
After the first cut, refine it a little more until you have the desired shape: sharpen the lower point a bit more and also trim the top part a little bit. At this point, you can use the comb to help trim the strands that are a little longer than the others.
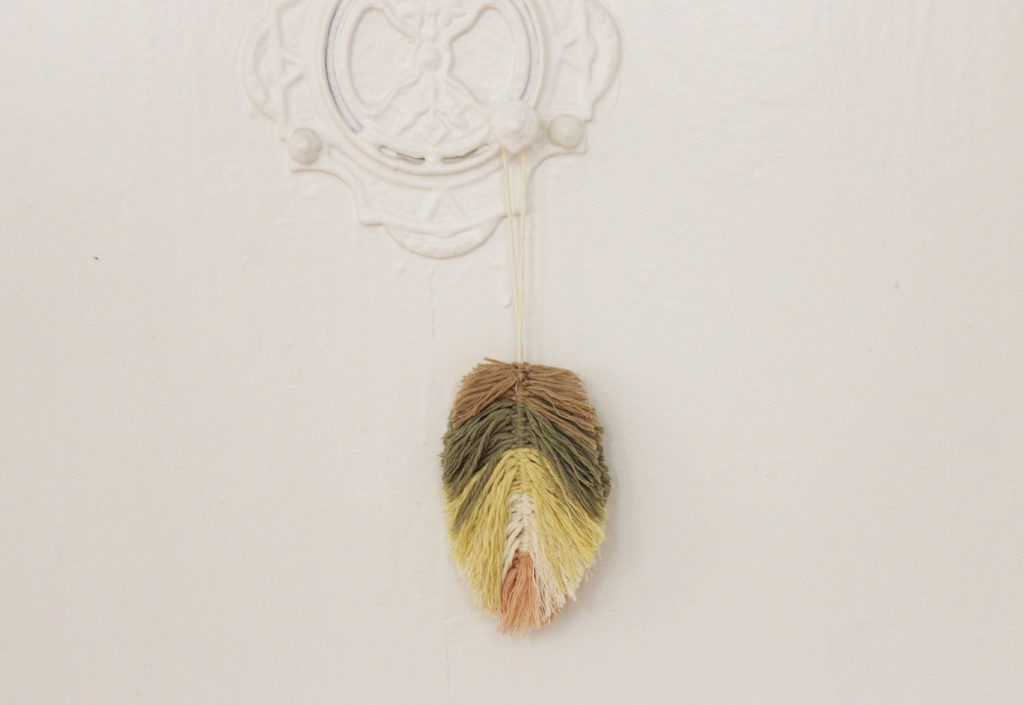
And we have our feather pendent ready to use!
We hope that this step by step is useful and fun. You’ll see that you can make one thousand and one color combinations and even hang several from the same handle of your basket. We hope you’ll share it with us on social media with the hashtag #weareknitters.