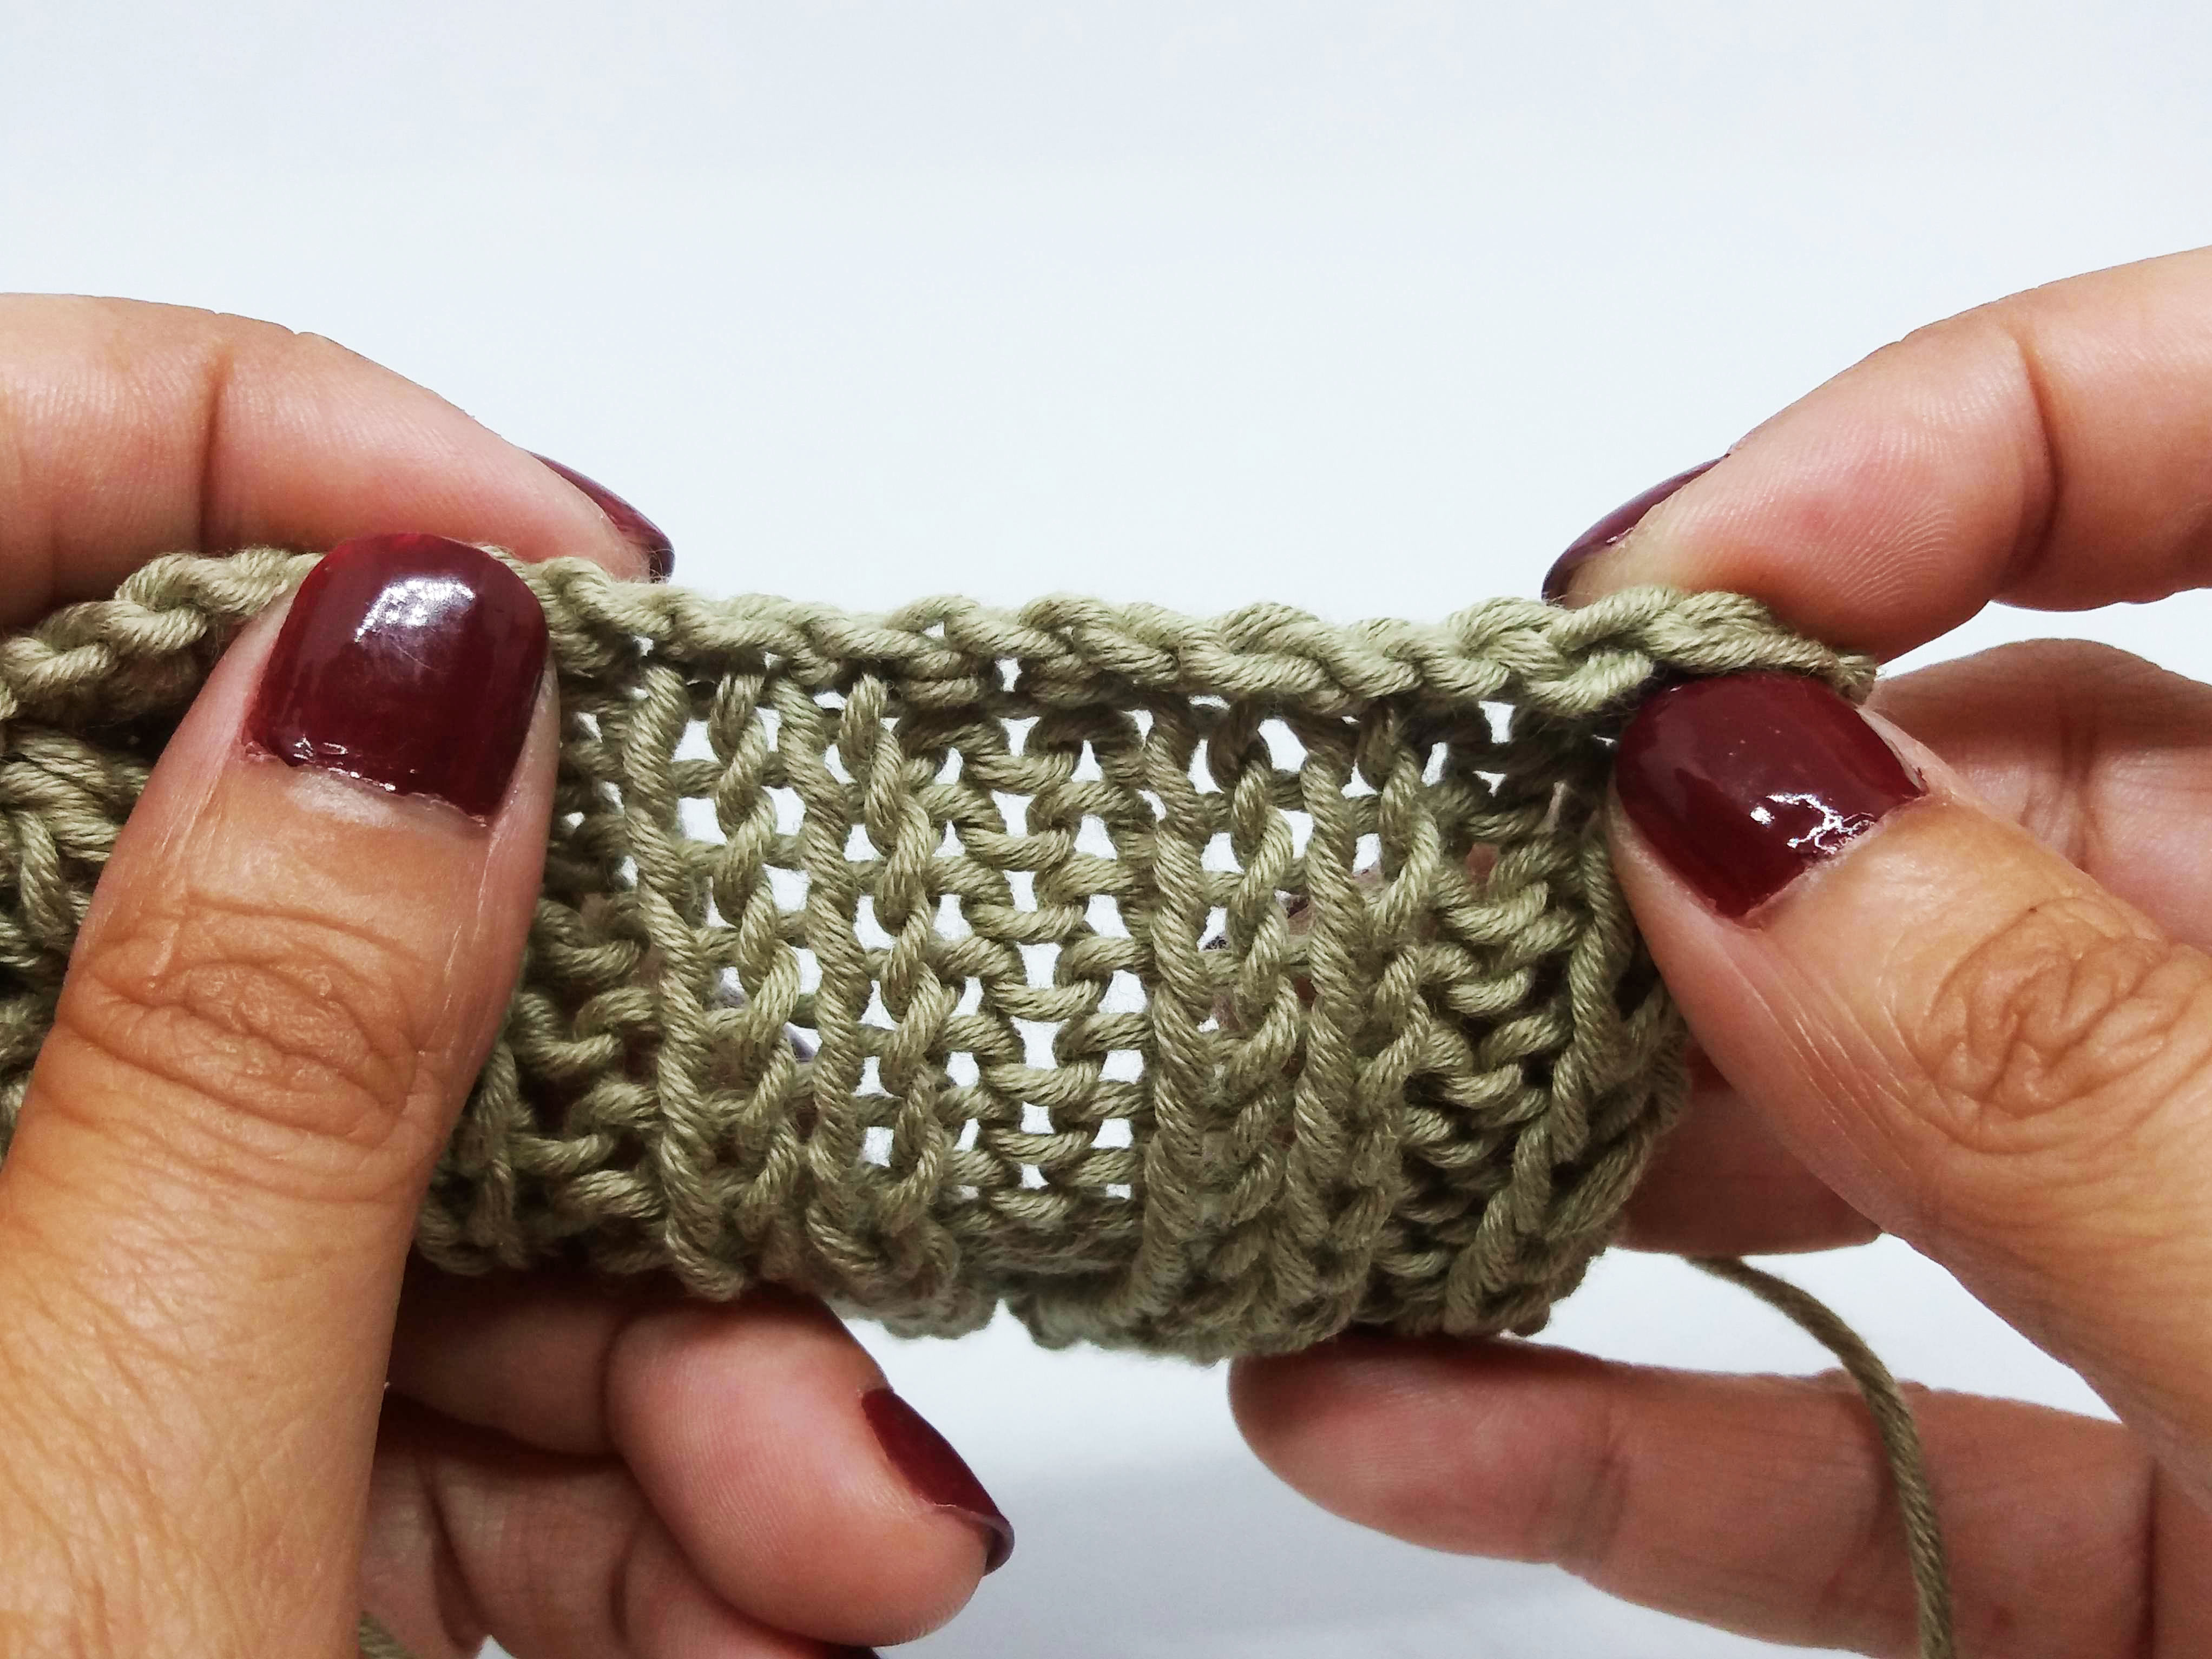
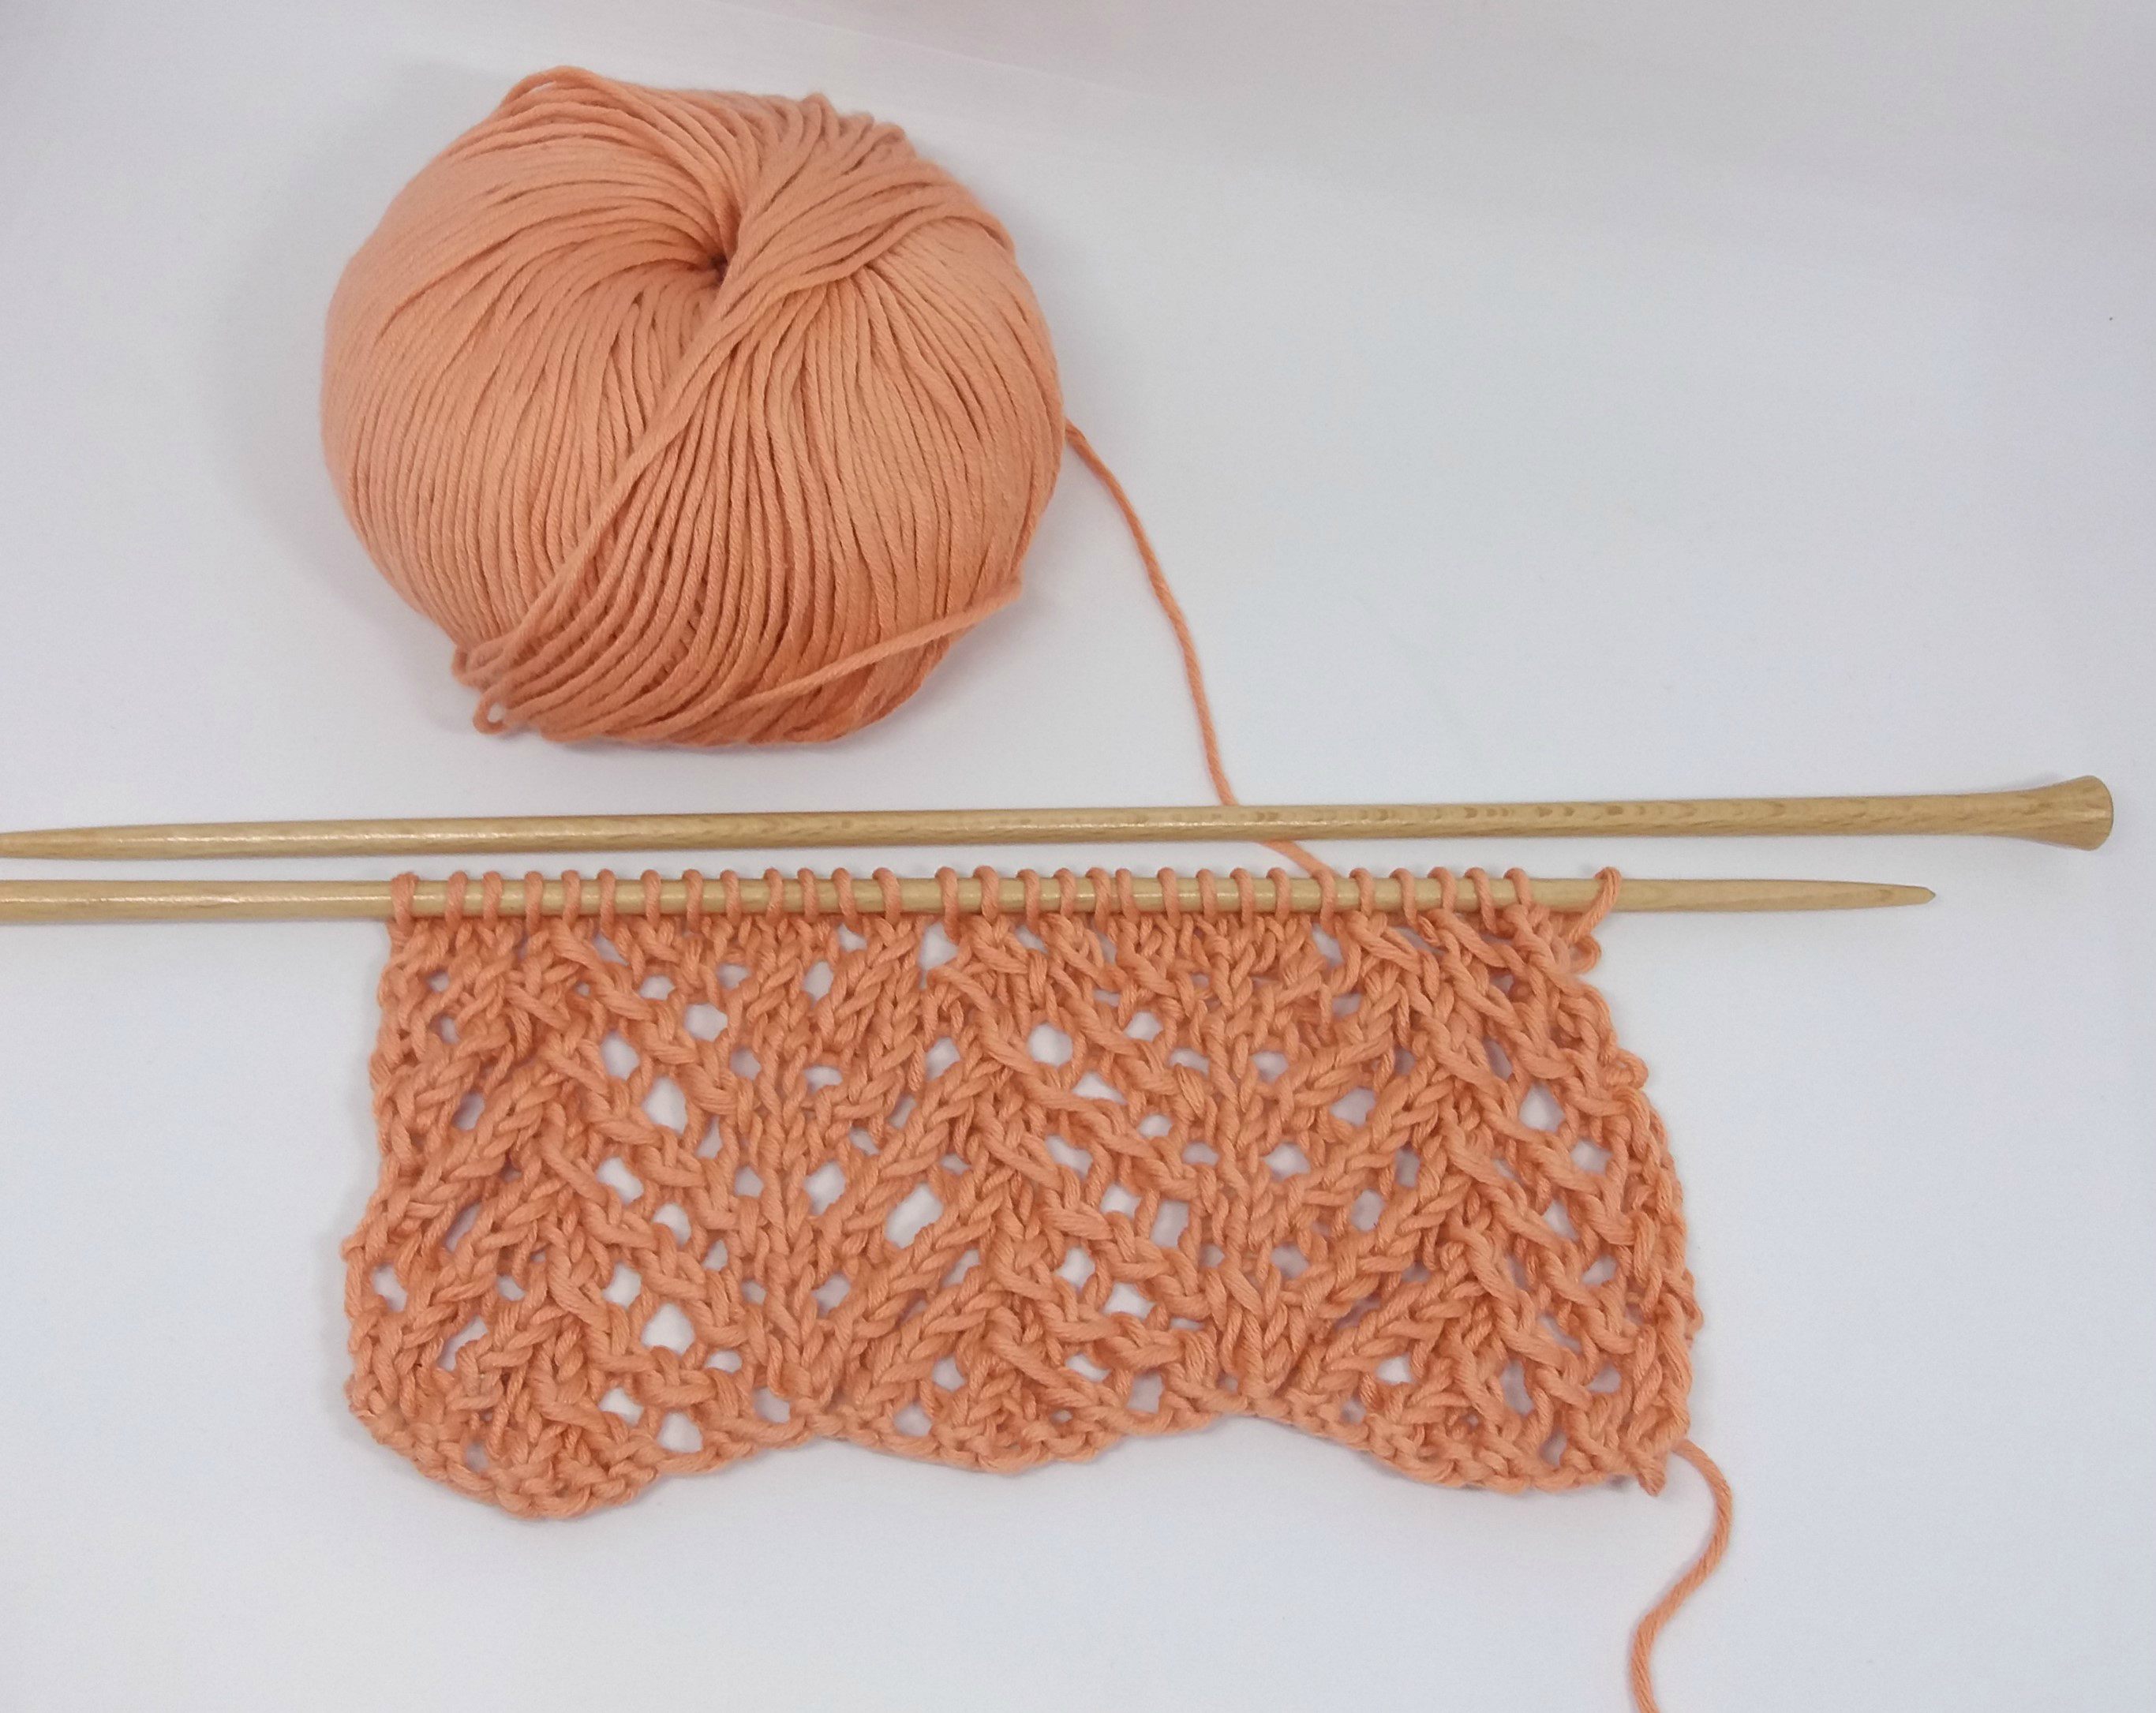
Little changes can make a big difference and for evidence of this you only have to look at this stitch! It looks like a simple combination of knitted and purled stitches that form lines… but no. Can you see the knots forming along it?

To learn step by step, watch the video here!
[youtube http://www.youtube.com/watch?v=9iZq1tp0B_o]This stitch is not reversible. It is multiple of 4 + 3.
Row 1: purl 3 stitches, *knit 1 stitch, purl 3 stitches*, repeat from * to * until you have completed the row.
Row 2: knit 3 stitches, *purl 1 stitch, knit 3 stitches*, repeat from * to * until you have completed the row.
Row 3: like row 1.
Row 4: like row 2.
Row 5: purl 3 stitches, *knit 1 stitch and without letting it slip of the left-hand needle, let loose some thread and knit 1 stitch (You will have made 3 stitches in total of the one stitch that you had), purl 3 stitches*, repeat from * to * until you have completed the row.
Row 6: knit 3 stitches, *purl 3 stitches together, knit 3 stitches*, repeat from * to * until you have completed the row.
Repeat these 6 rows until you have reached the desired length.
You can also adapt this stitch by changing the distance between the rows in stockinette stitch, for example repeating the knots more often. It’s perfect to use on the front side of a sweater 😀
In our example we have used the cotton in salmon, but you can of course use any color you like and 5MM wooden needles.
Don’t forget to share your projects with us on Instagram with the hashtag #weareknitters!


