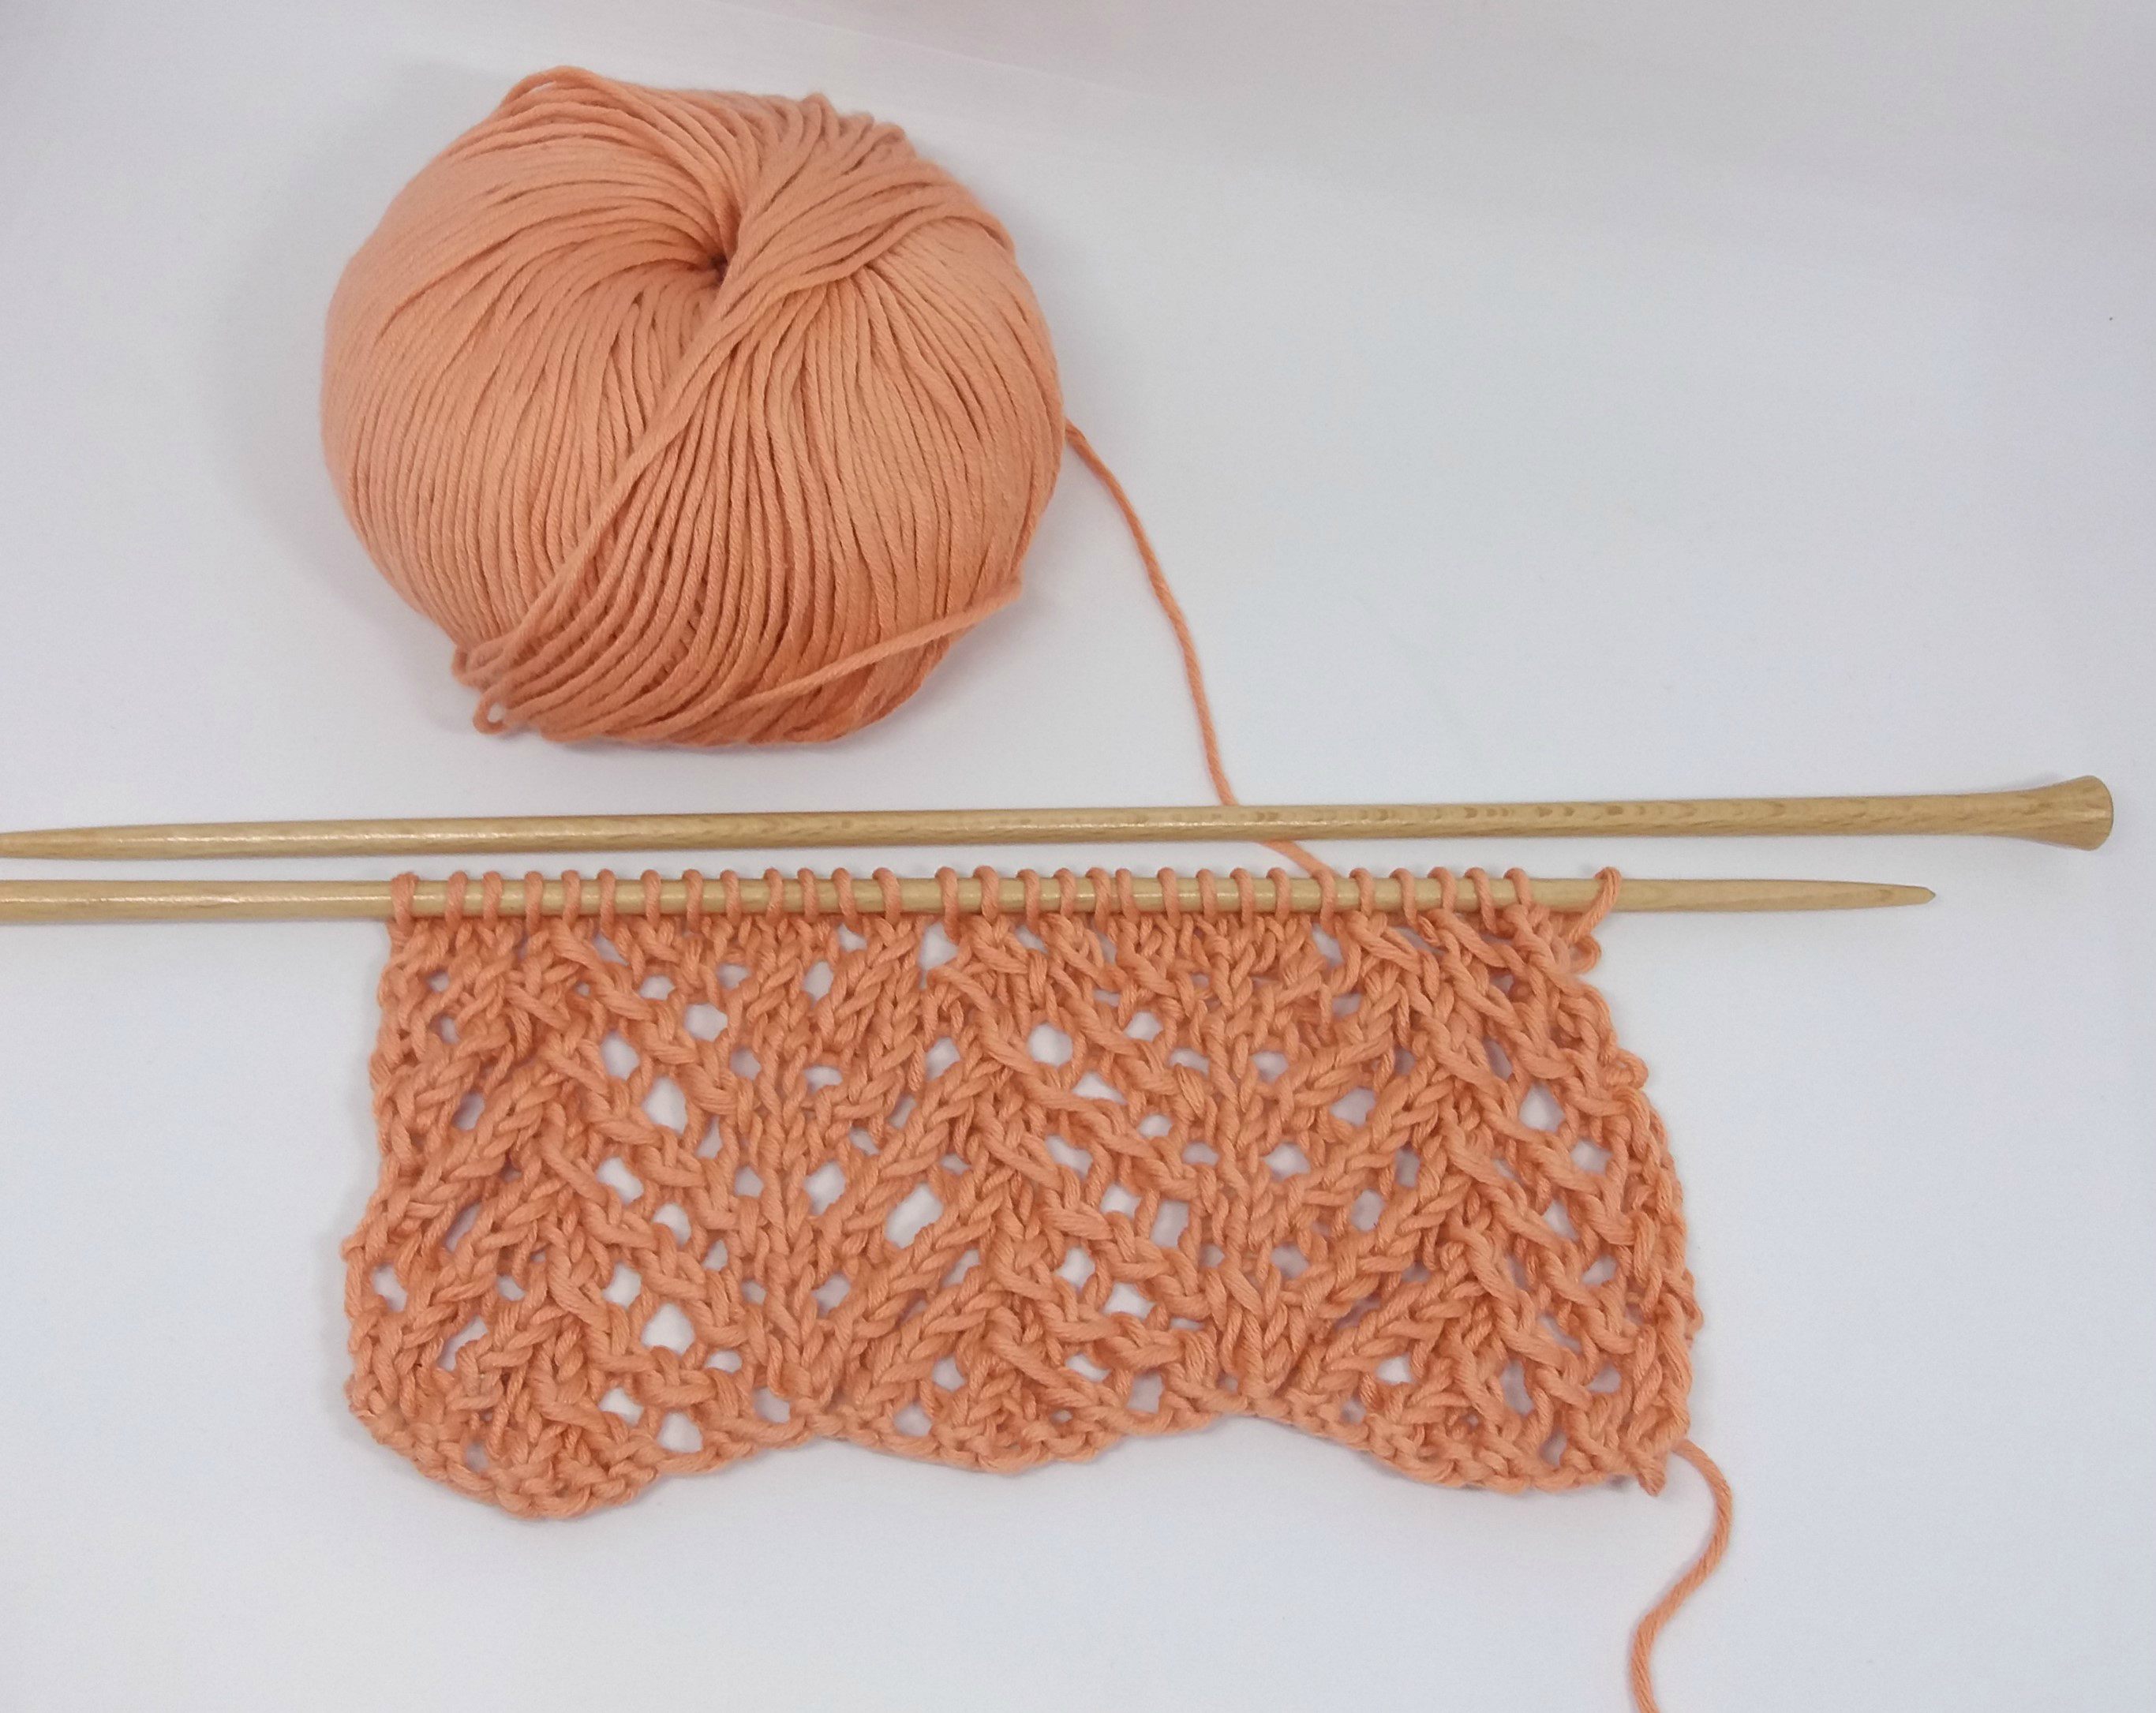
In today’s post we bring you a perfect stitch for wintery weather. Surely it has begun to snow in many places where our followers live, so get your needles, and your loveliest and chunkiest yarn because we are going to learn how to knit the reja stitch.

For this step-by-step tutorial we used a skein of our Petit Wool and size 11 knitting needles.
As usual, before beginning, we give you a list of stitches you should review before embarking on the stitch we show you in this tutorial:
Let’s get started!

Cast on a multiple of 6 stitches + 2.

Row 1: slip 1 stitch. *Purl 3, slip 3 stitches with yarn in front of your work*. Repeat from * to * until there is 1 stitch left, knit 1.

Row 2: slip 1 stitch. *Slip 3 with yarn in back of your work, knit 3*. Repeat from * to * until there is 1 stitch left, knit 1.

Row 3: repeat row 1.

Row 4: slip 1 stitch, knit the remaining stitches.

Row 5: slip 1 stitch. Purl the remaining stitches until there is 1 stitch left, knit 1.

Row 6: slip 1 stitch, knit the remaining stitches.

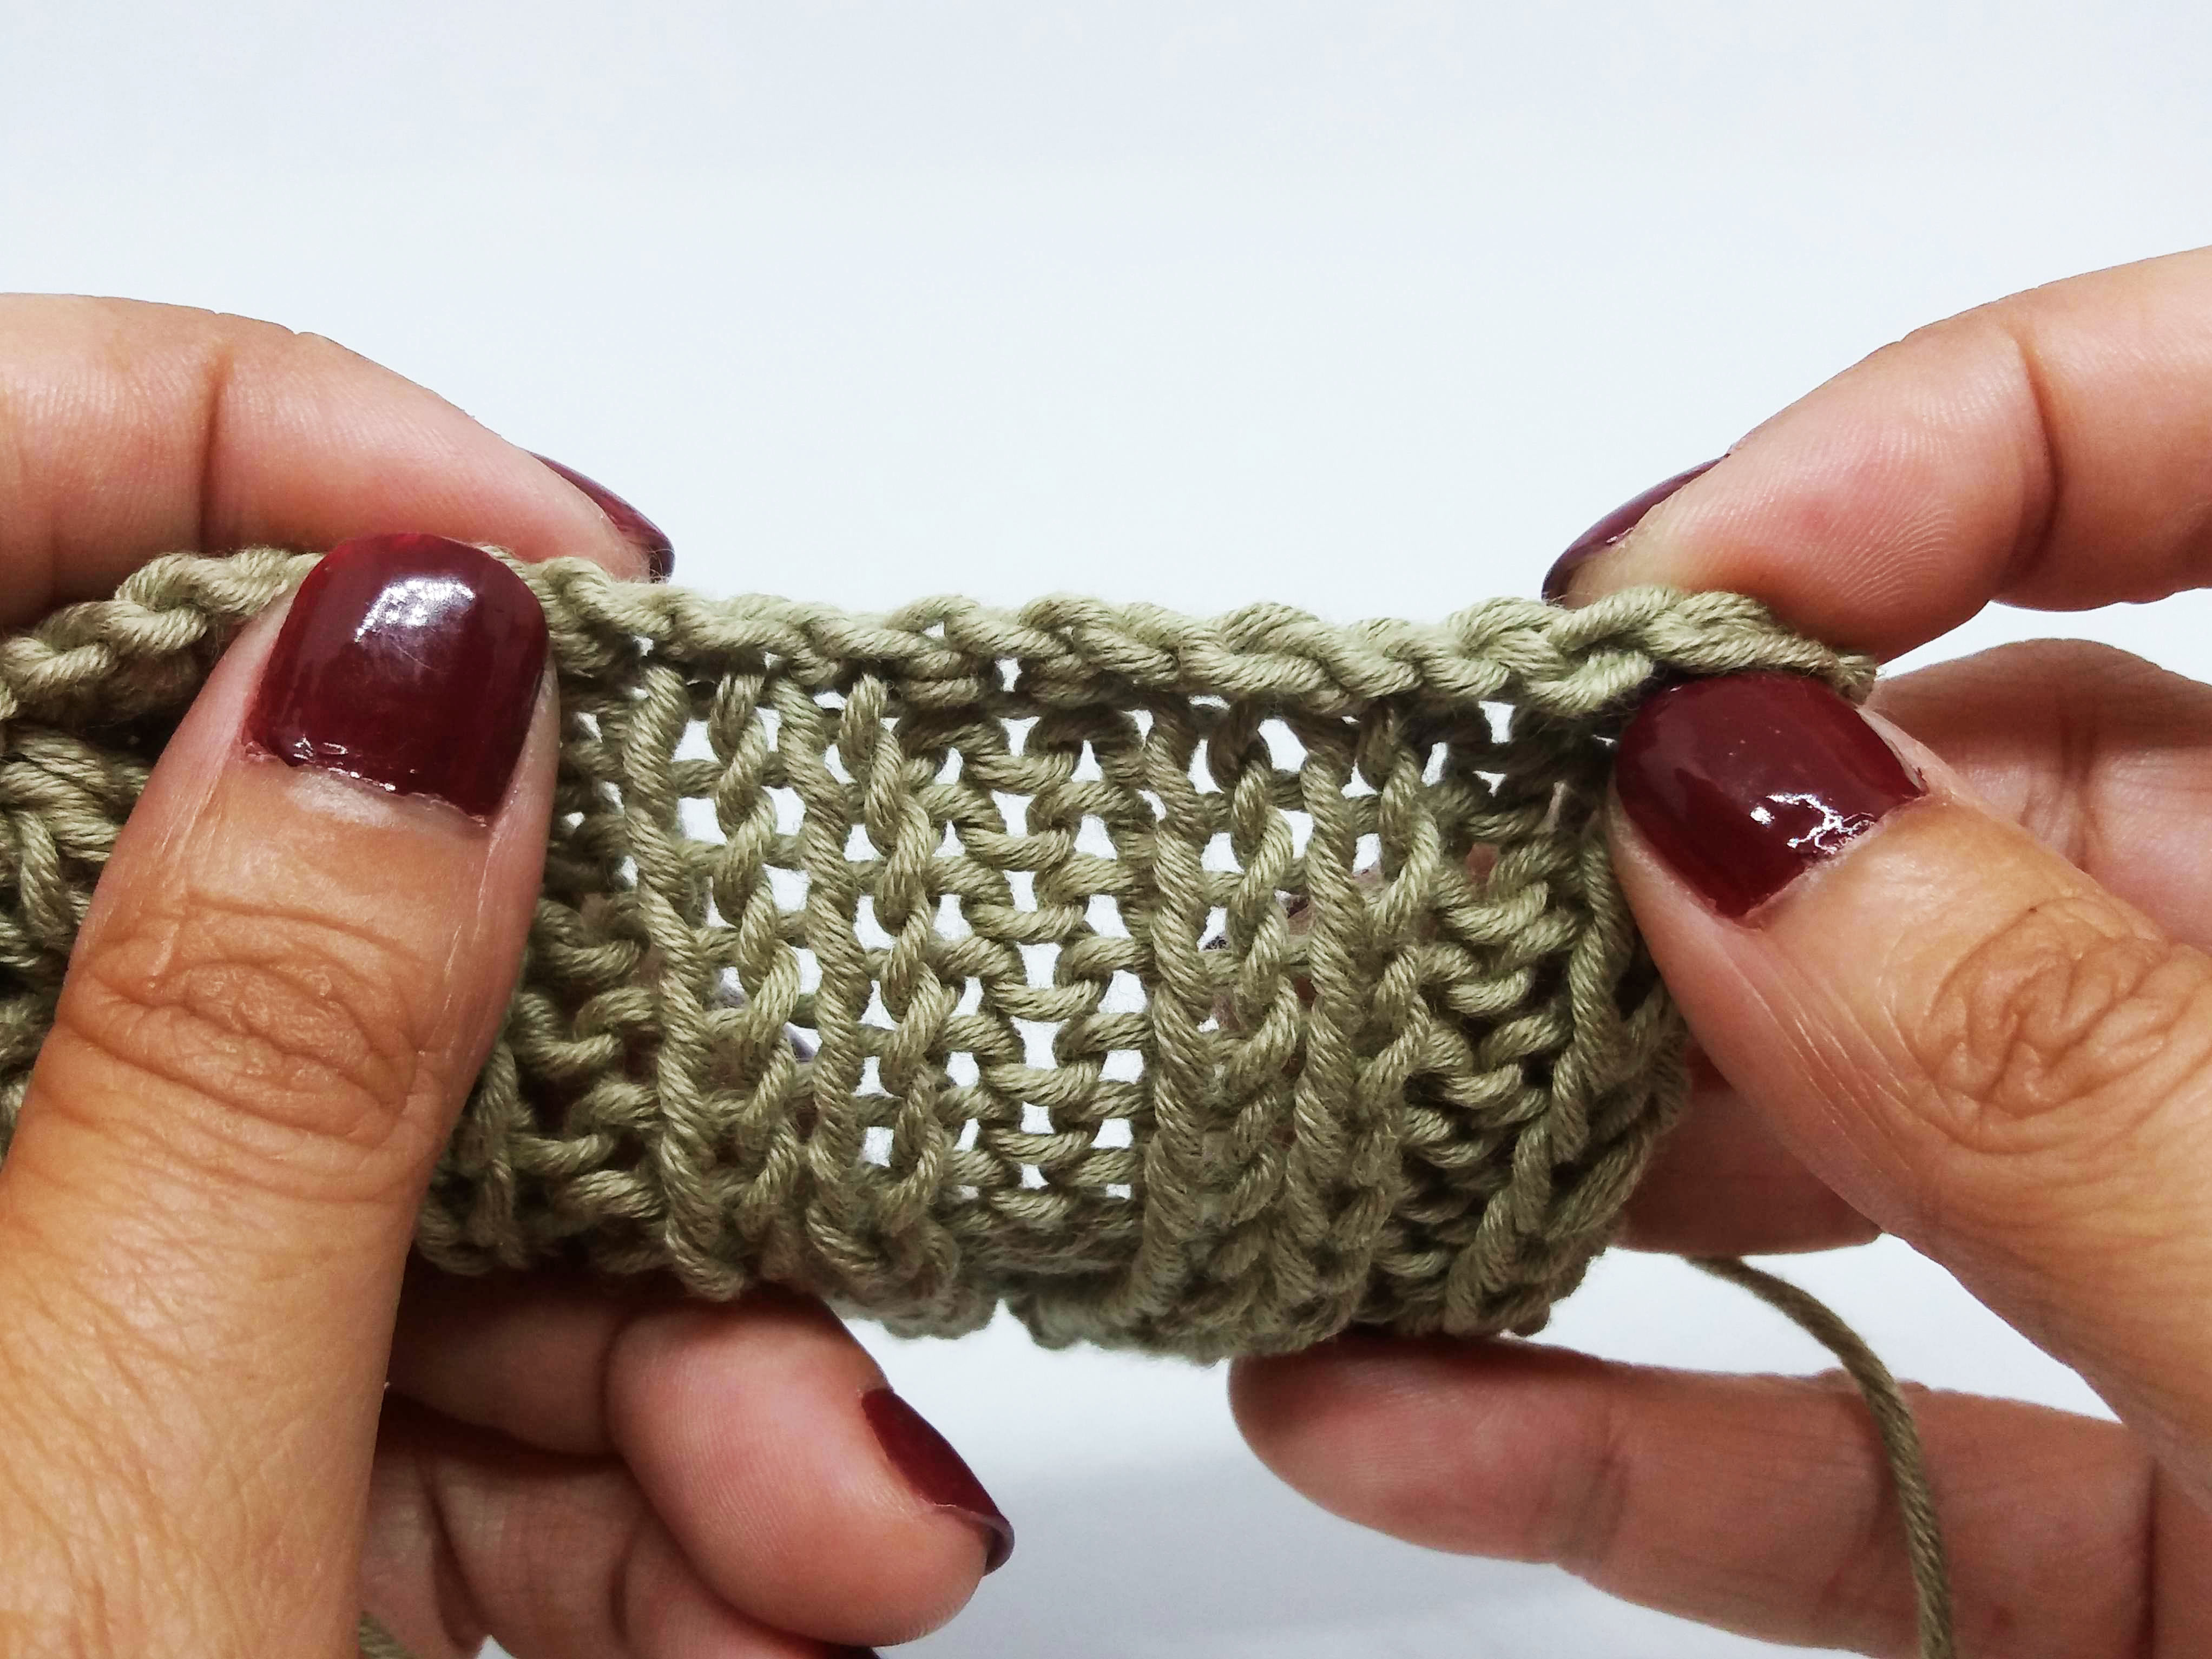
Row 7: slip 1 stitch. *Purl 4, knit the 3 strands together with the next stitch, purl 1*. Repeat from * to * until there is 1 stitch left, knit 1.
In case you aren’t sure how to knit the 3 strands together with the next stitch, we made a video for you:
If your needle gets caught in the fabric, or the stitches slip off your needle, when knitting the 3 strands together with the next stitch, we recommend using your left hand to hold the 3 strands in place to make it easier to pass them onto the right-hand needle.

Row 8: slip 1 stitch, knit the remaining stitches.

Row 9: slip 1 stitch. *Slip 3 stitches with yarn in front of your work, purl 3*. Repeat from * to * until there is 1 stitch left, knit 1.

Row 10: slip 1 stitch. *Knit 3, slip 3 stitches with yarn in back of your work*. Repeat from * to * until there is 1 stitch left, knit 1.

Row 11: repeat row 9.

Row 12: slip 1 stitch, knit the remaining stitches.

Row 13: slip 1 stitch. Purl the remaining stitches until there is one stitch left, knit 1.

Row 14: slip 1 stitch, knit the remaining stitches.

Row 15: slip 1 stitch. *Purl 1, knit the 3 strands together with the next stitch, purl 4 *. Repeat from * to * until there is 1 stitch left, knit 1.

Row 16: slip 1 stitch, knit the remaining stitches.
To continue working this stitch: repeat rows 1 to 16.

As always, we hope you enjoyed this knitting break, and we hope to see how you used this stitch in your new projects on social media with the #weareknitters.


