plum
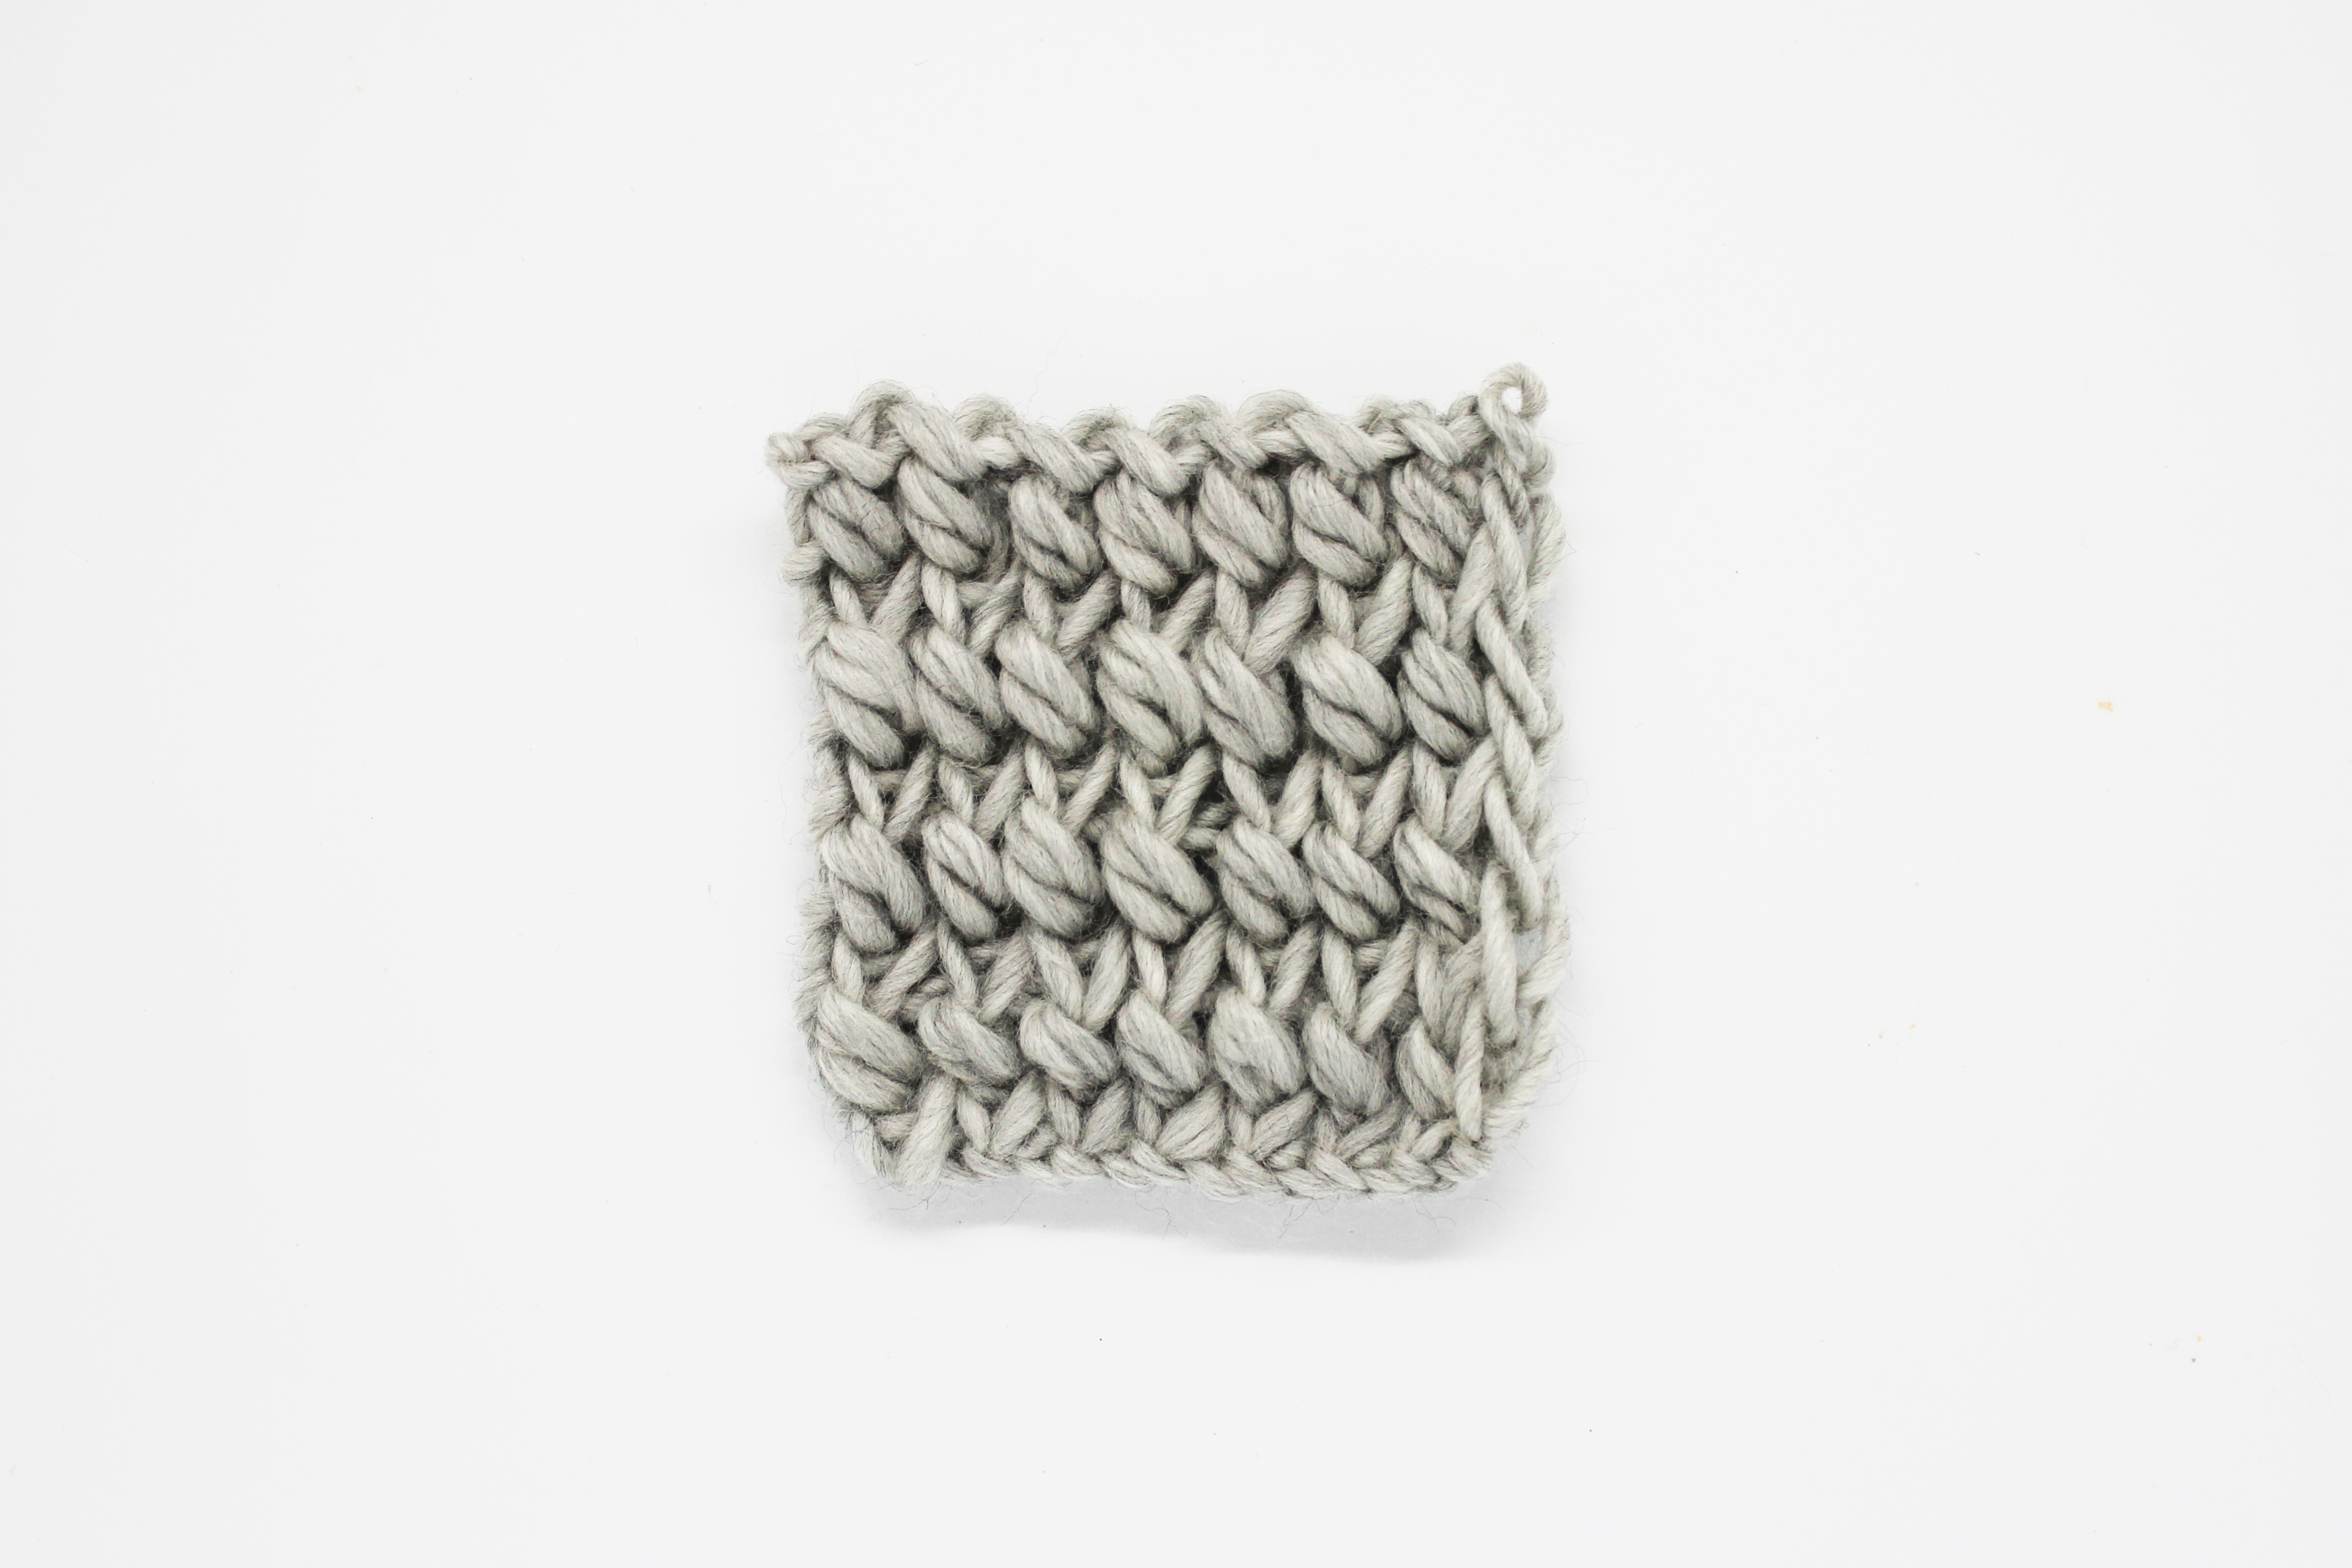
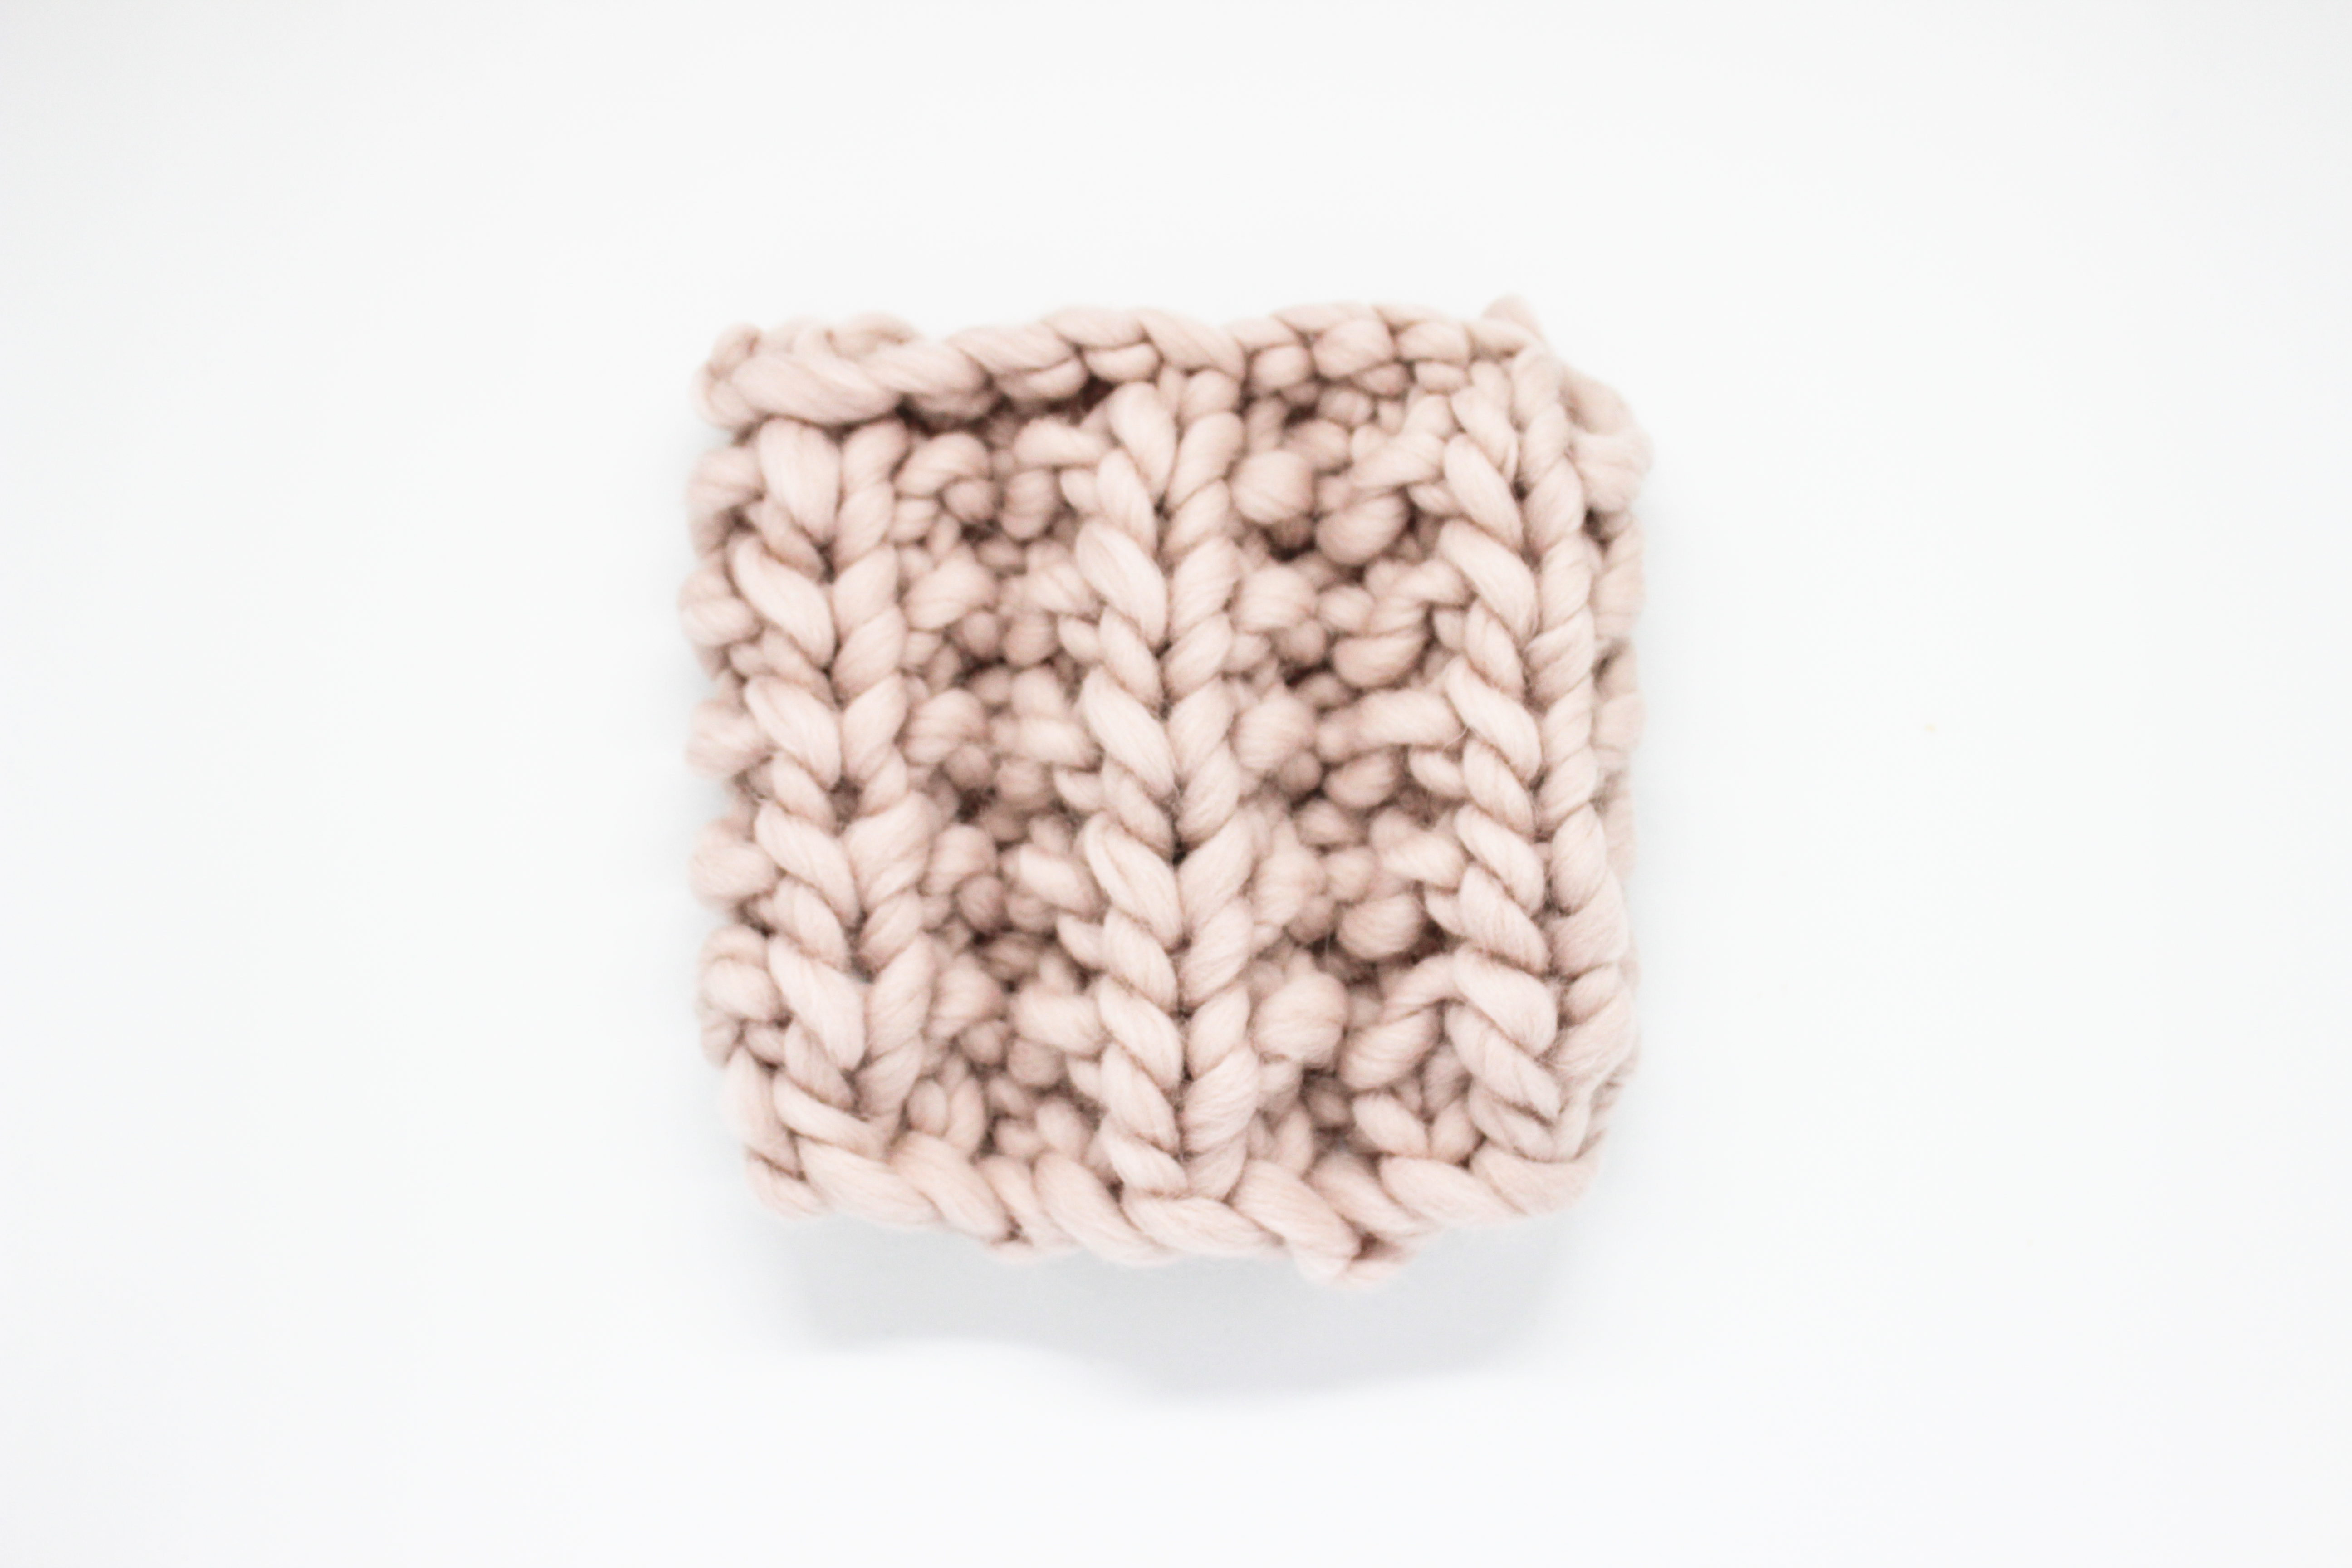
For today’s blog we bring you one of our traditional step-by-step tutorials to explain how to knit the plumeti garter stitch, a quick and easy stitch that pairs perfectly with a cool fiber for your next projects.

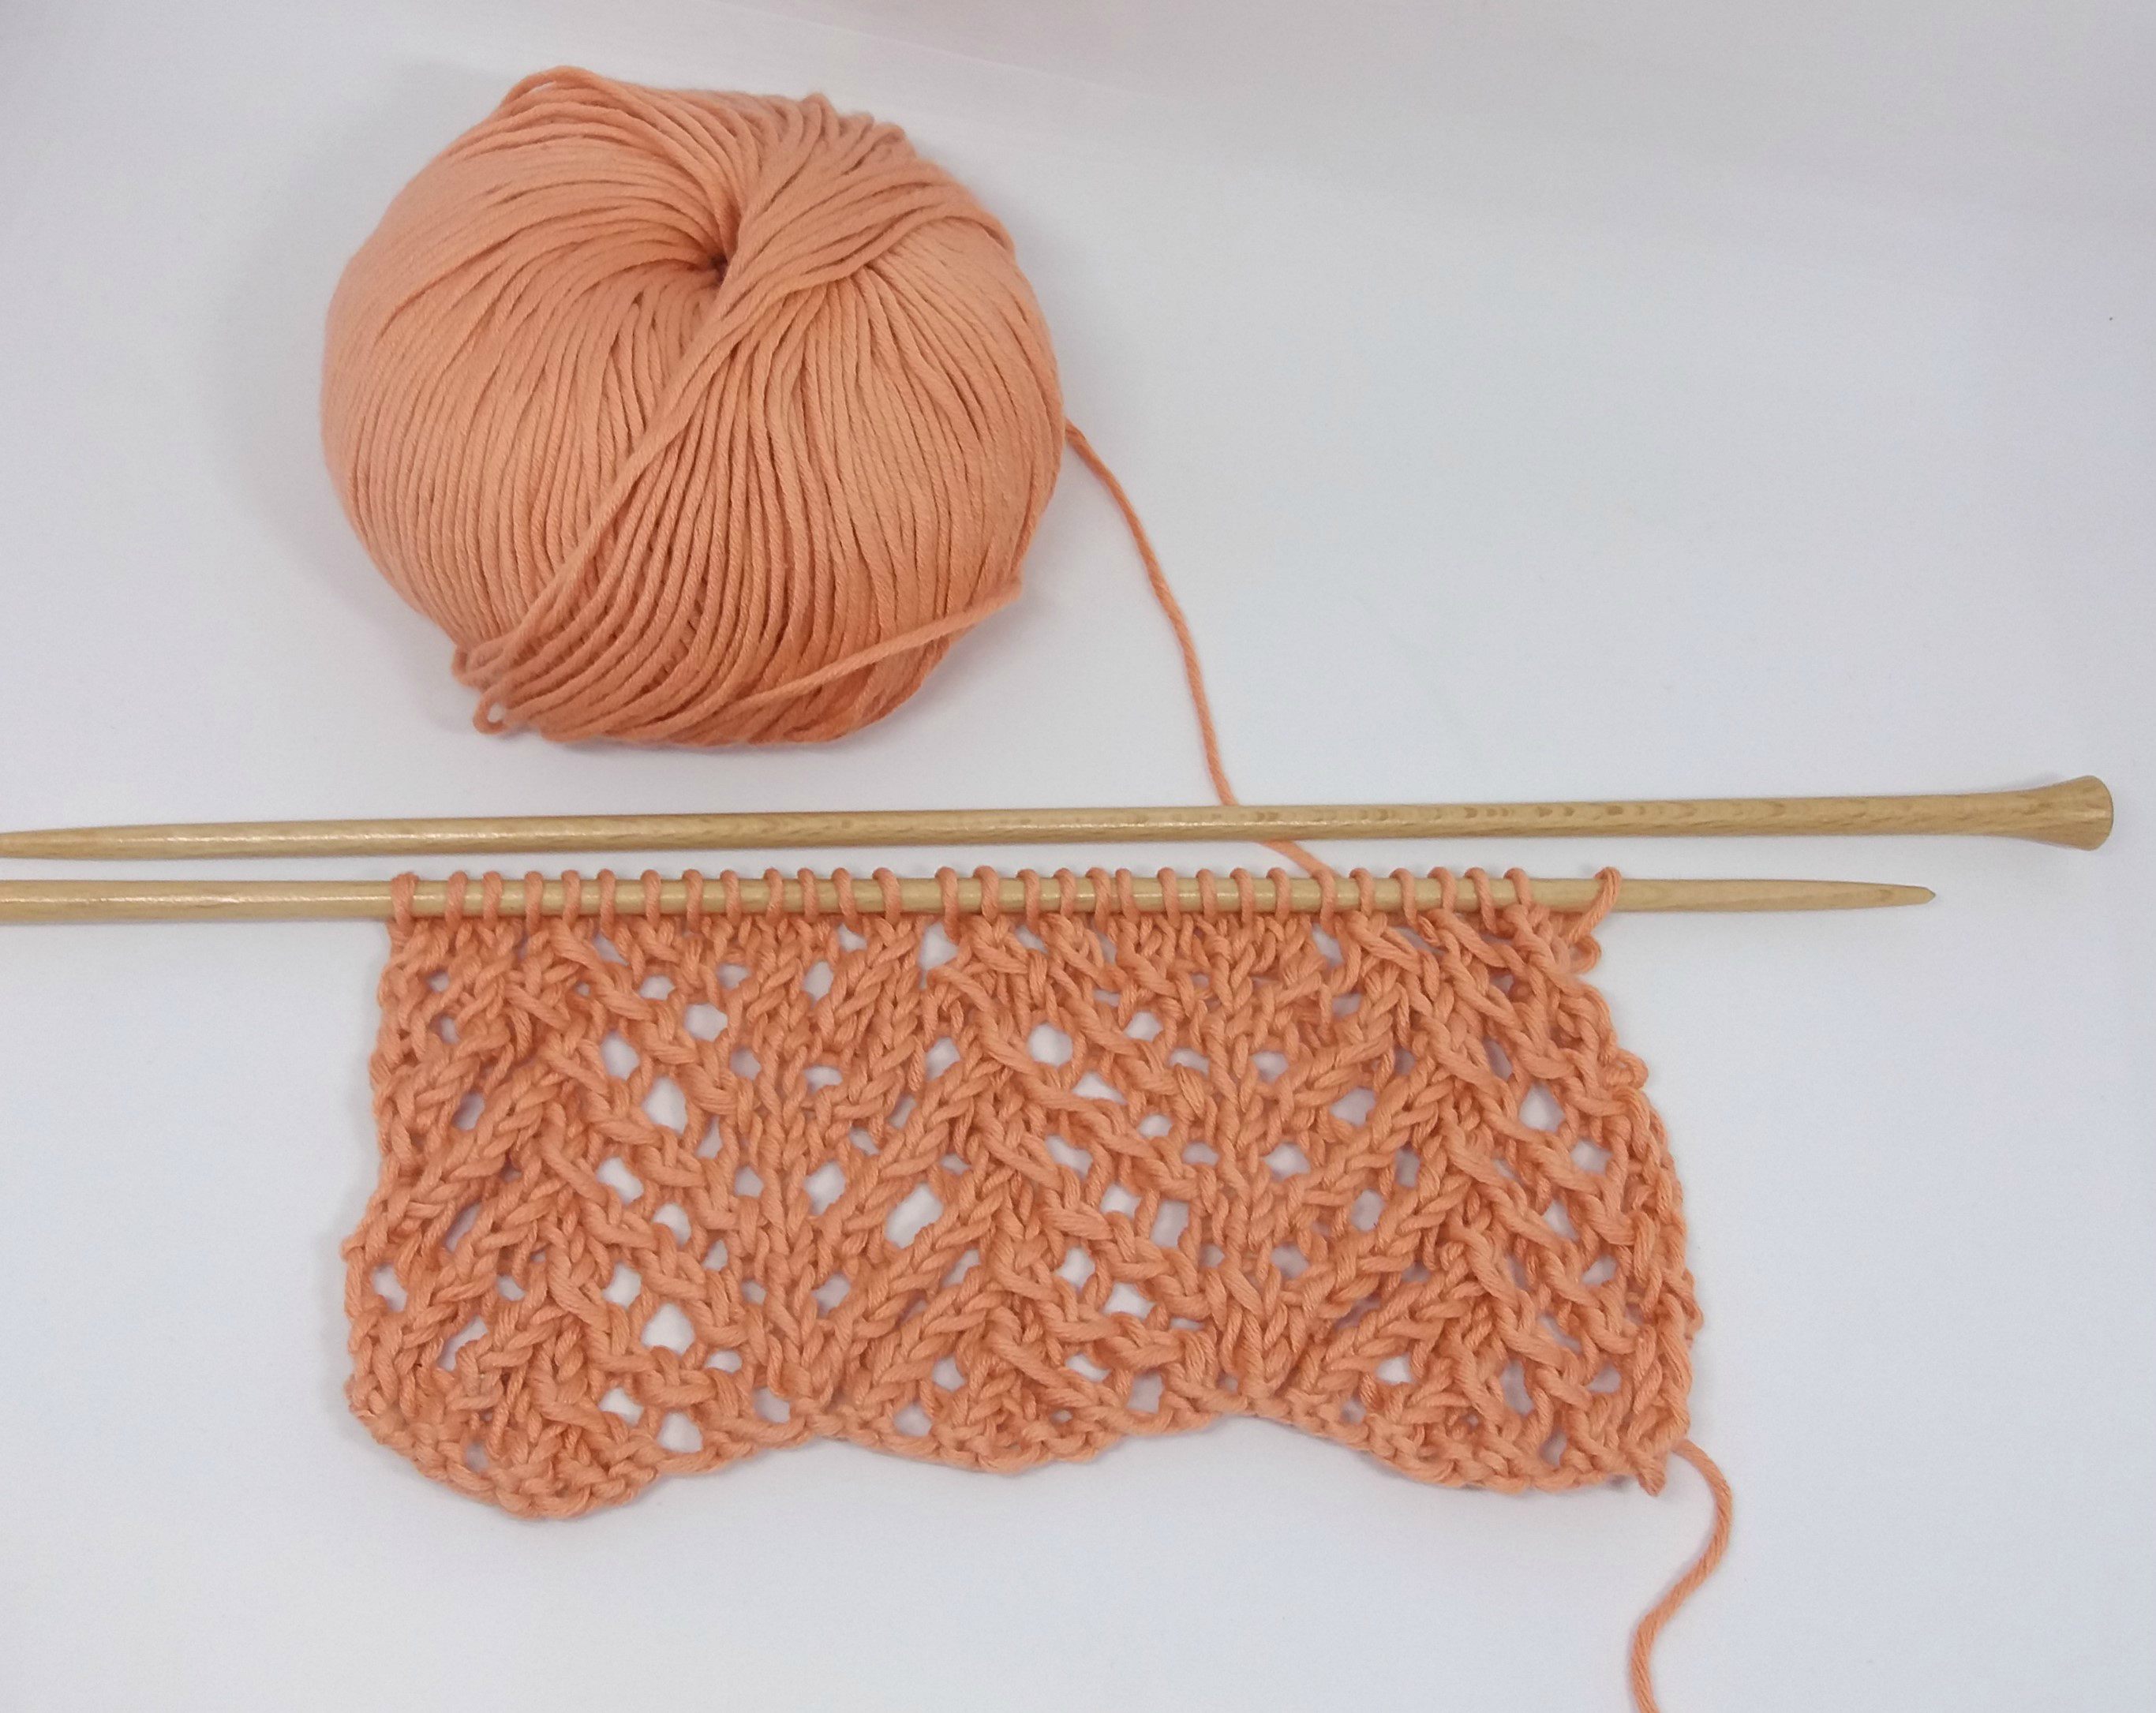
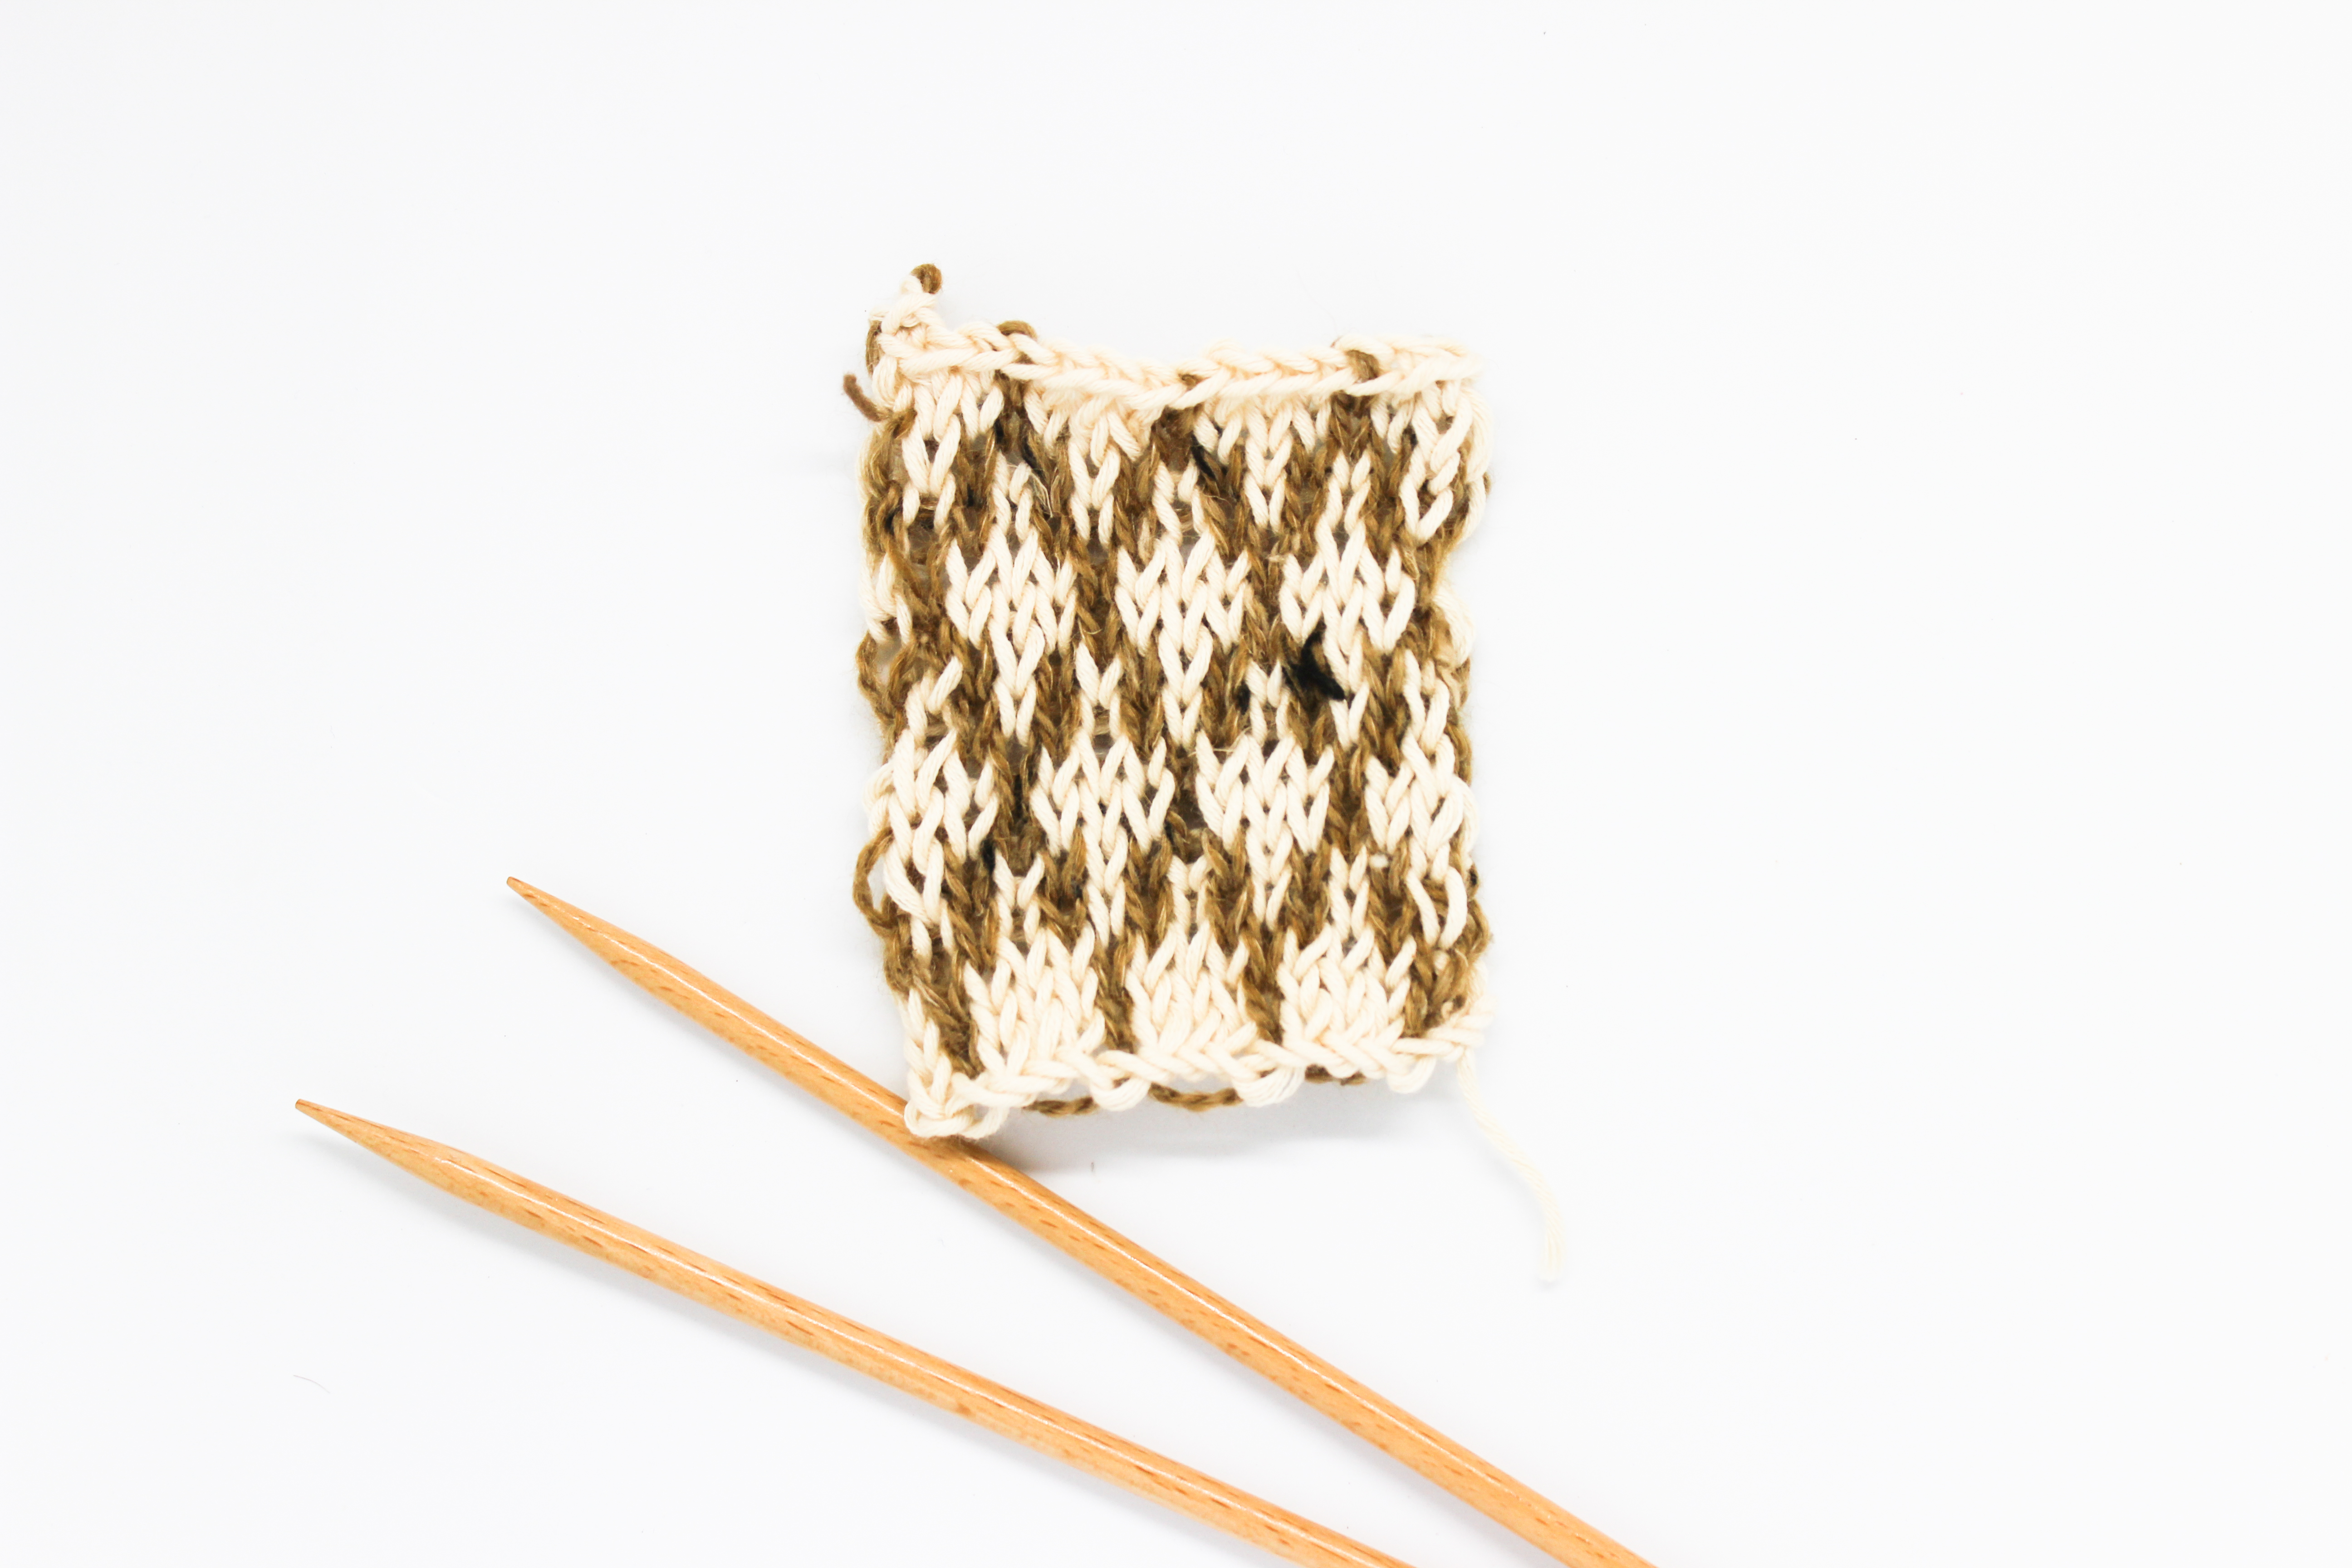
For this step-by-step tutorial we used a skein of our Recycled Yarn and a pair of size 8 knitting needles.
Before beginning, here is a list of the stitches you need to know how to do:
Let’s get started!

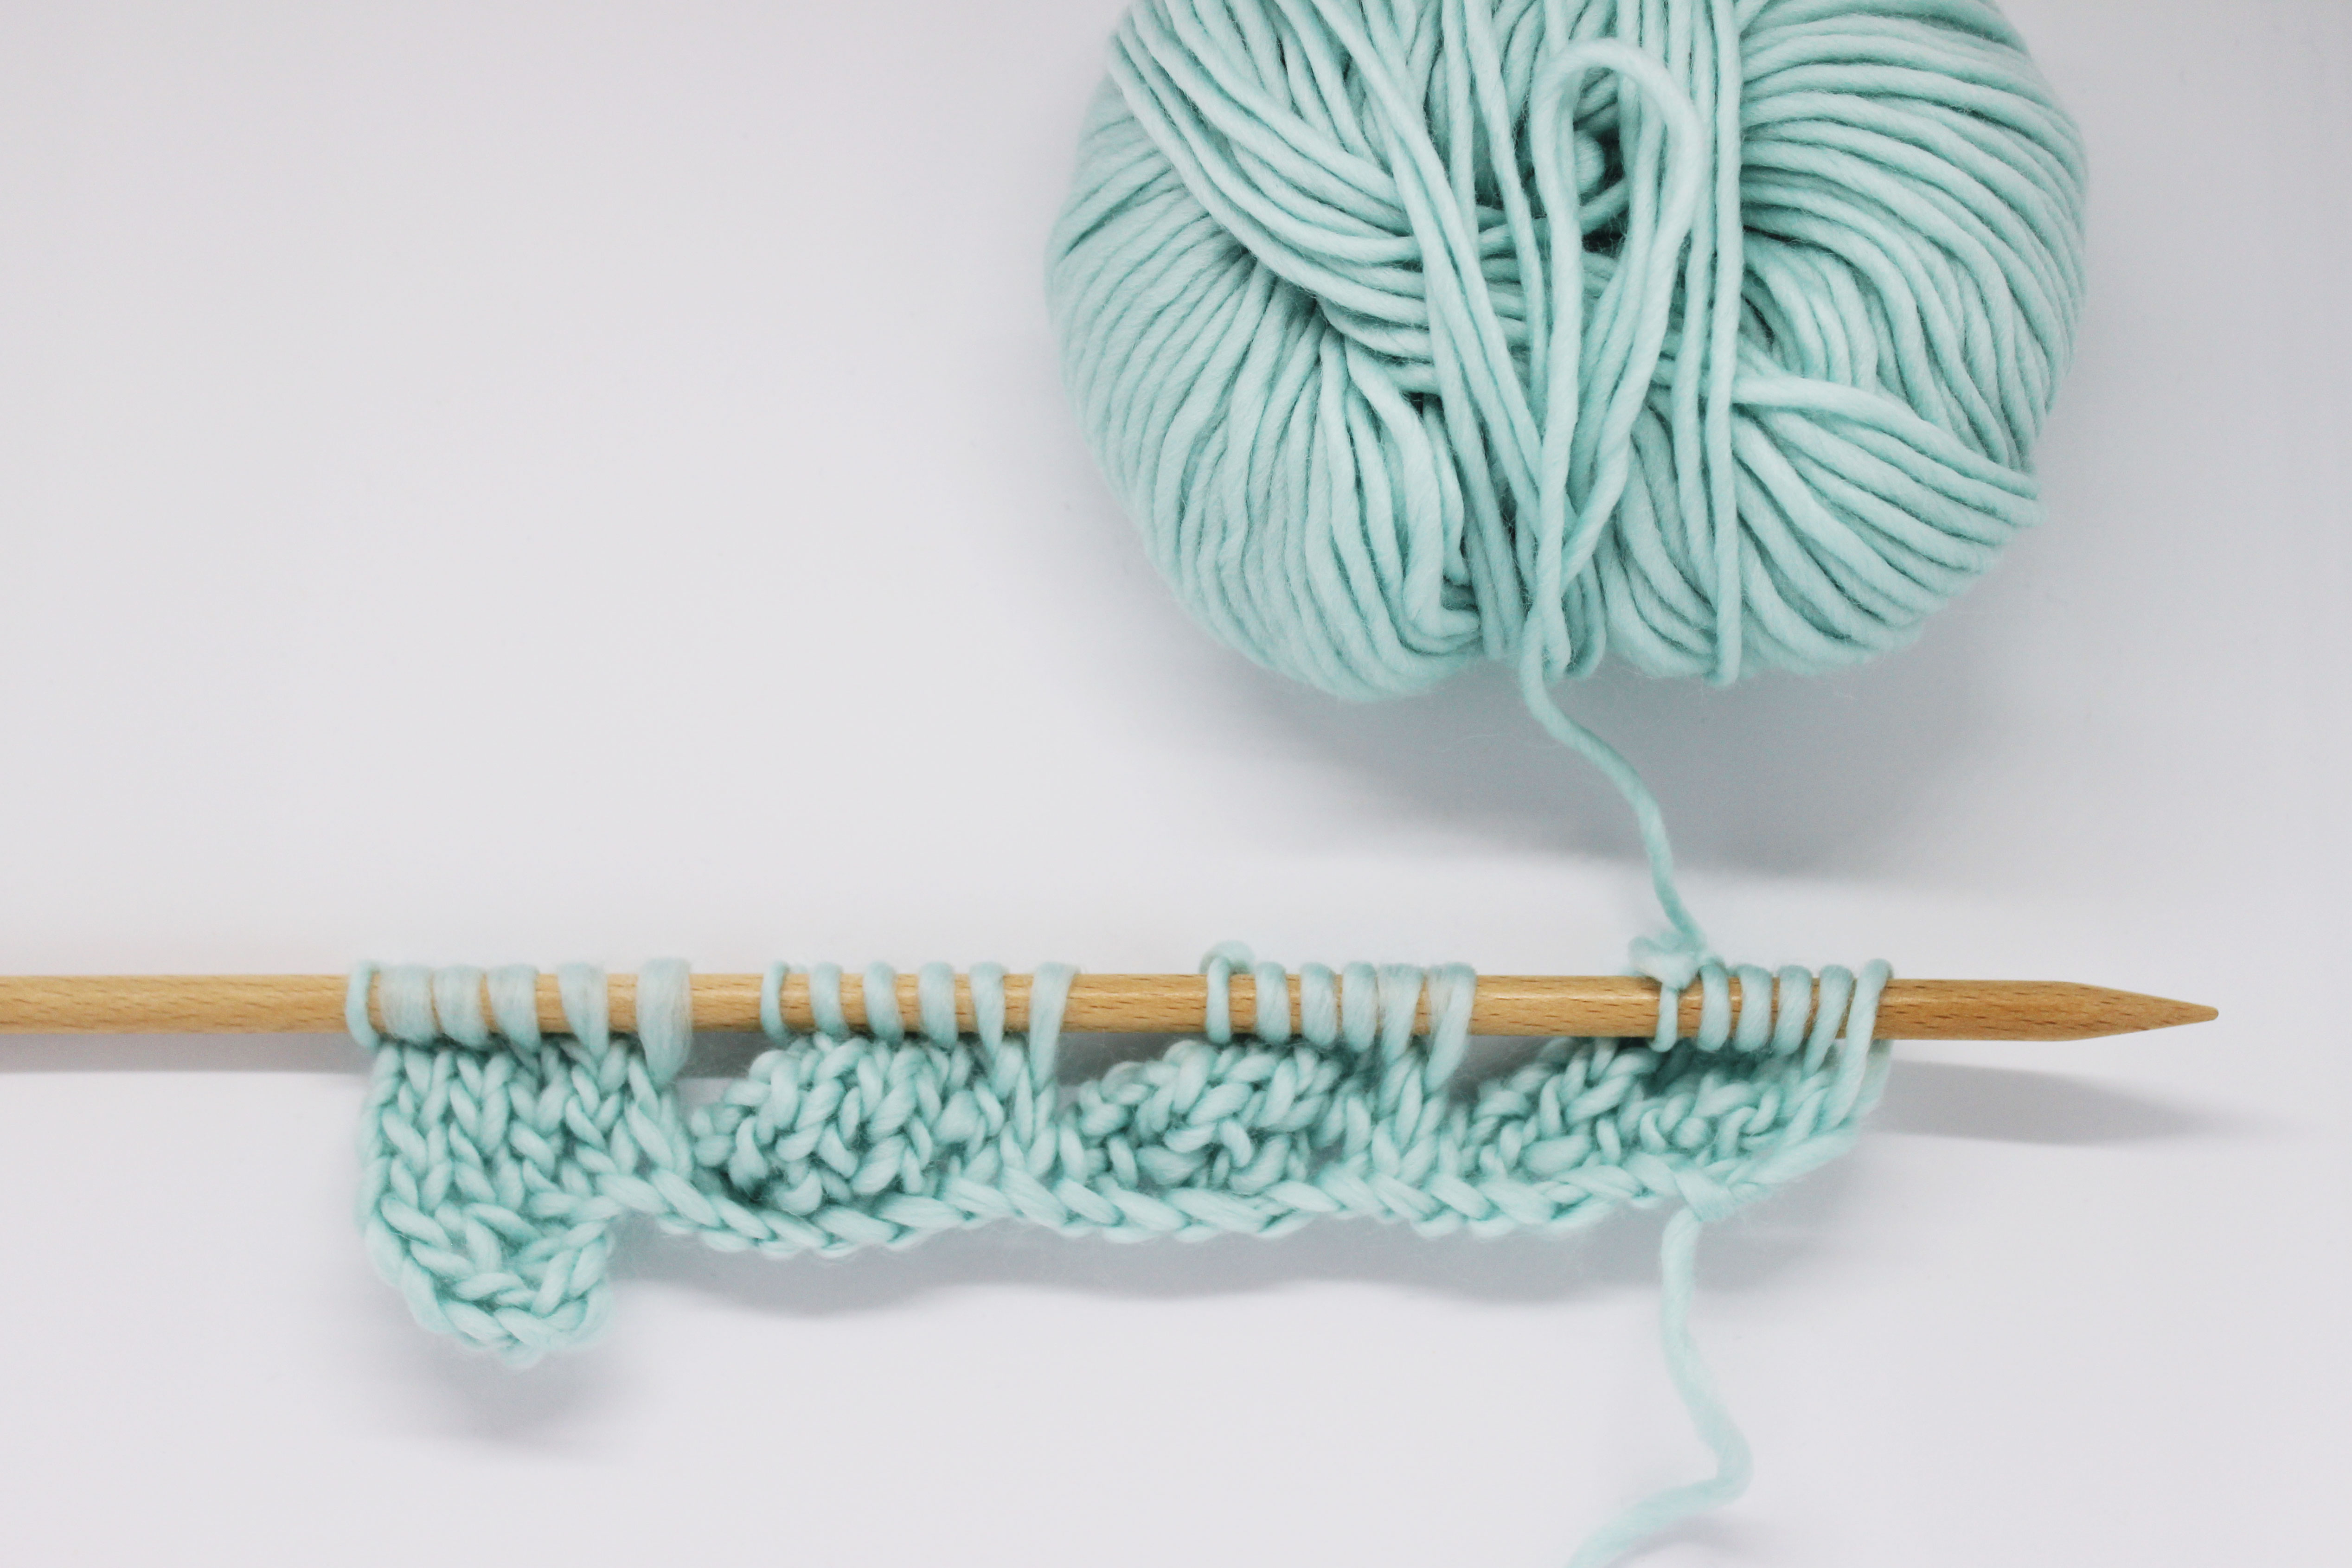
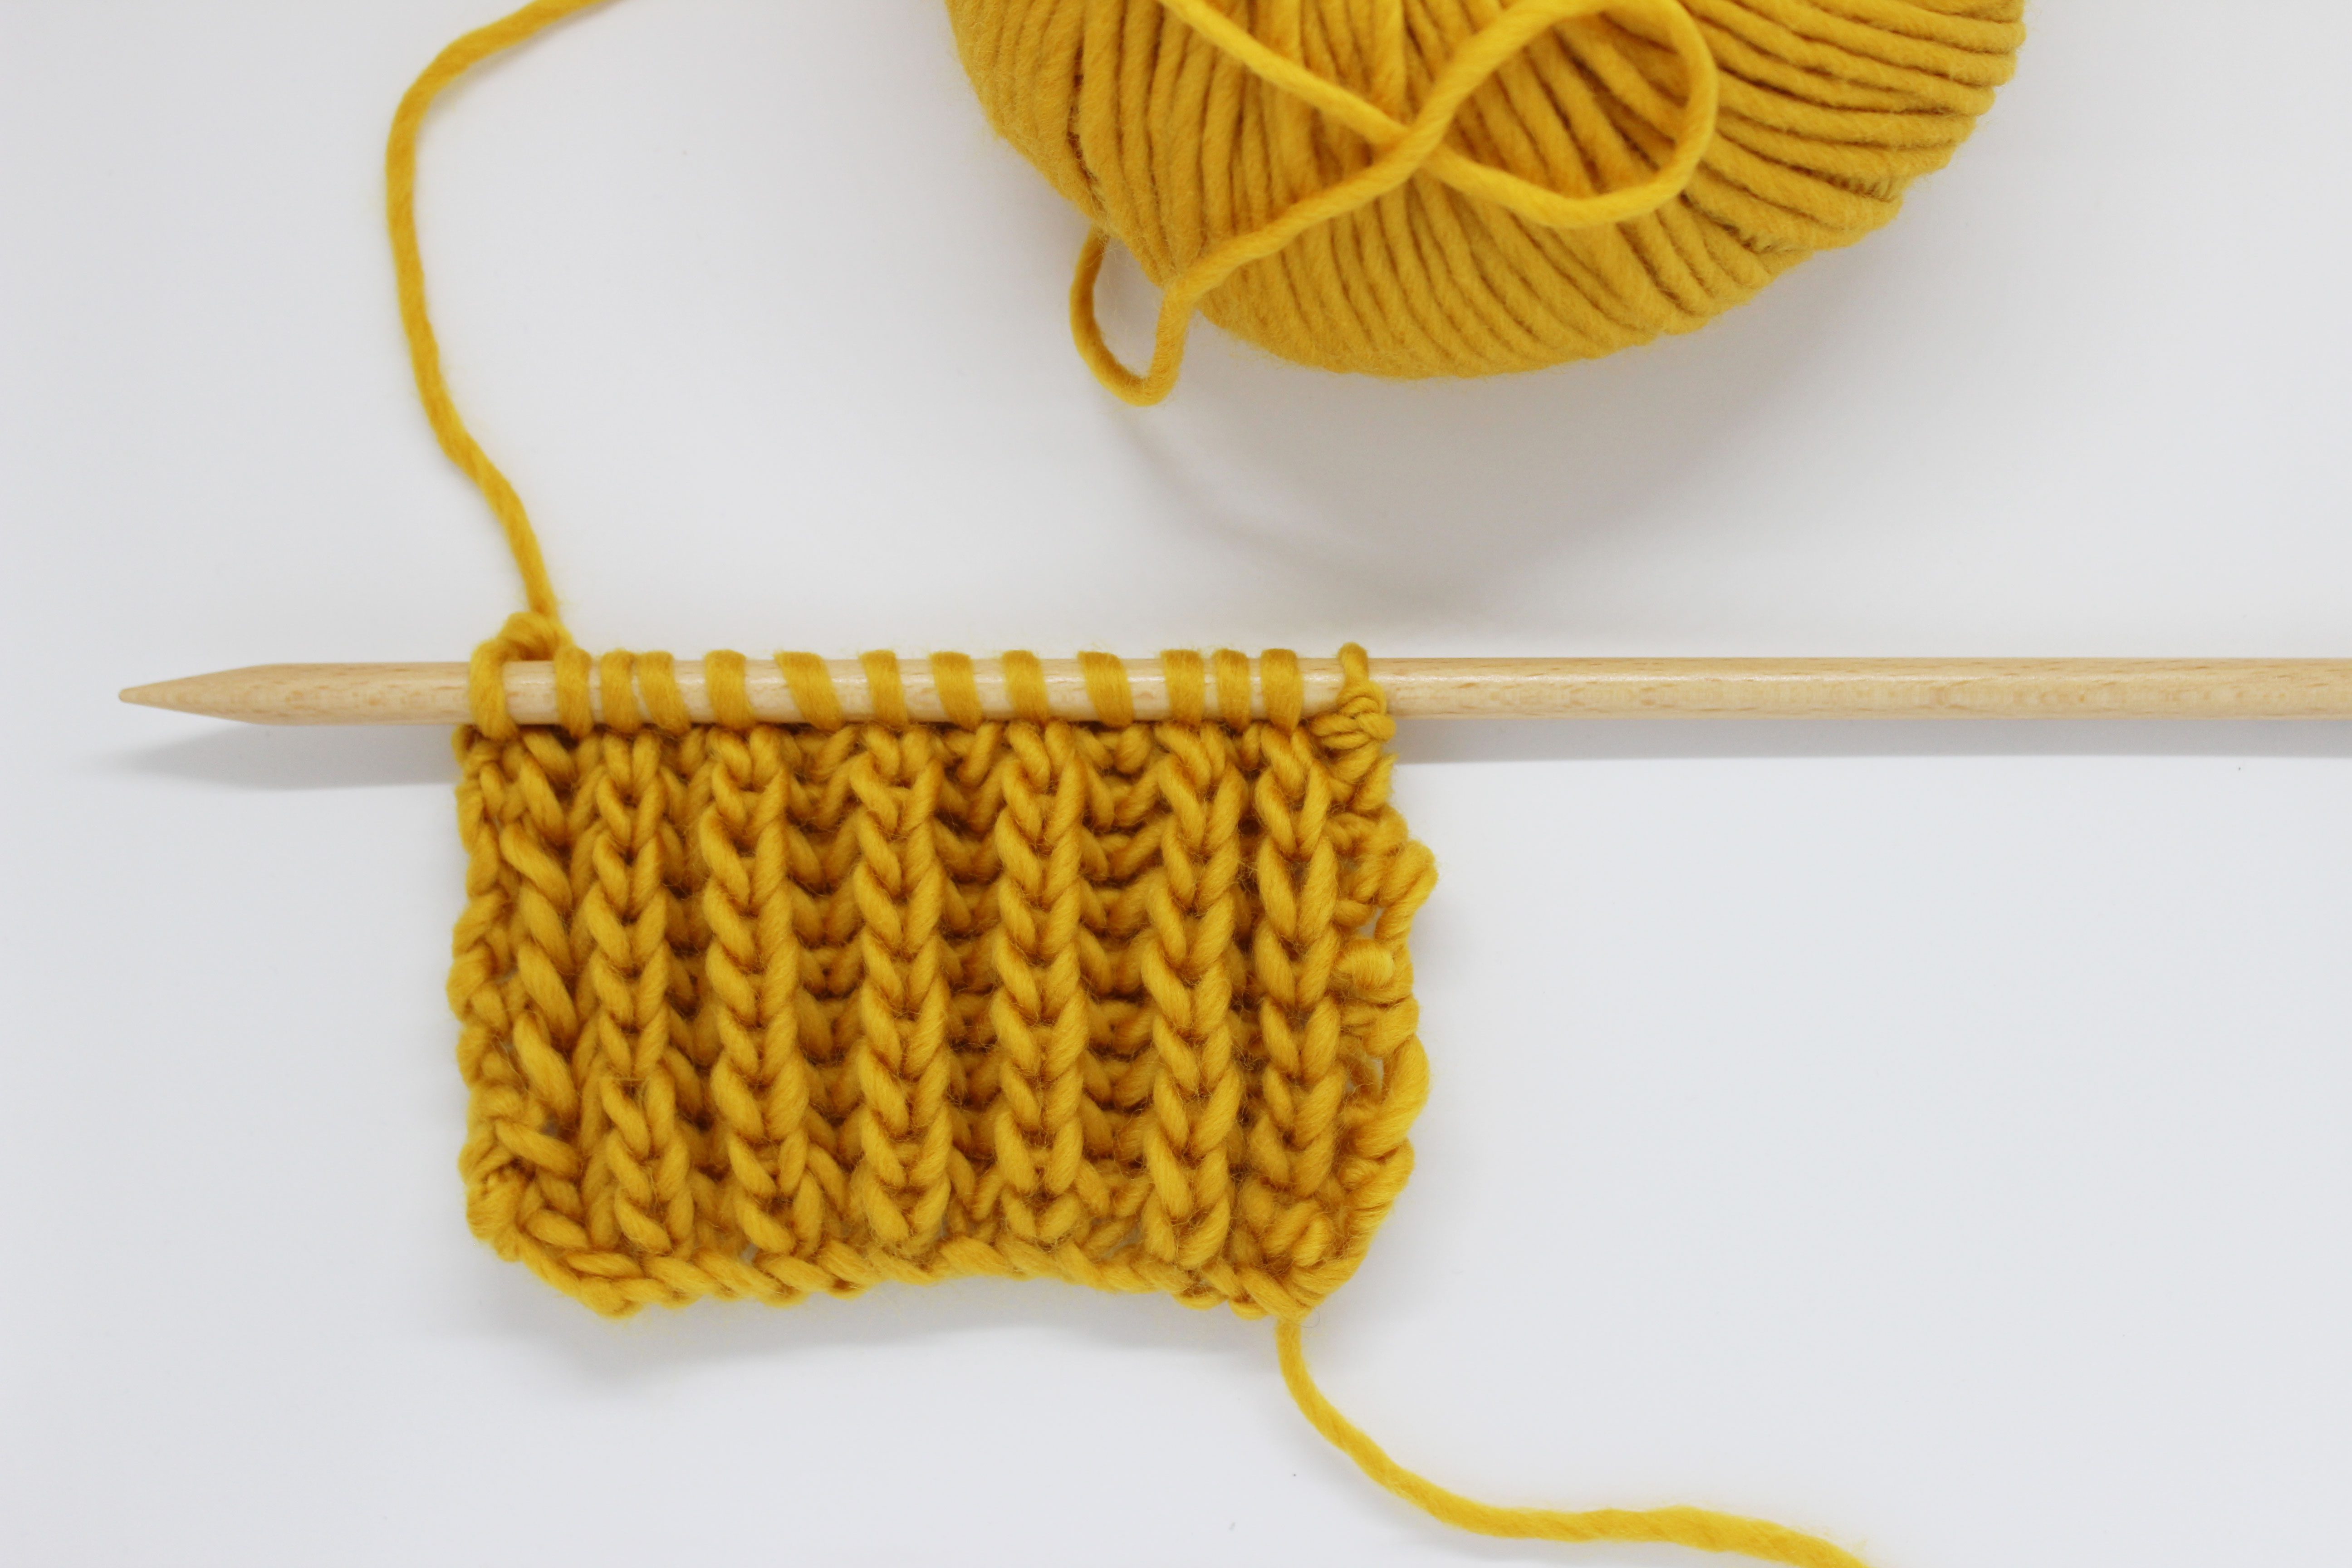
We will start by casting on a multiple of 6 stitches + 1.

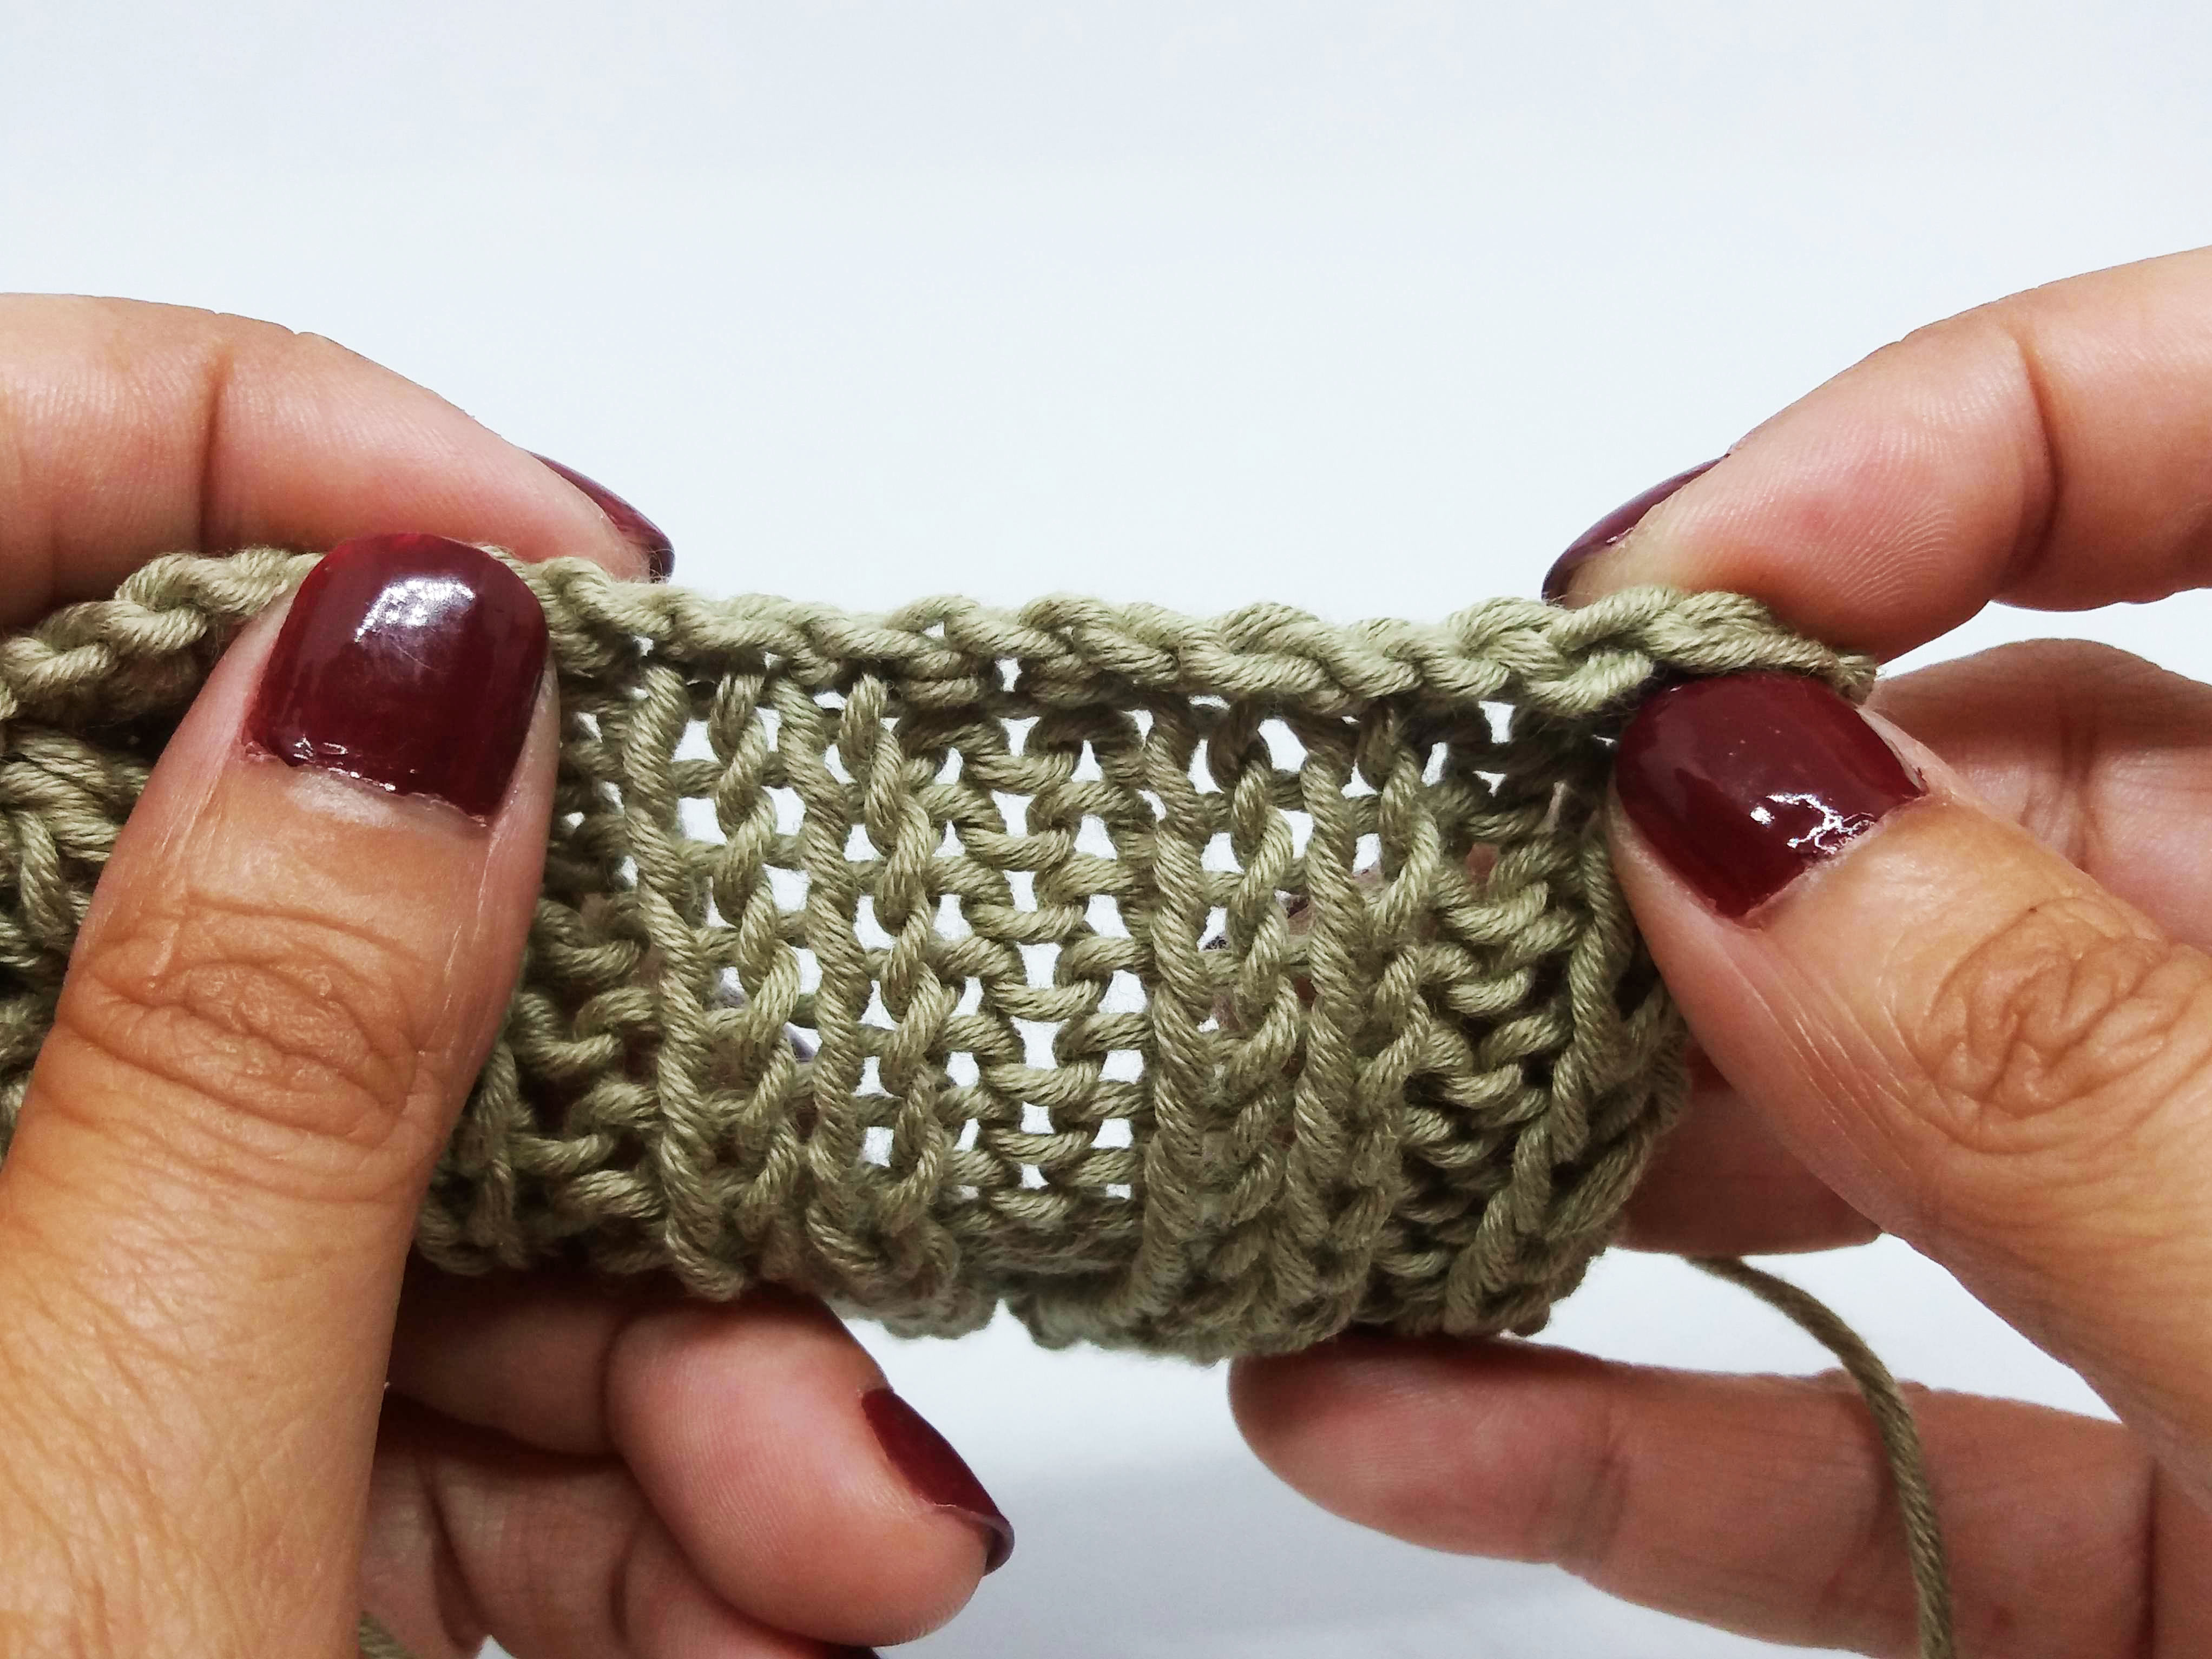
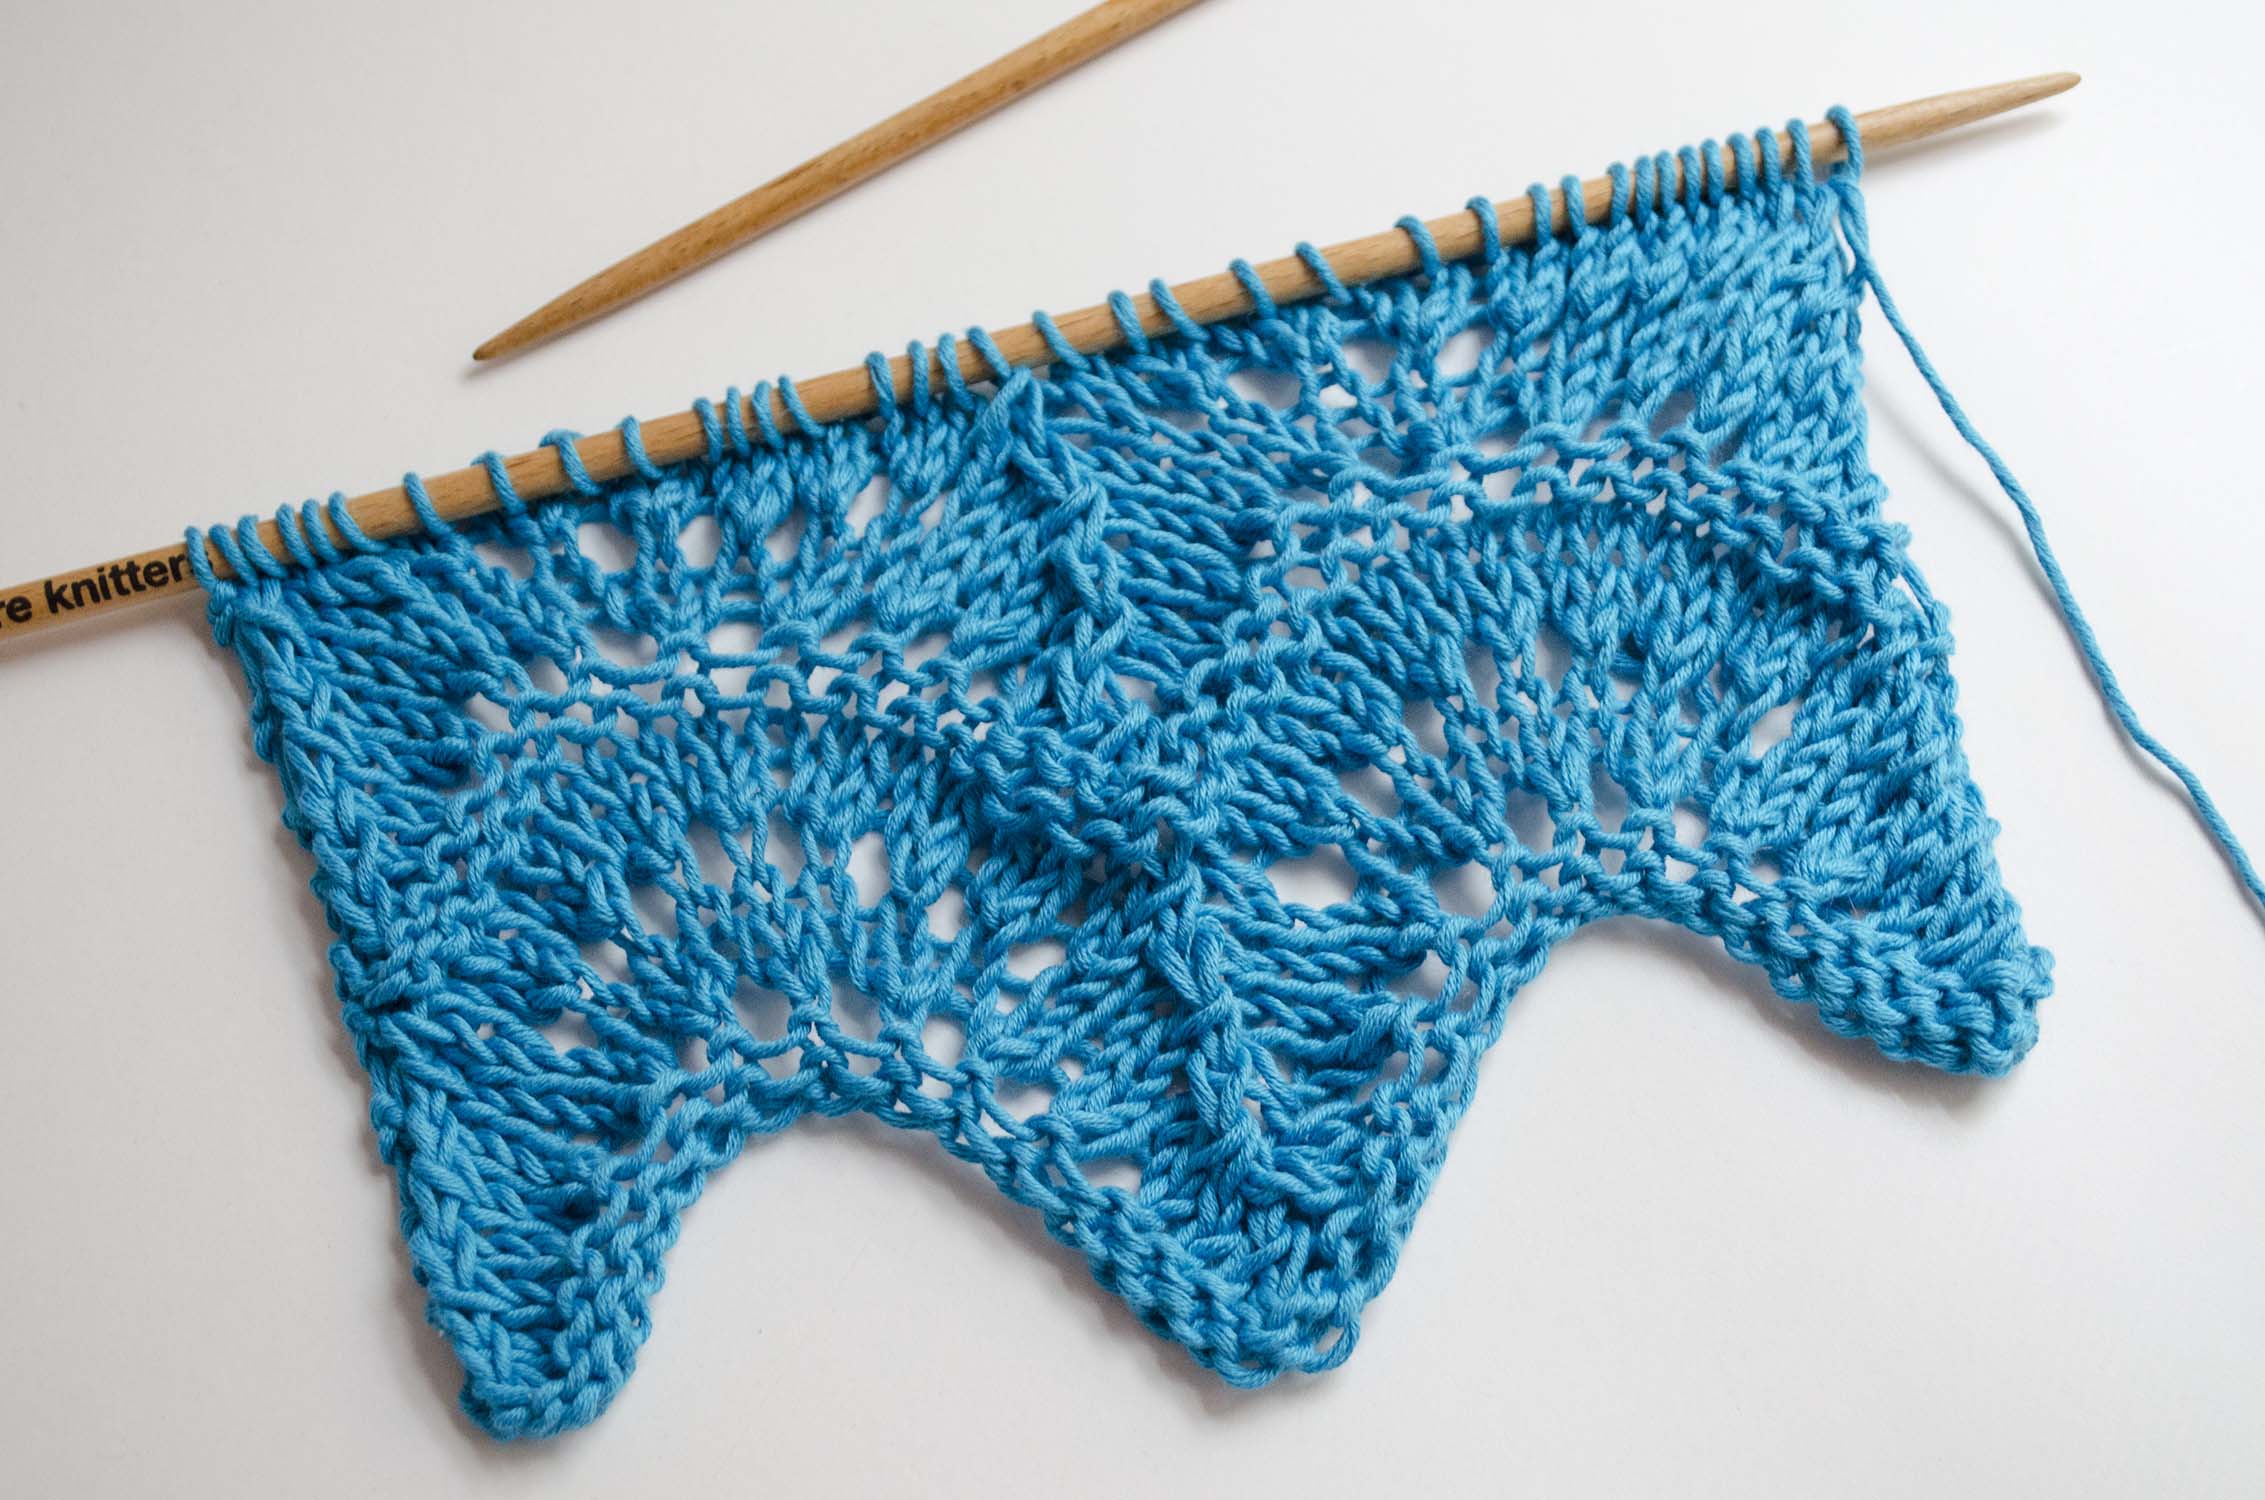
Row 1 (right side): knit 1. *Work 1 drop stitch, knit 5 *. Repeat from * to * until the end of the row.

Row 2 (wrong side): *knit 5, slip 1 stitch with the yarn in front of your work *. Repeat from * to * until there is 1 stitch left, knit 1.

Row 3 (right side): knit 1. *Slip 1 stitch with the yarn behind your work, knit 5 *. Repeat from * to * until the end of the row.
Row 4 (wrong side): repeat row 2.
Row 5 (right side): repeat row 3.
Row 6 (wrong side): repeat row 2.
If you have any doubts about how to do this stitch, here’s a video showing how to do this first part step by step 😉
Continue working the second part of the stitch.

Row 7 (right side): knit 1. *Knit 3, work 1 drop stitch, knit 2 *. Repeat from * to * until the end of the row.

Row 8 (wrong side): *knit 2, slip 1 stitch with the yarn in front of your work, knit 3 *. Repeat from * to * until there is 1 stitch left, knit 1.

Row 9 (right side): knit 1. *Knit 3, slip 1 stitch with the yarn behind your work, knit 2 *. Repeat from * to * until the end of the row.

Row 10 (wrong side): repeat row 8.
Row 11 (right side): repeat row 9.
Row 12 (wrong side): repeat row 8.

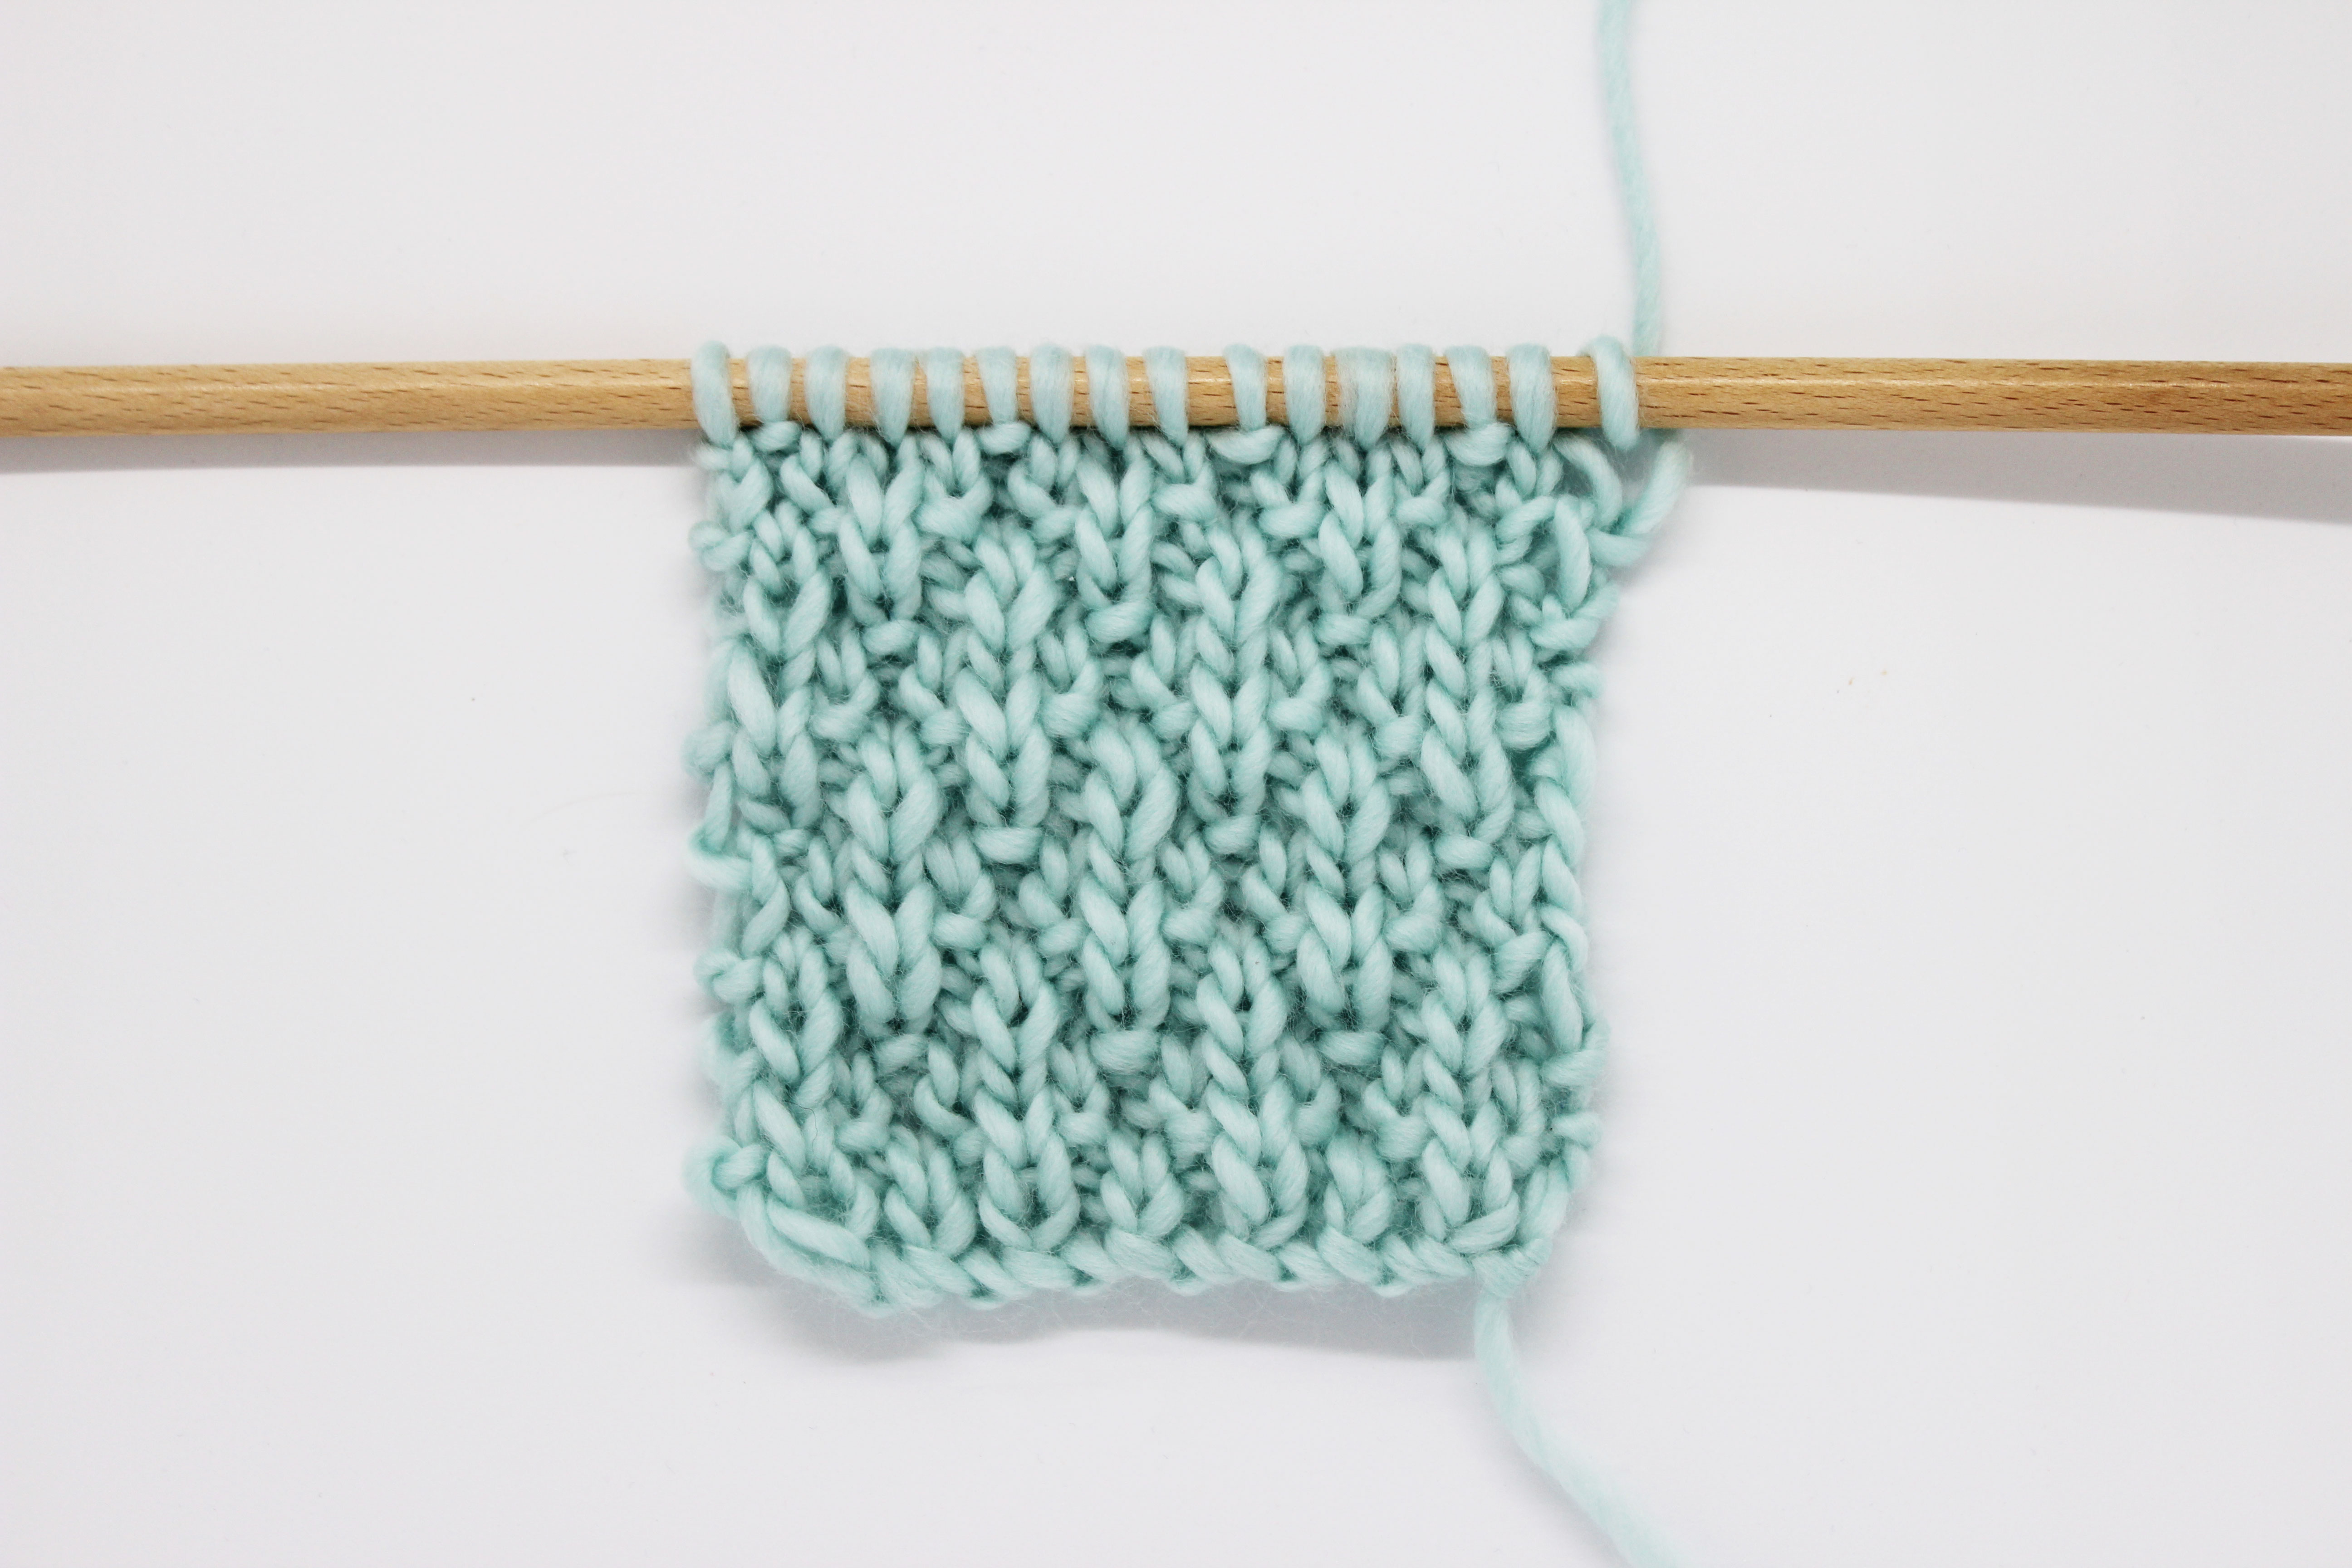
To continue working this stitch, just keep repeating rows 1 to 12 as many times as needed for your project. We hope you share your summer knitting combinations with us on social networks using the hashtag #weareknitters.