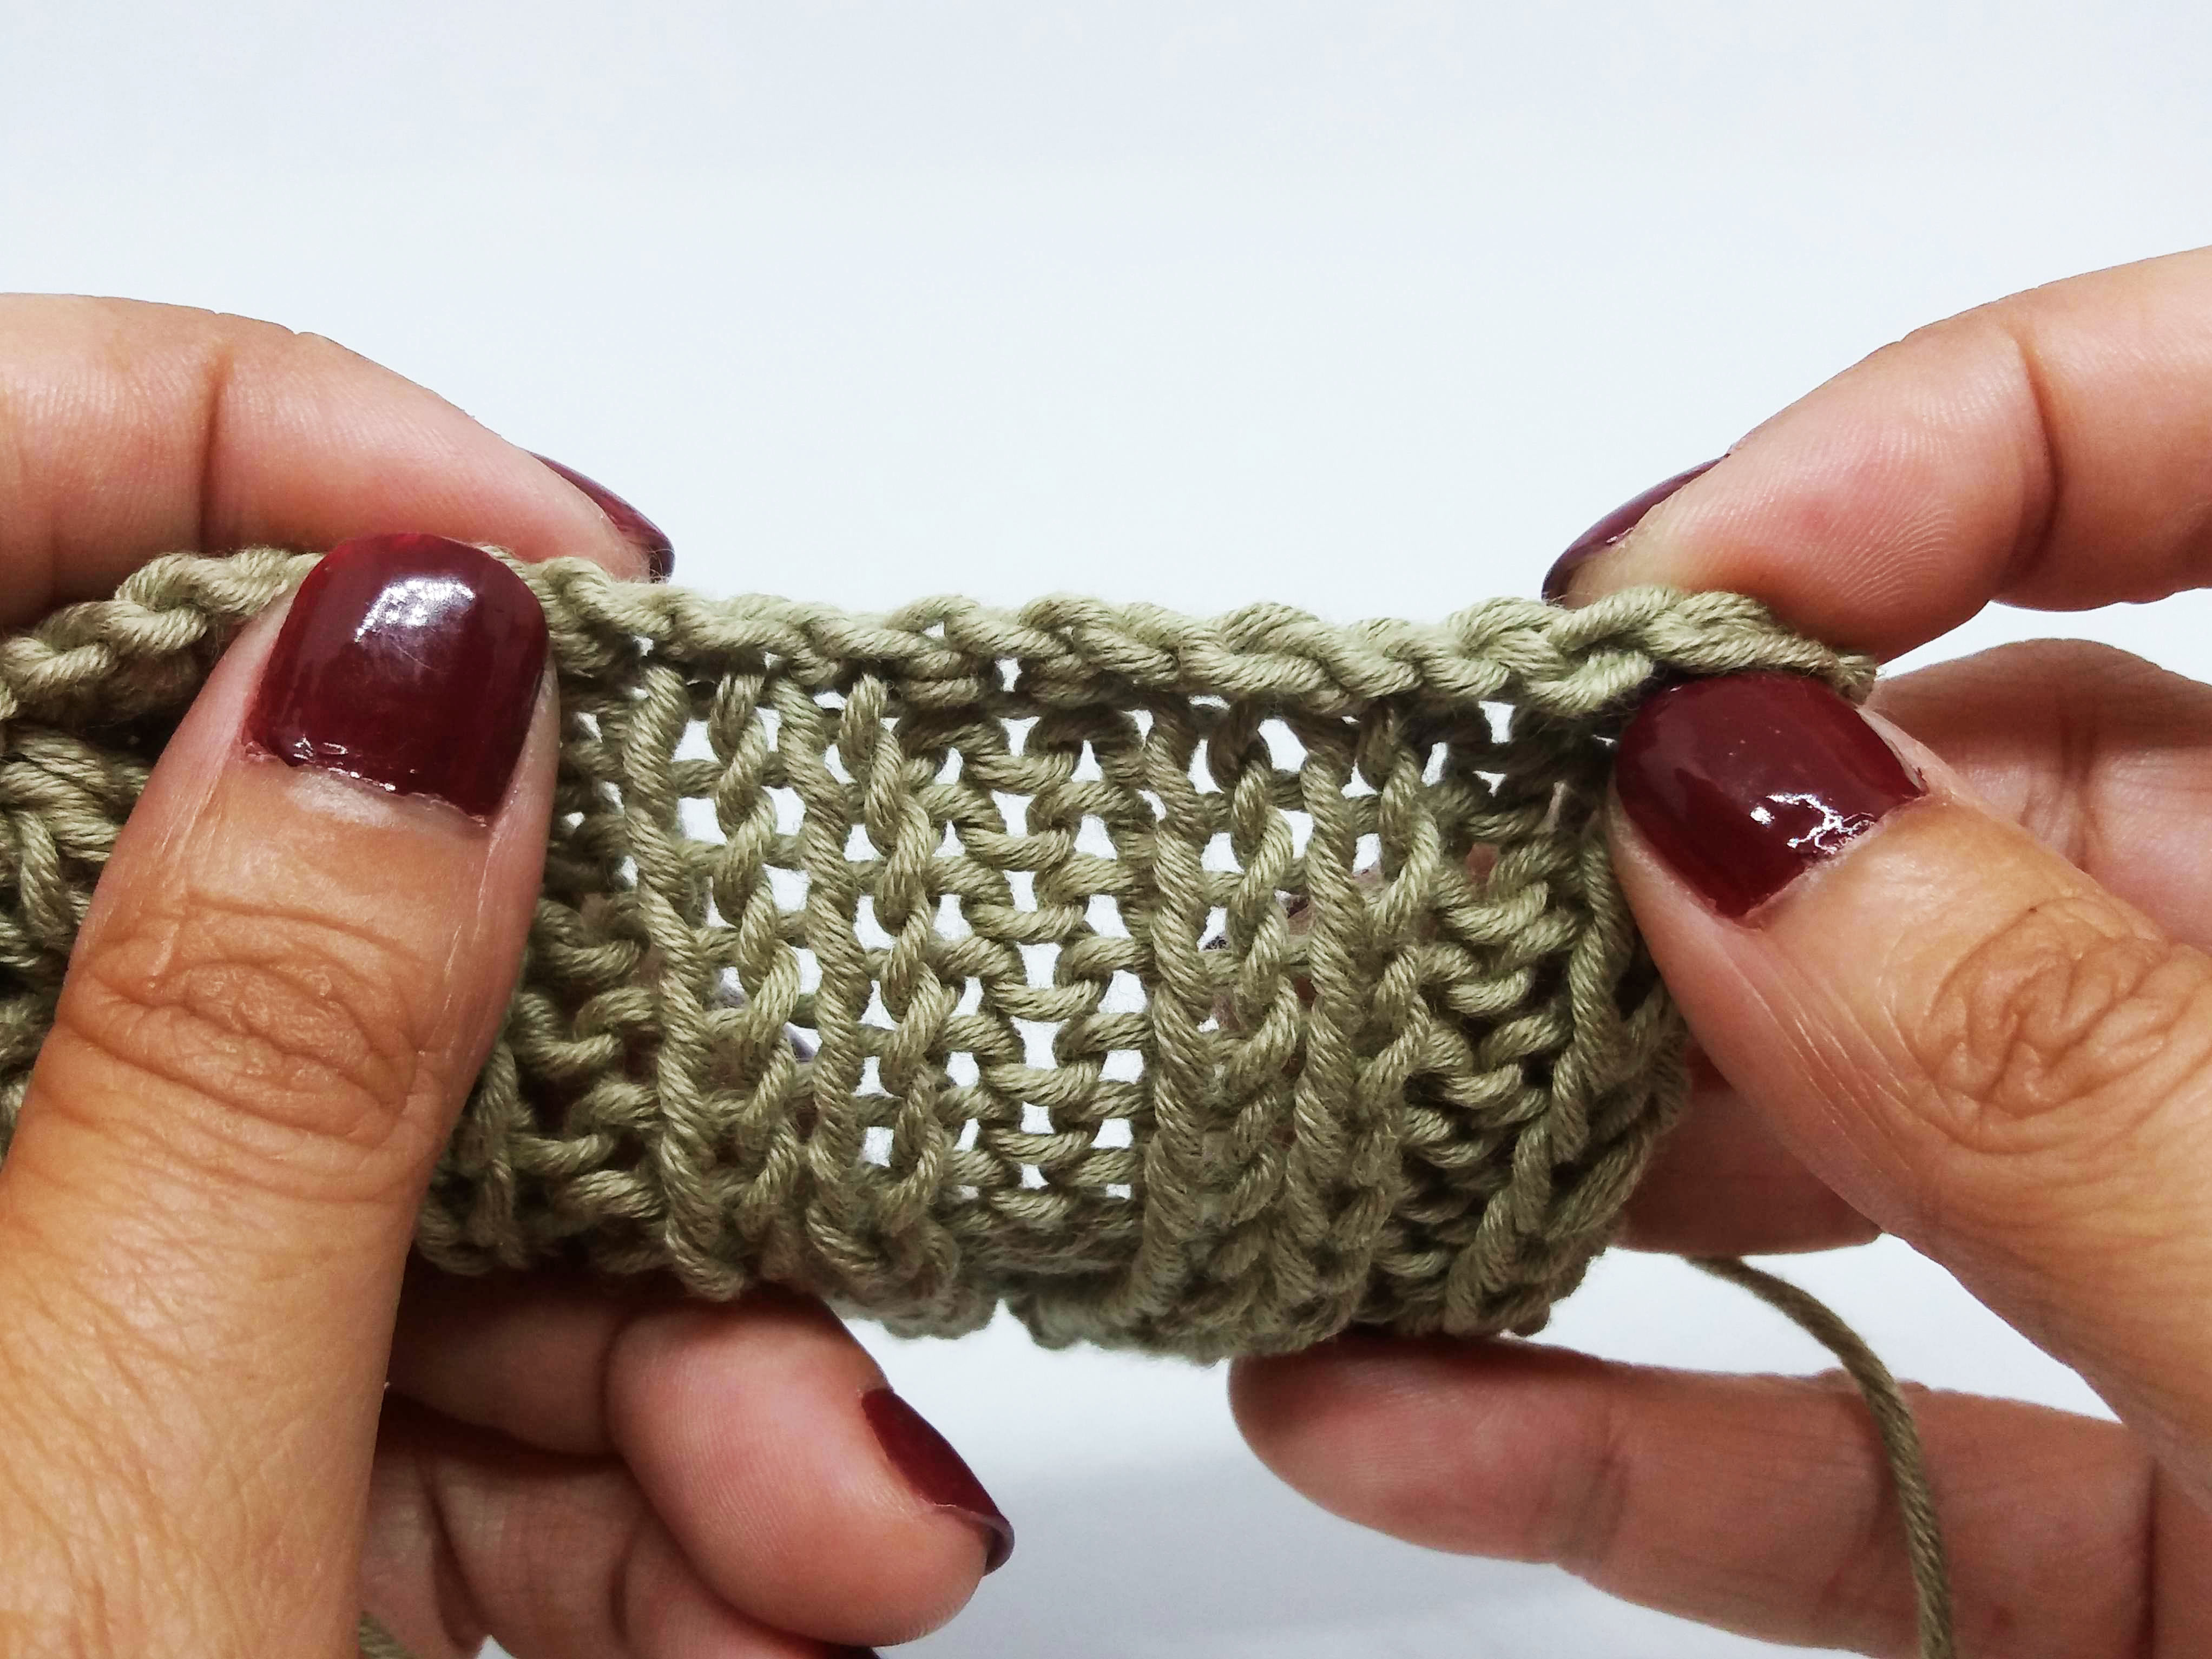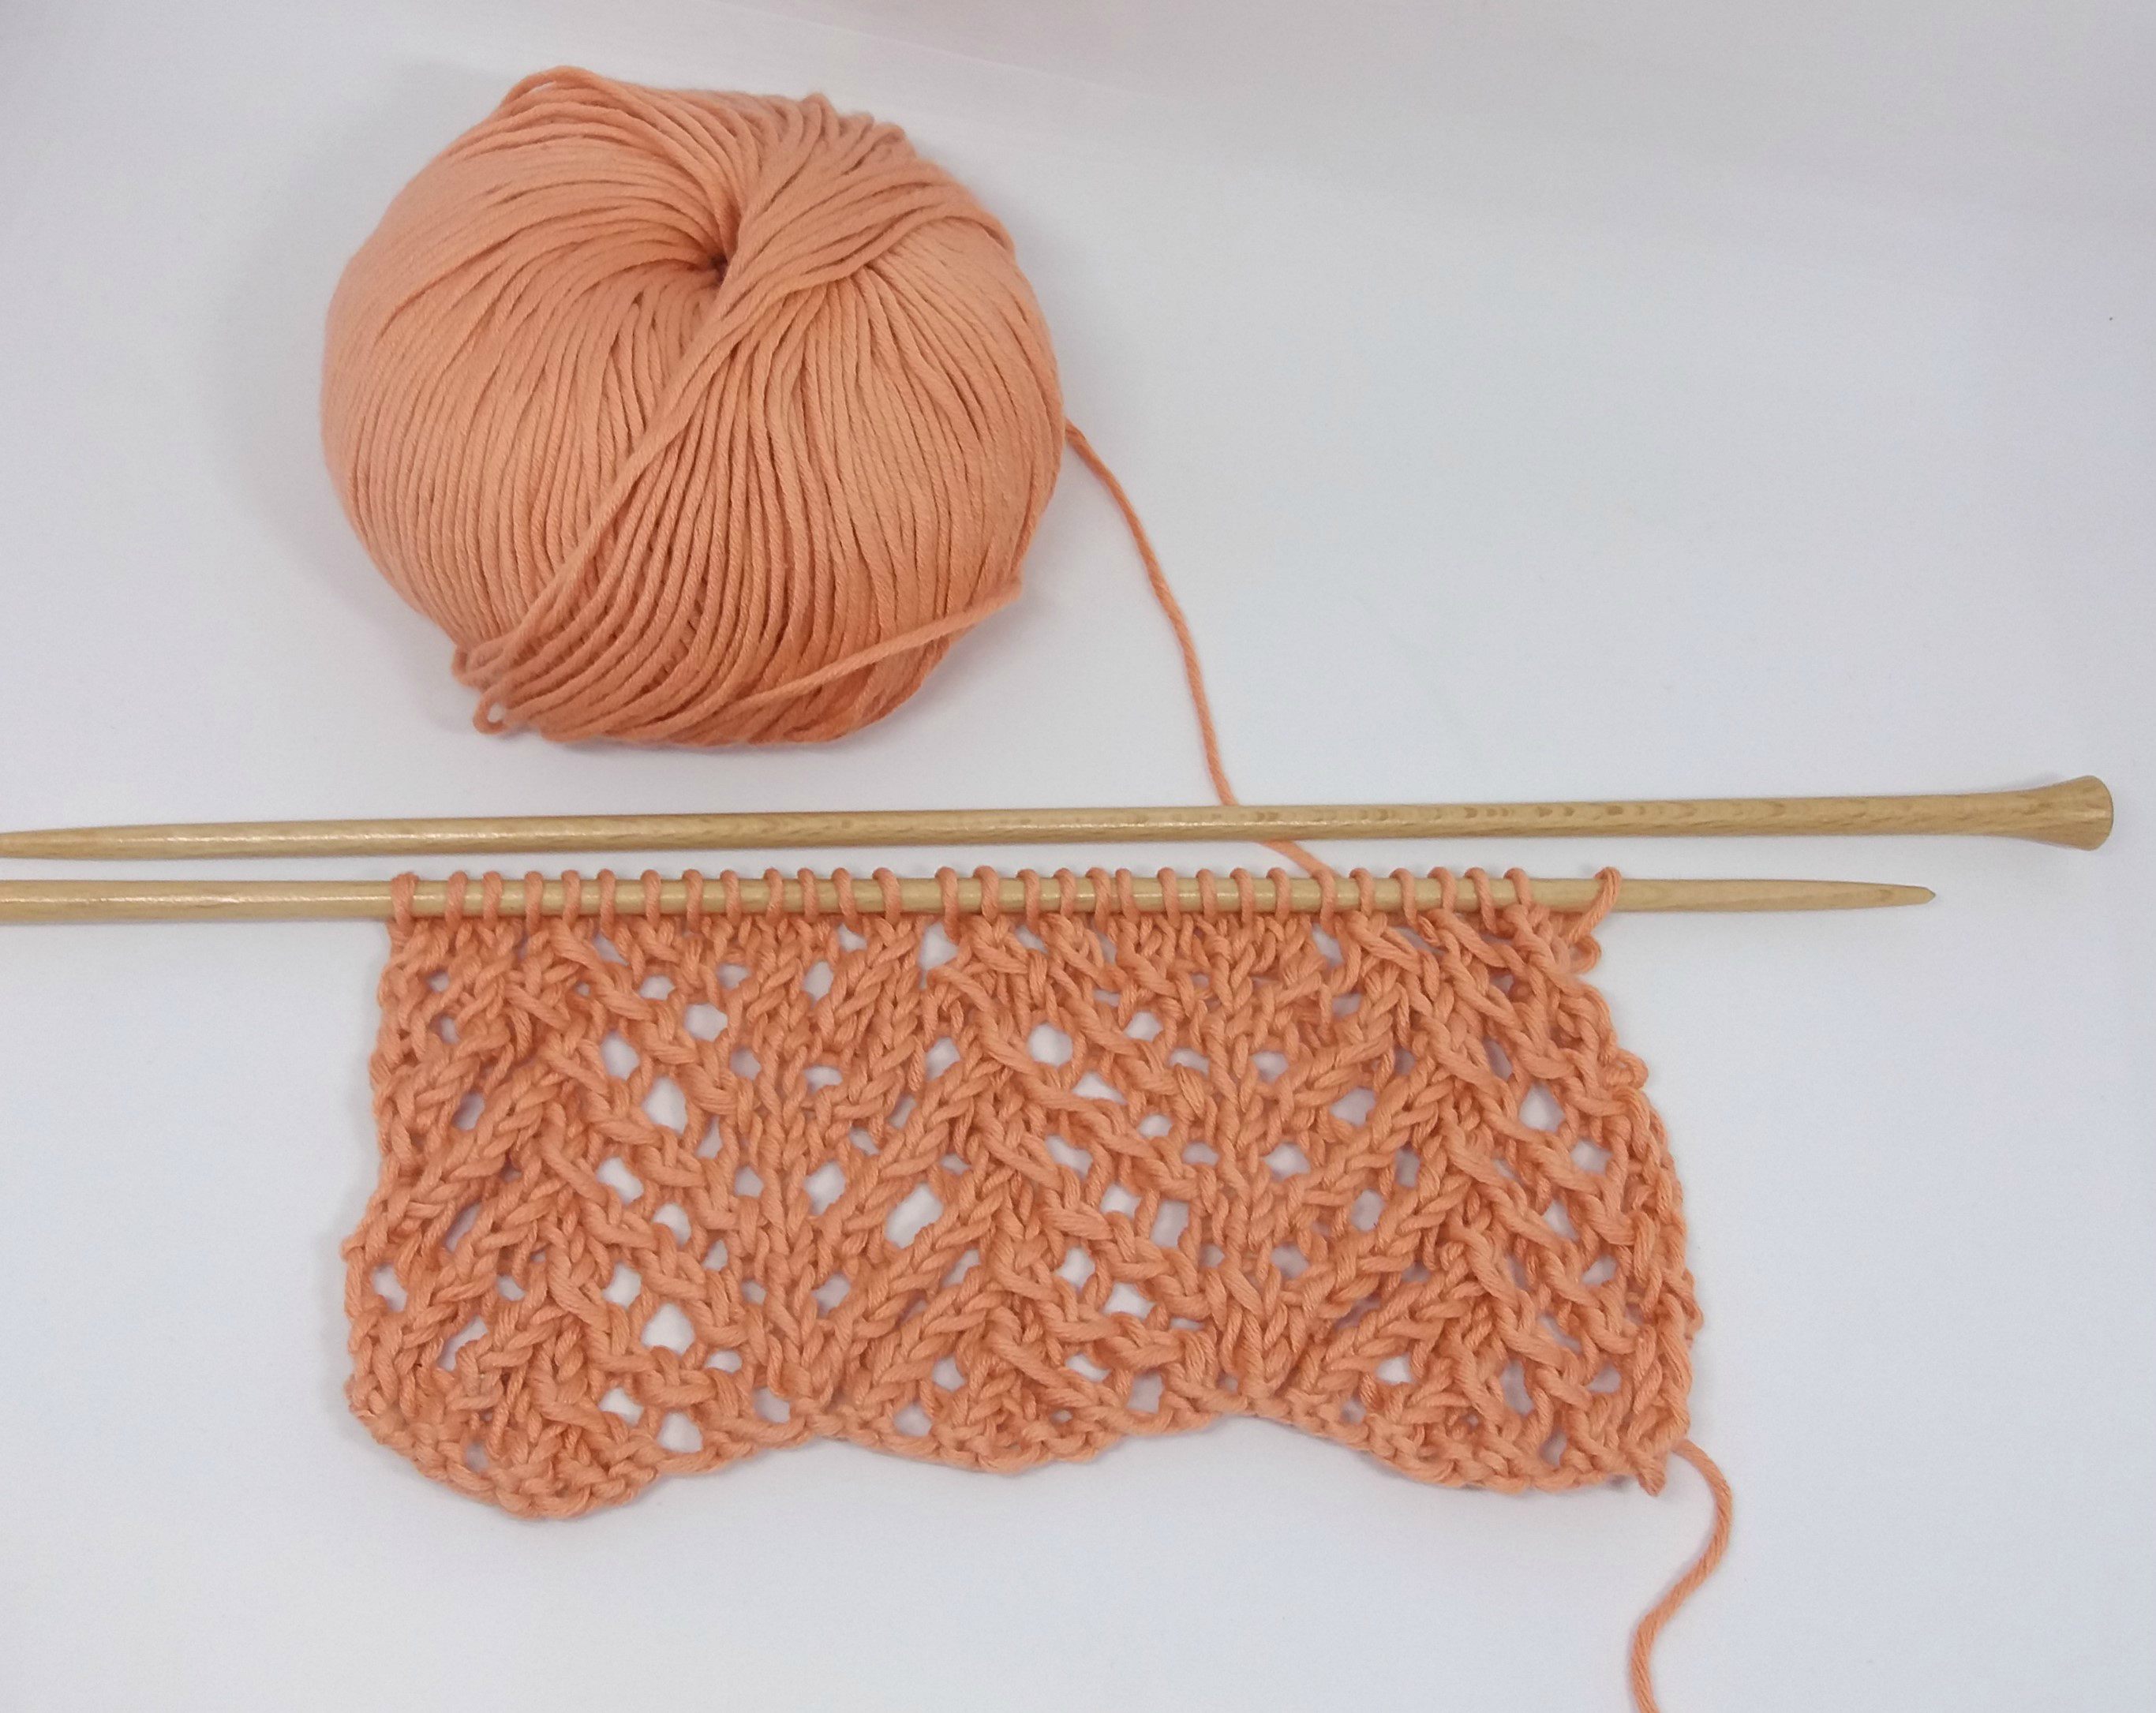
There are stitches that are as simple as they are beautiful. The stitch that we will show you in today’s tutorial is one such stitch: the thermal stitch. A slight variation of rib stitch that will make for some irresistible winter garments. Can you imagine knitting a beanie or cardigan in this stitch? Let’s see how it’s done!

For this step-by-step tutorial we used one of our skeins of Petite Wool and a pair of size 11 wooden needles.
Before beginning it is important, if you aren’t sure how, to review the basic stitches and techniques that you need to know how to do to knit the thermal stitch:
Let’s get started!

We’ll start by casting on an odd number of stitches.

Row 1 (right side): slip the first stitch without knitting and knit the remaining stitches.

Row 2 (wrong side): repeat the same as for row 1.

Row 3 (right side): slip the first stitch without knitting. Now * knit 1, purl 1 *. Repeat from * to * until there are 2 stitches left of the needle, knit 2.

Row 4 (wrong side): slip the first stitch without knitting. Now * purl 1, knit 1 *. Repeat from * to * until the end of the row.

To continue working this stitch, repeat rows 1 to 4 until you reach the desired length.

We hope you liked the stitch we shared with you today. We’re sure you’ll use it to knit some beautiful garments that we can’t wait for you to share with us on social networks using the hashtag #weareknitters. See you next time!


