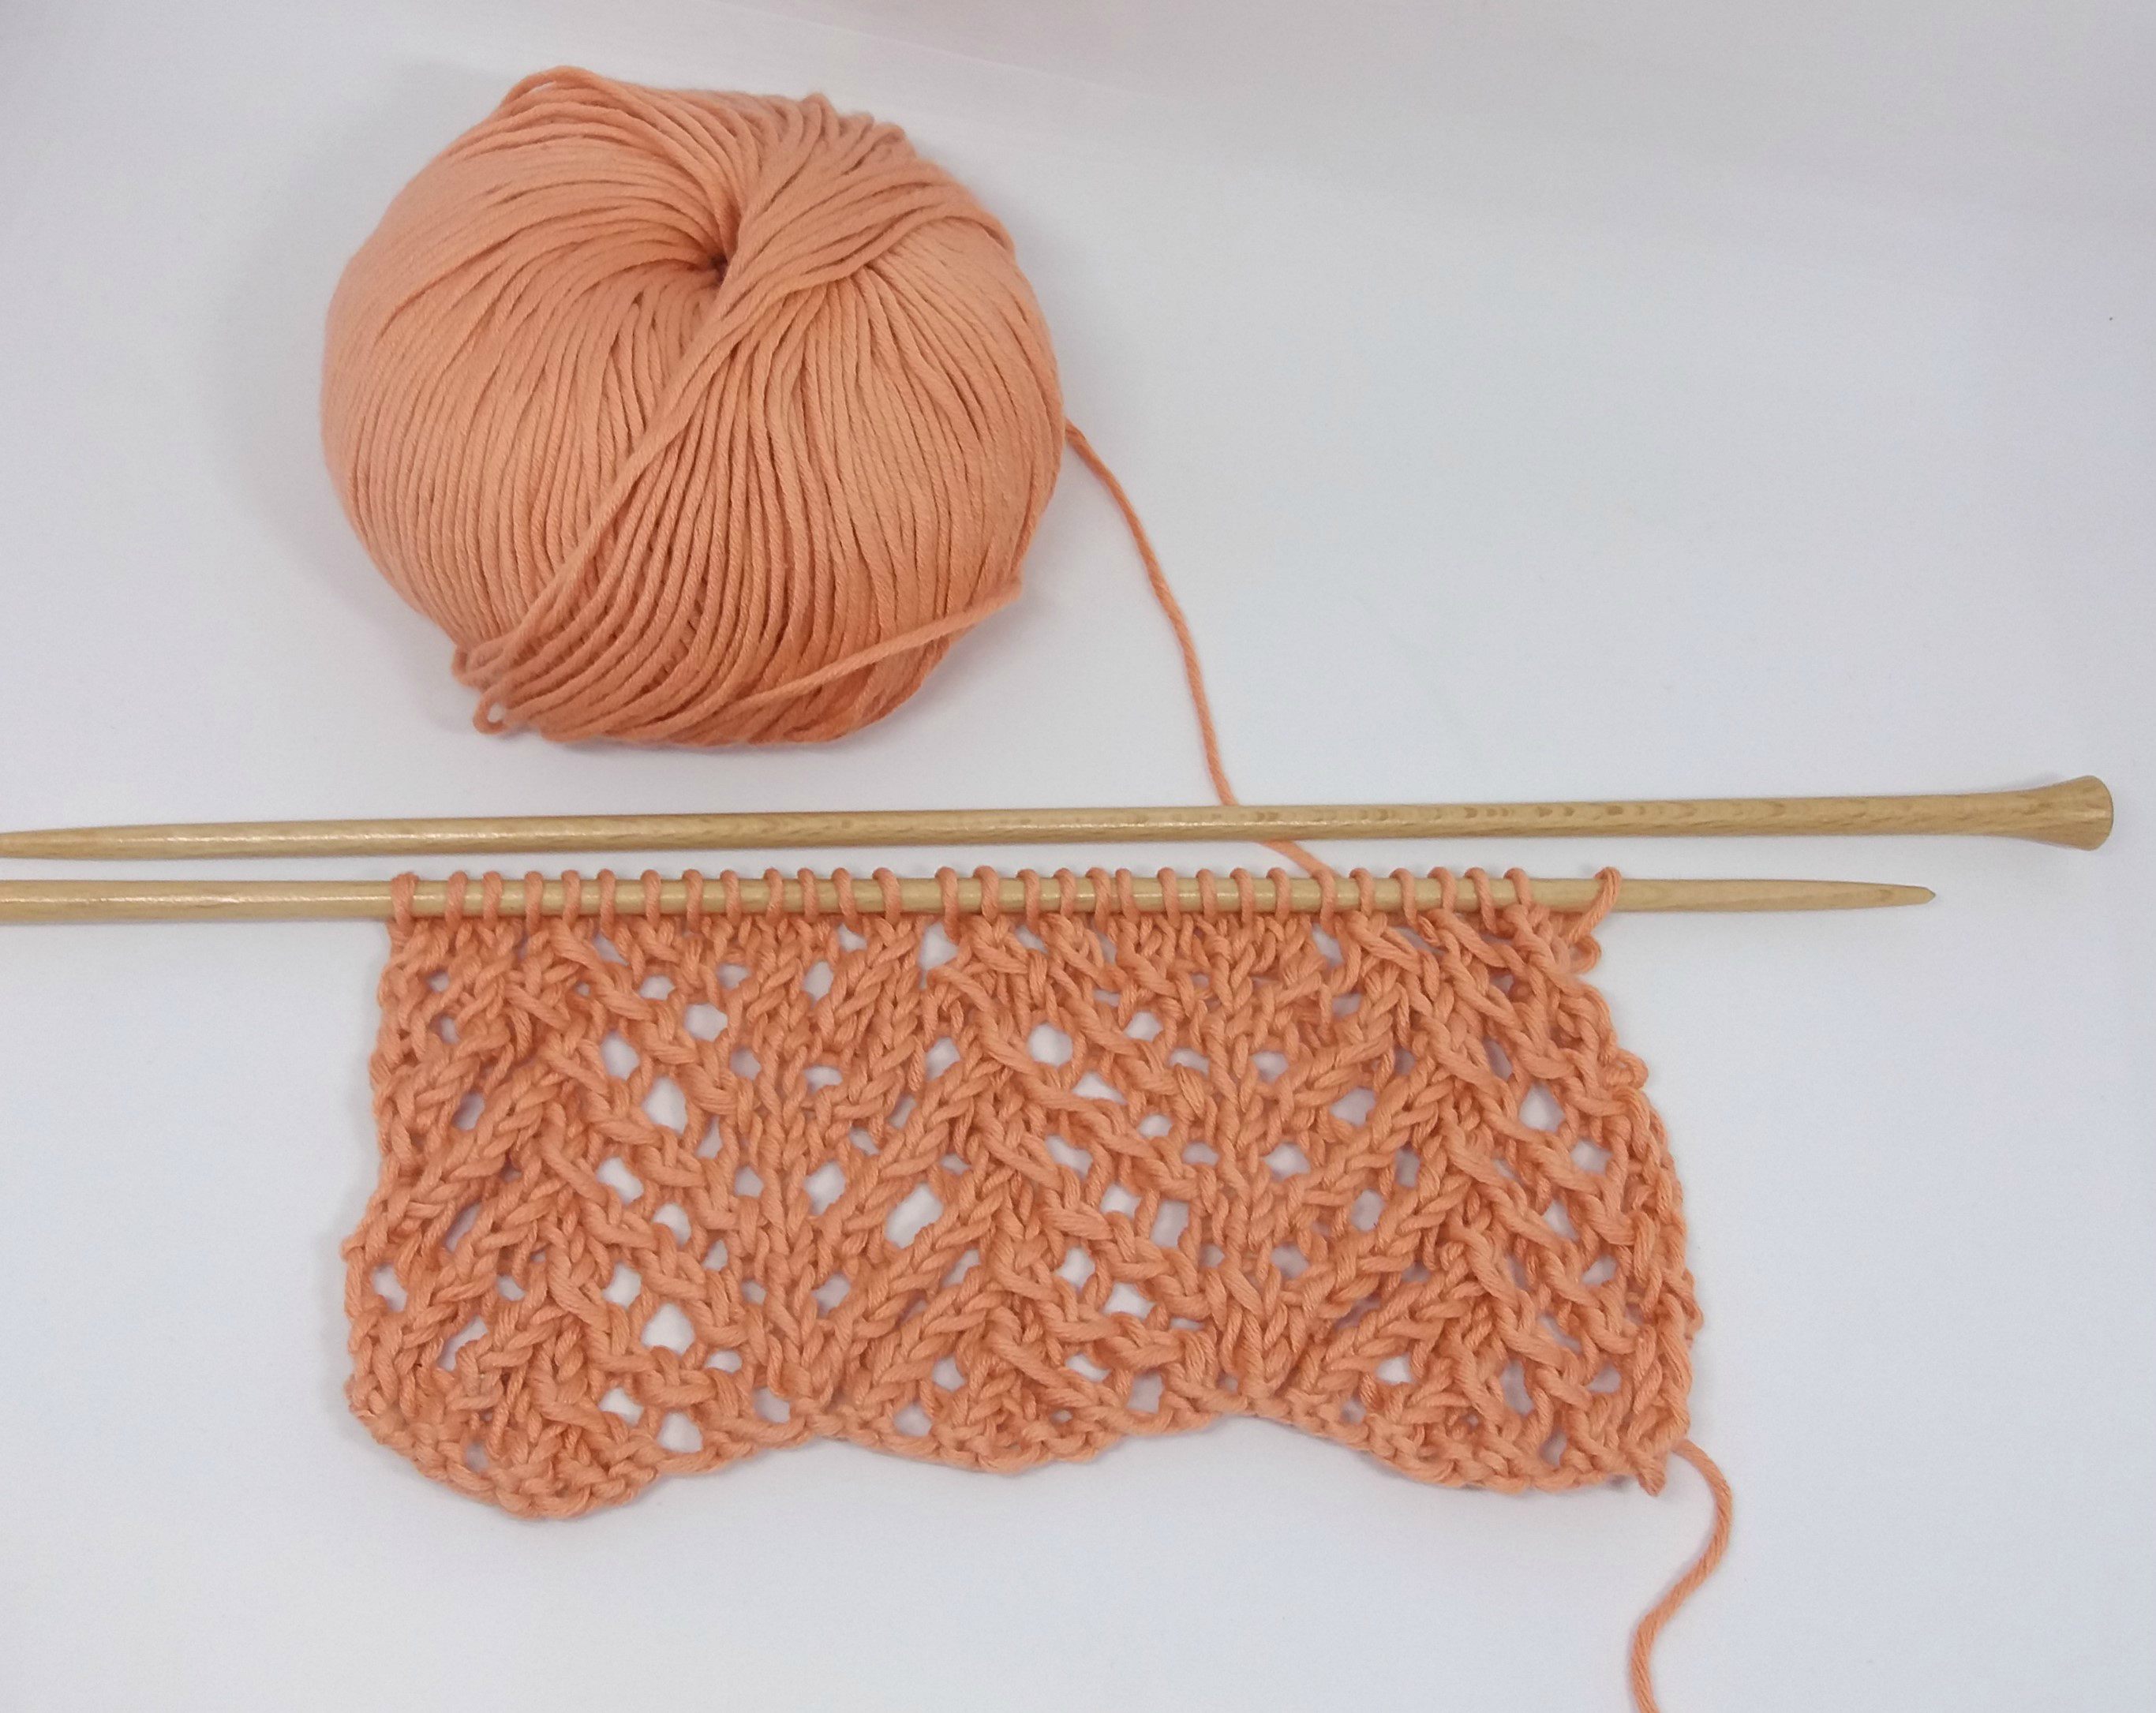
We’re always learning new, little easy tricks that will give a special touch to your creations. In today’s post, we’ll see how we can knit a picot cast on to start a poncho or add it to that simple sweater to give it a unique touch. You will see that it’s an easy stitch technique to work and with a worthwhile result, there will be a different finish you wear on your creations.
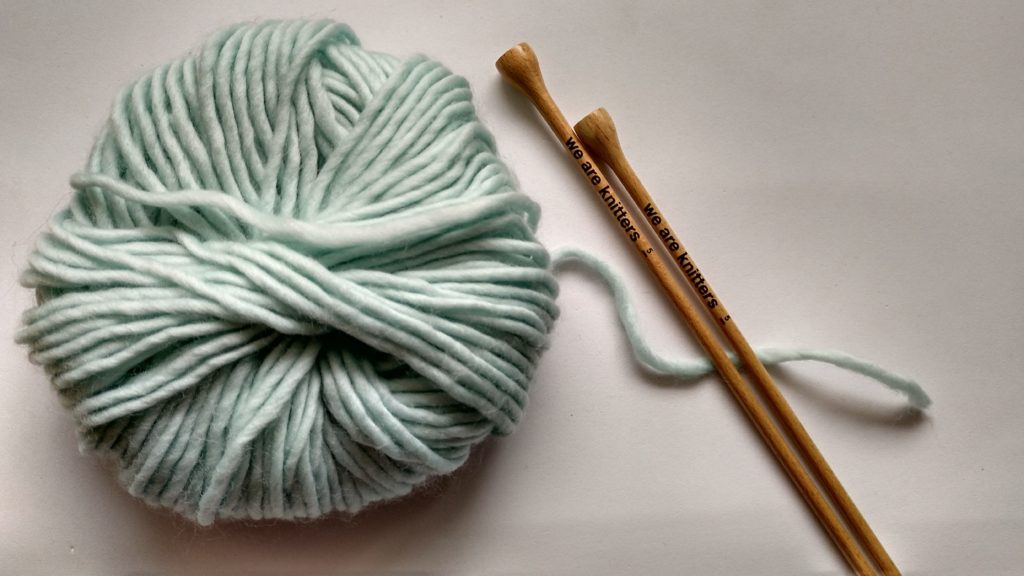
This time we’re using:
And to make it, you should have these techniques mastered:
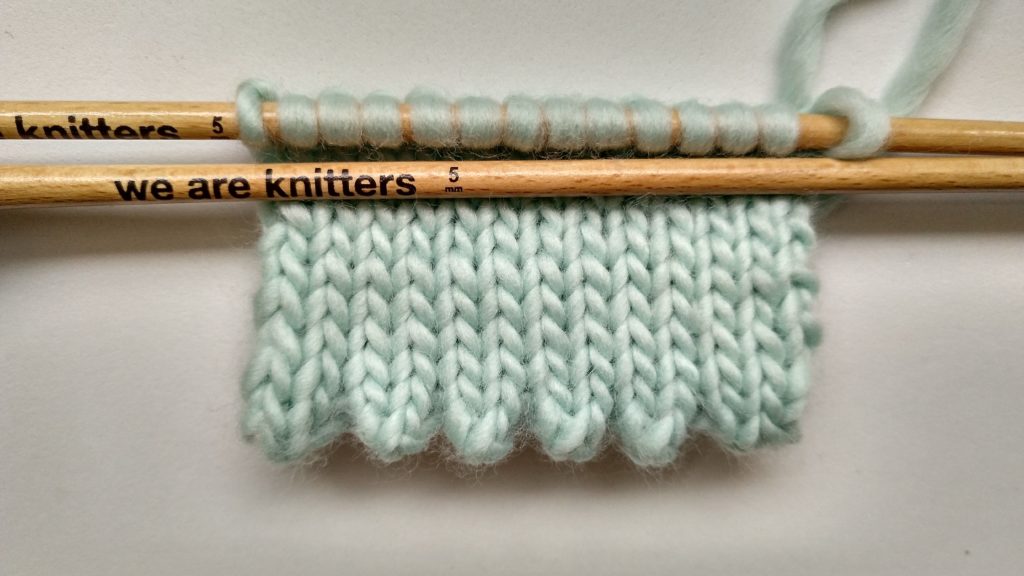
Start by casting off an even number of stitches. In the photos, you can see that we’ve cast on 14 stitches.
Now that we’ve told you what you need, let’s get to it!
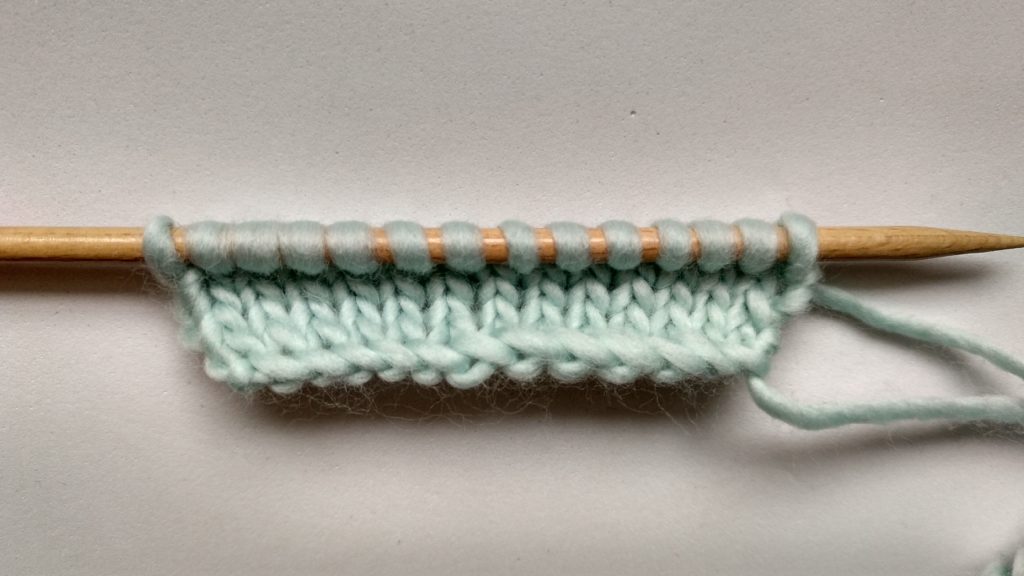
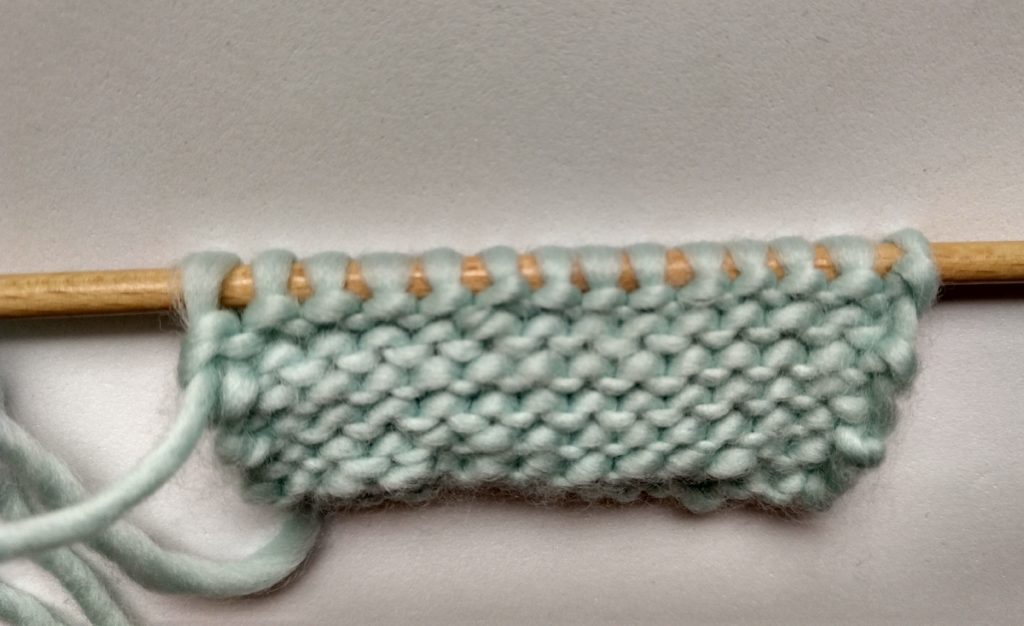
Rows 1, 3, 5. Knit all stitches
Rows 2, 4, 6. Purl all stitches
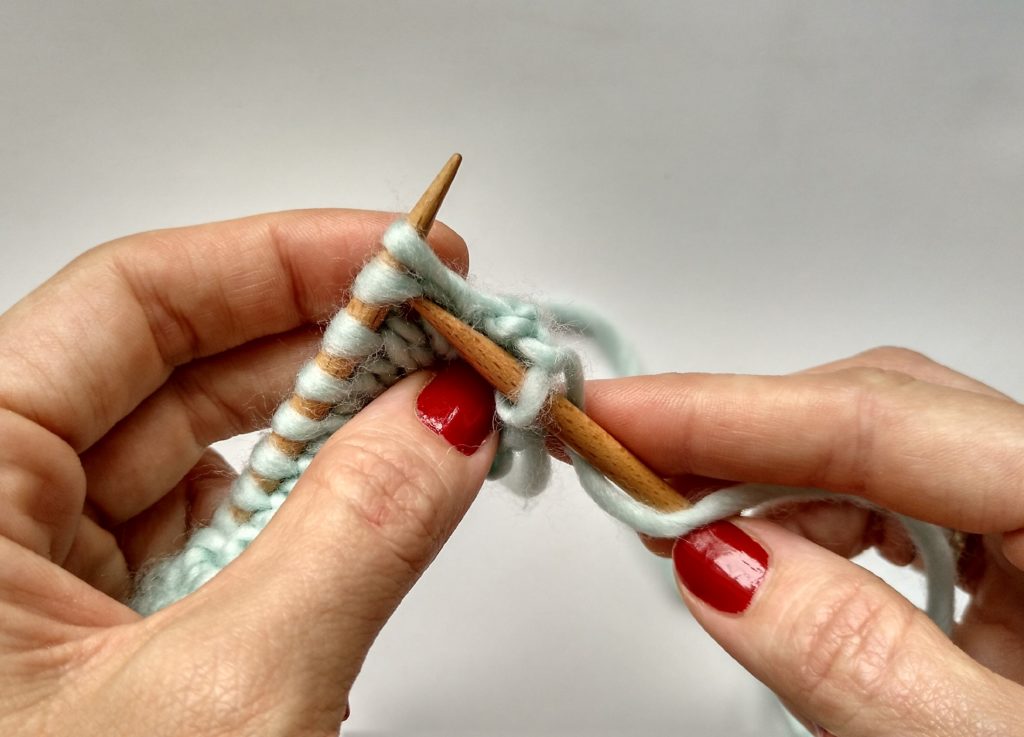
Row 7. Knit the first stitch. *yarn over, knit 2 together*. Repeat from * to * until there is only 1 stitch left. Knit the last stitch.
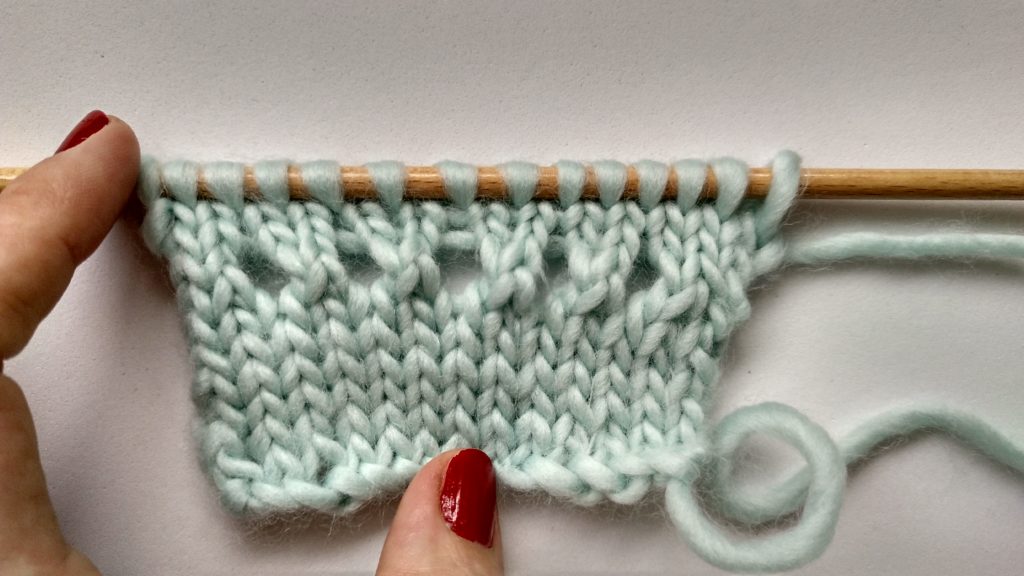
Row 8. Knit all stitches
Row 9. Purl all stitches
From here, continue knitting the even rows and purling the odd rows until you reach the desired length.
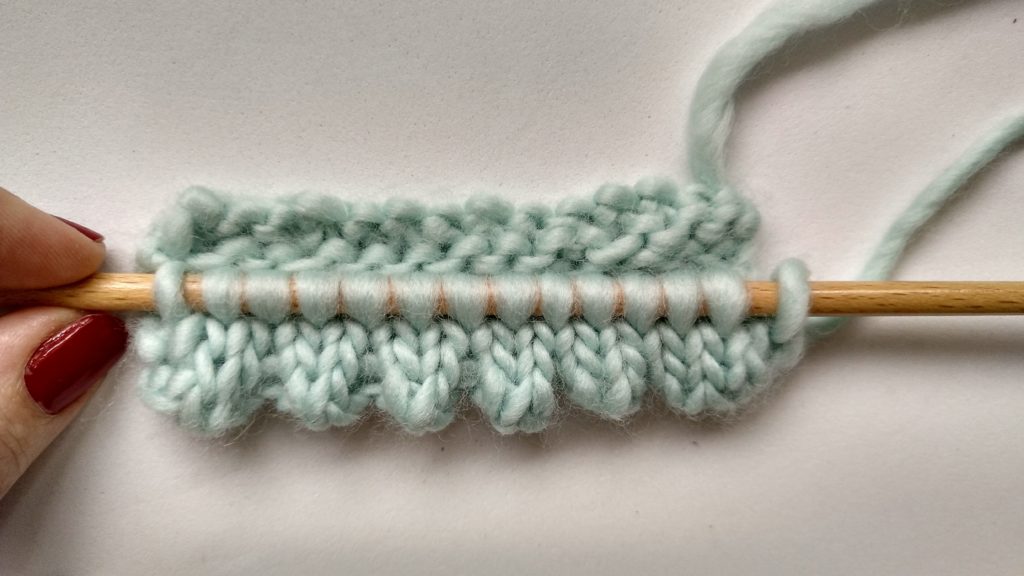
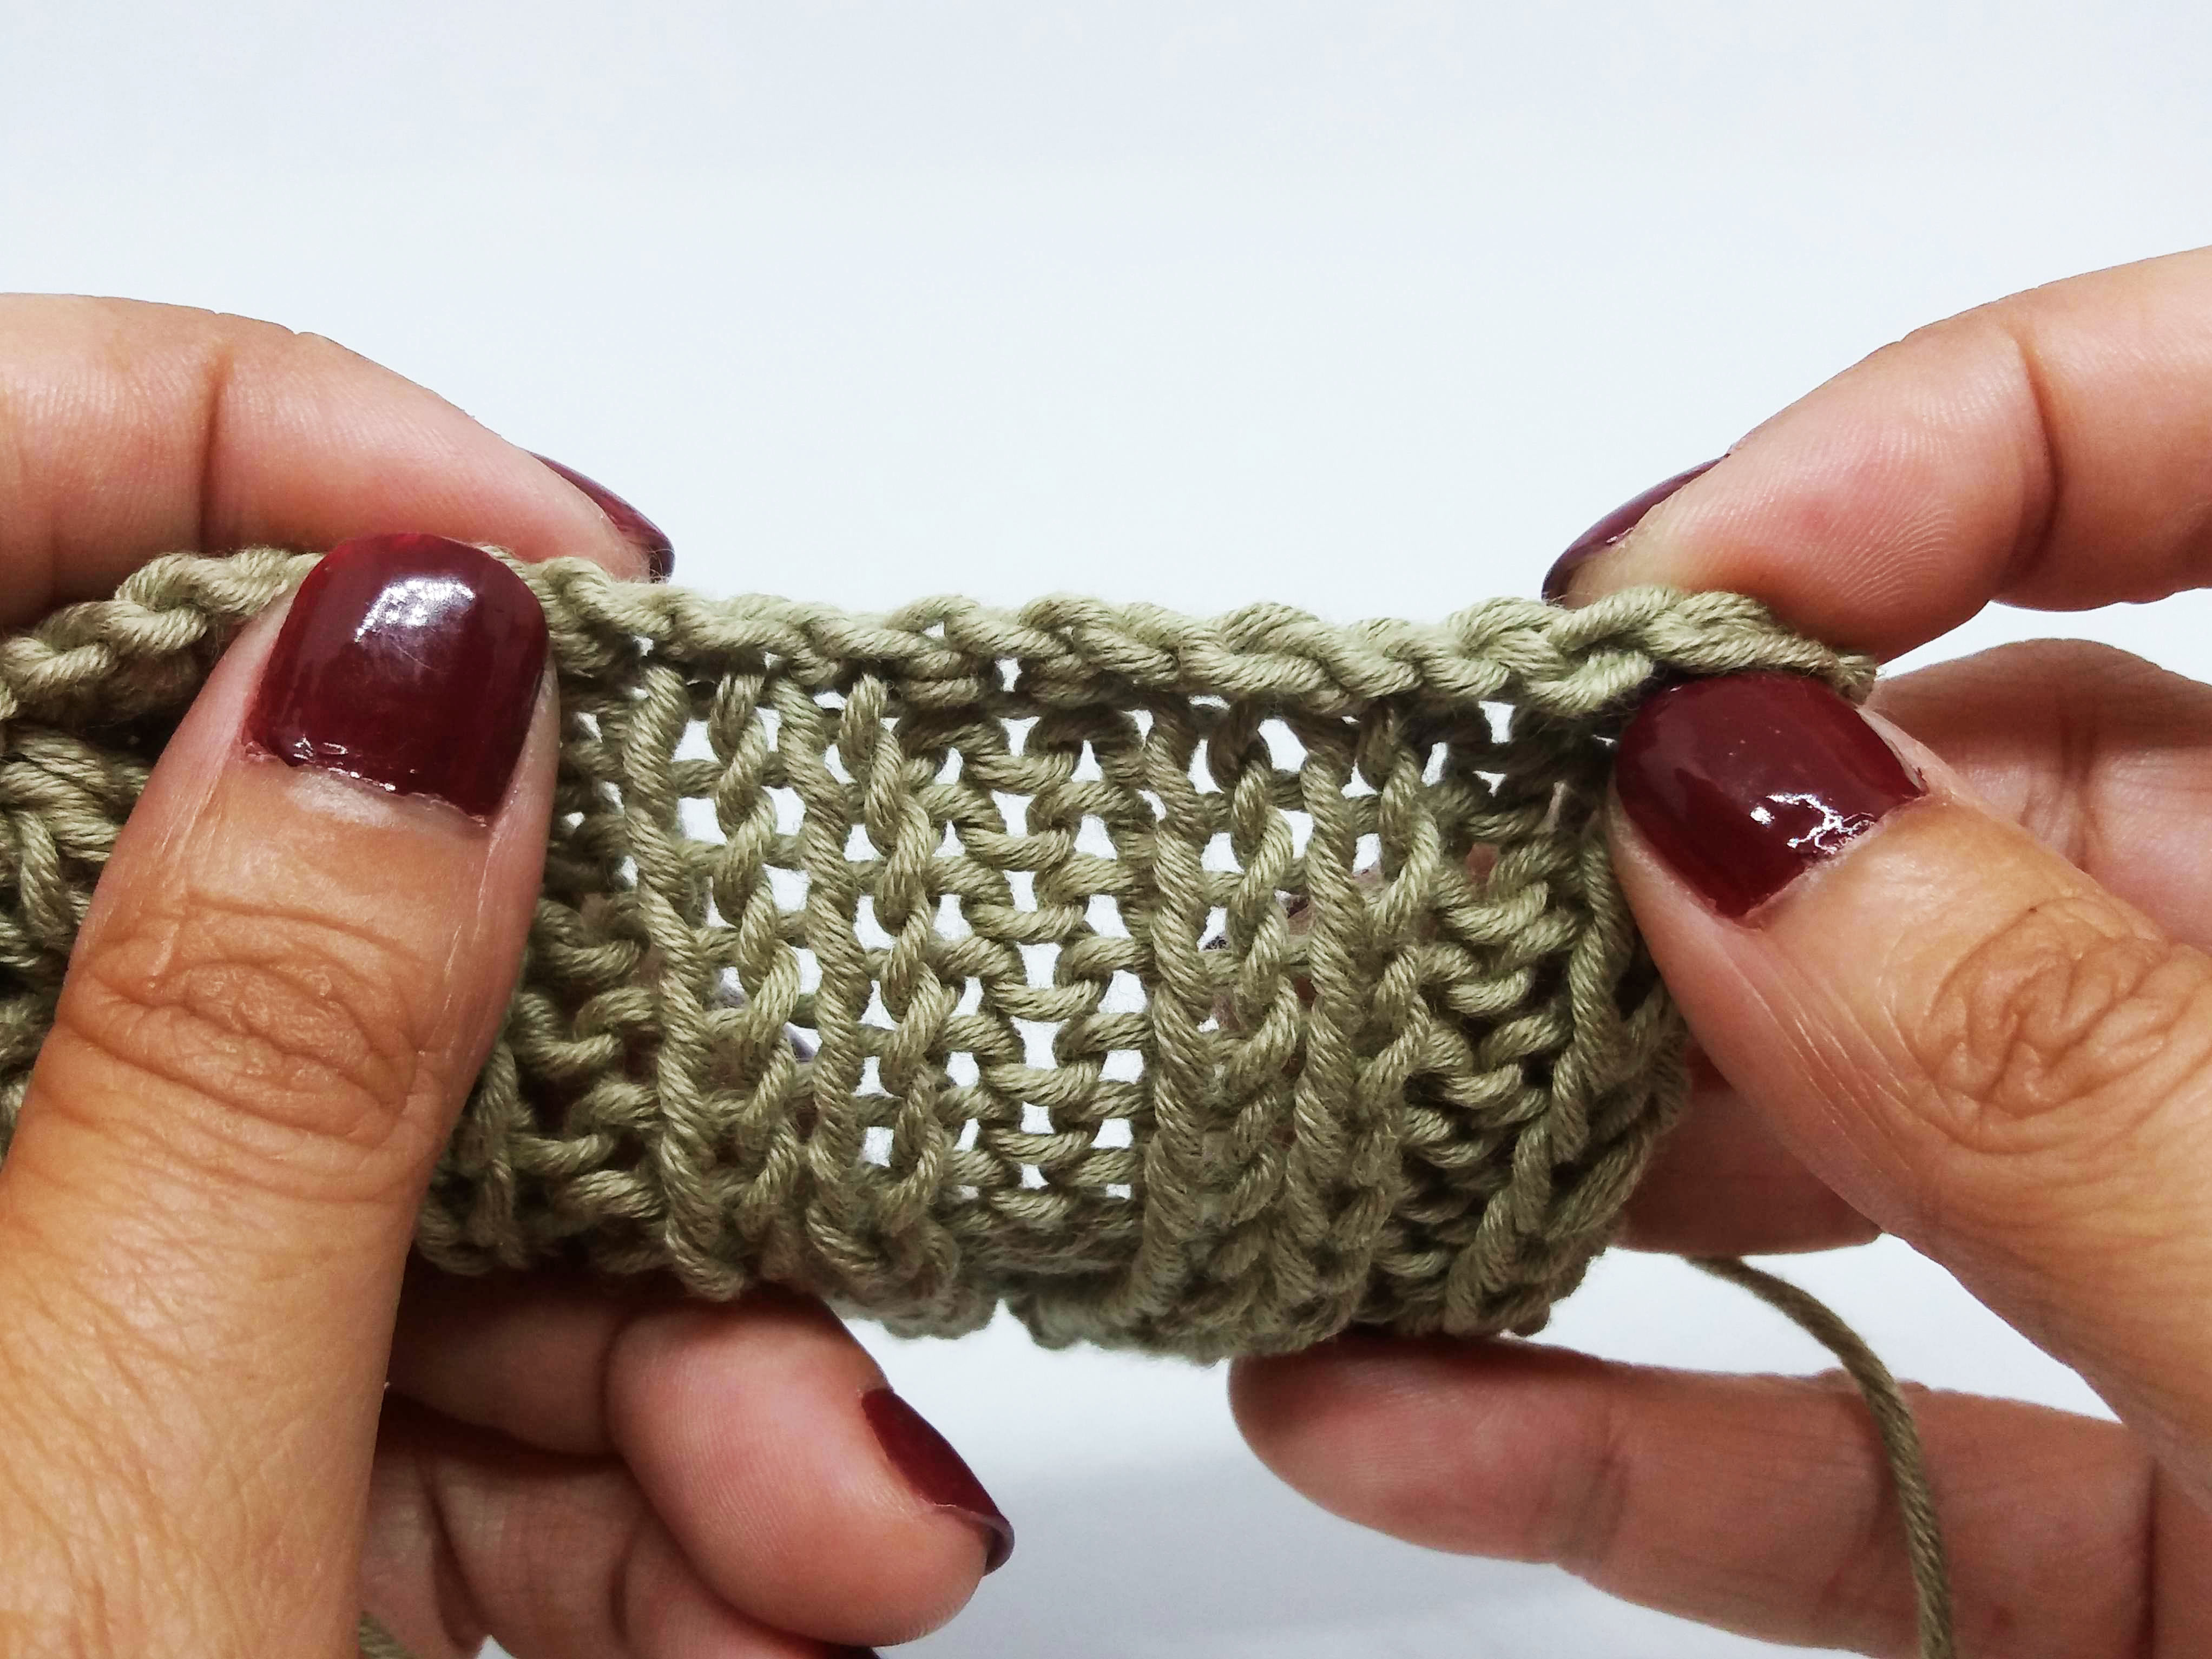
Now, turn the work over and fold it up on row 7 (where you worked the eyelets). In the photo, you can see that, with the fold, the picots are formed.
Sew the hem and flip the fabric. You will see that the seam is hidden in the back and is not visible. This type of hem leaves a perfect finish because it is thick and strong and does not allow the garment to curl.
And as you can see, you’ve done it again, a picot cast on. One more trick for your repertoire. Little by little, you’re becoming an expert. You can now add a personal touch to the blanket that you had thought to knit for the foot of the bed. Don’t forget to take a picture and share it with us at #WeAreKnitters, we can’t wait to see how it looks.
