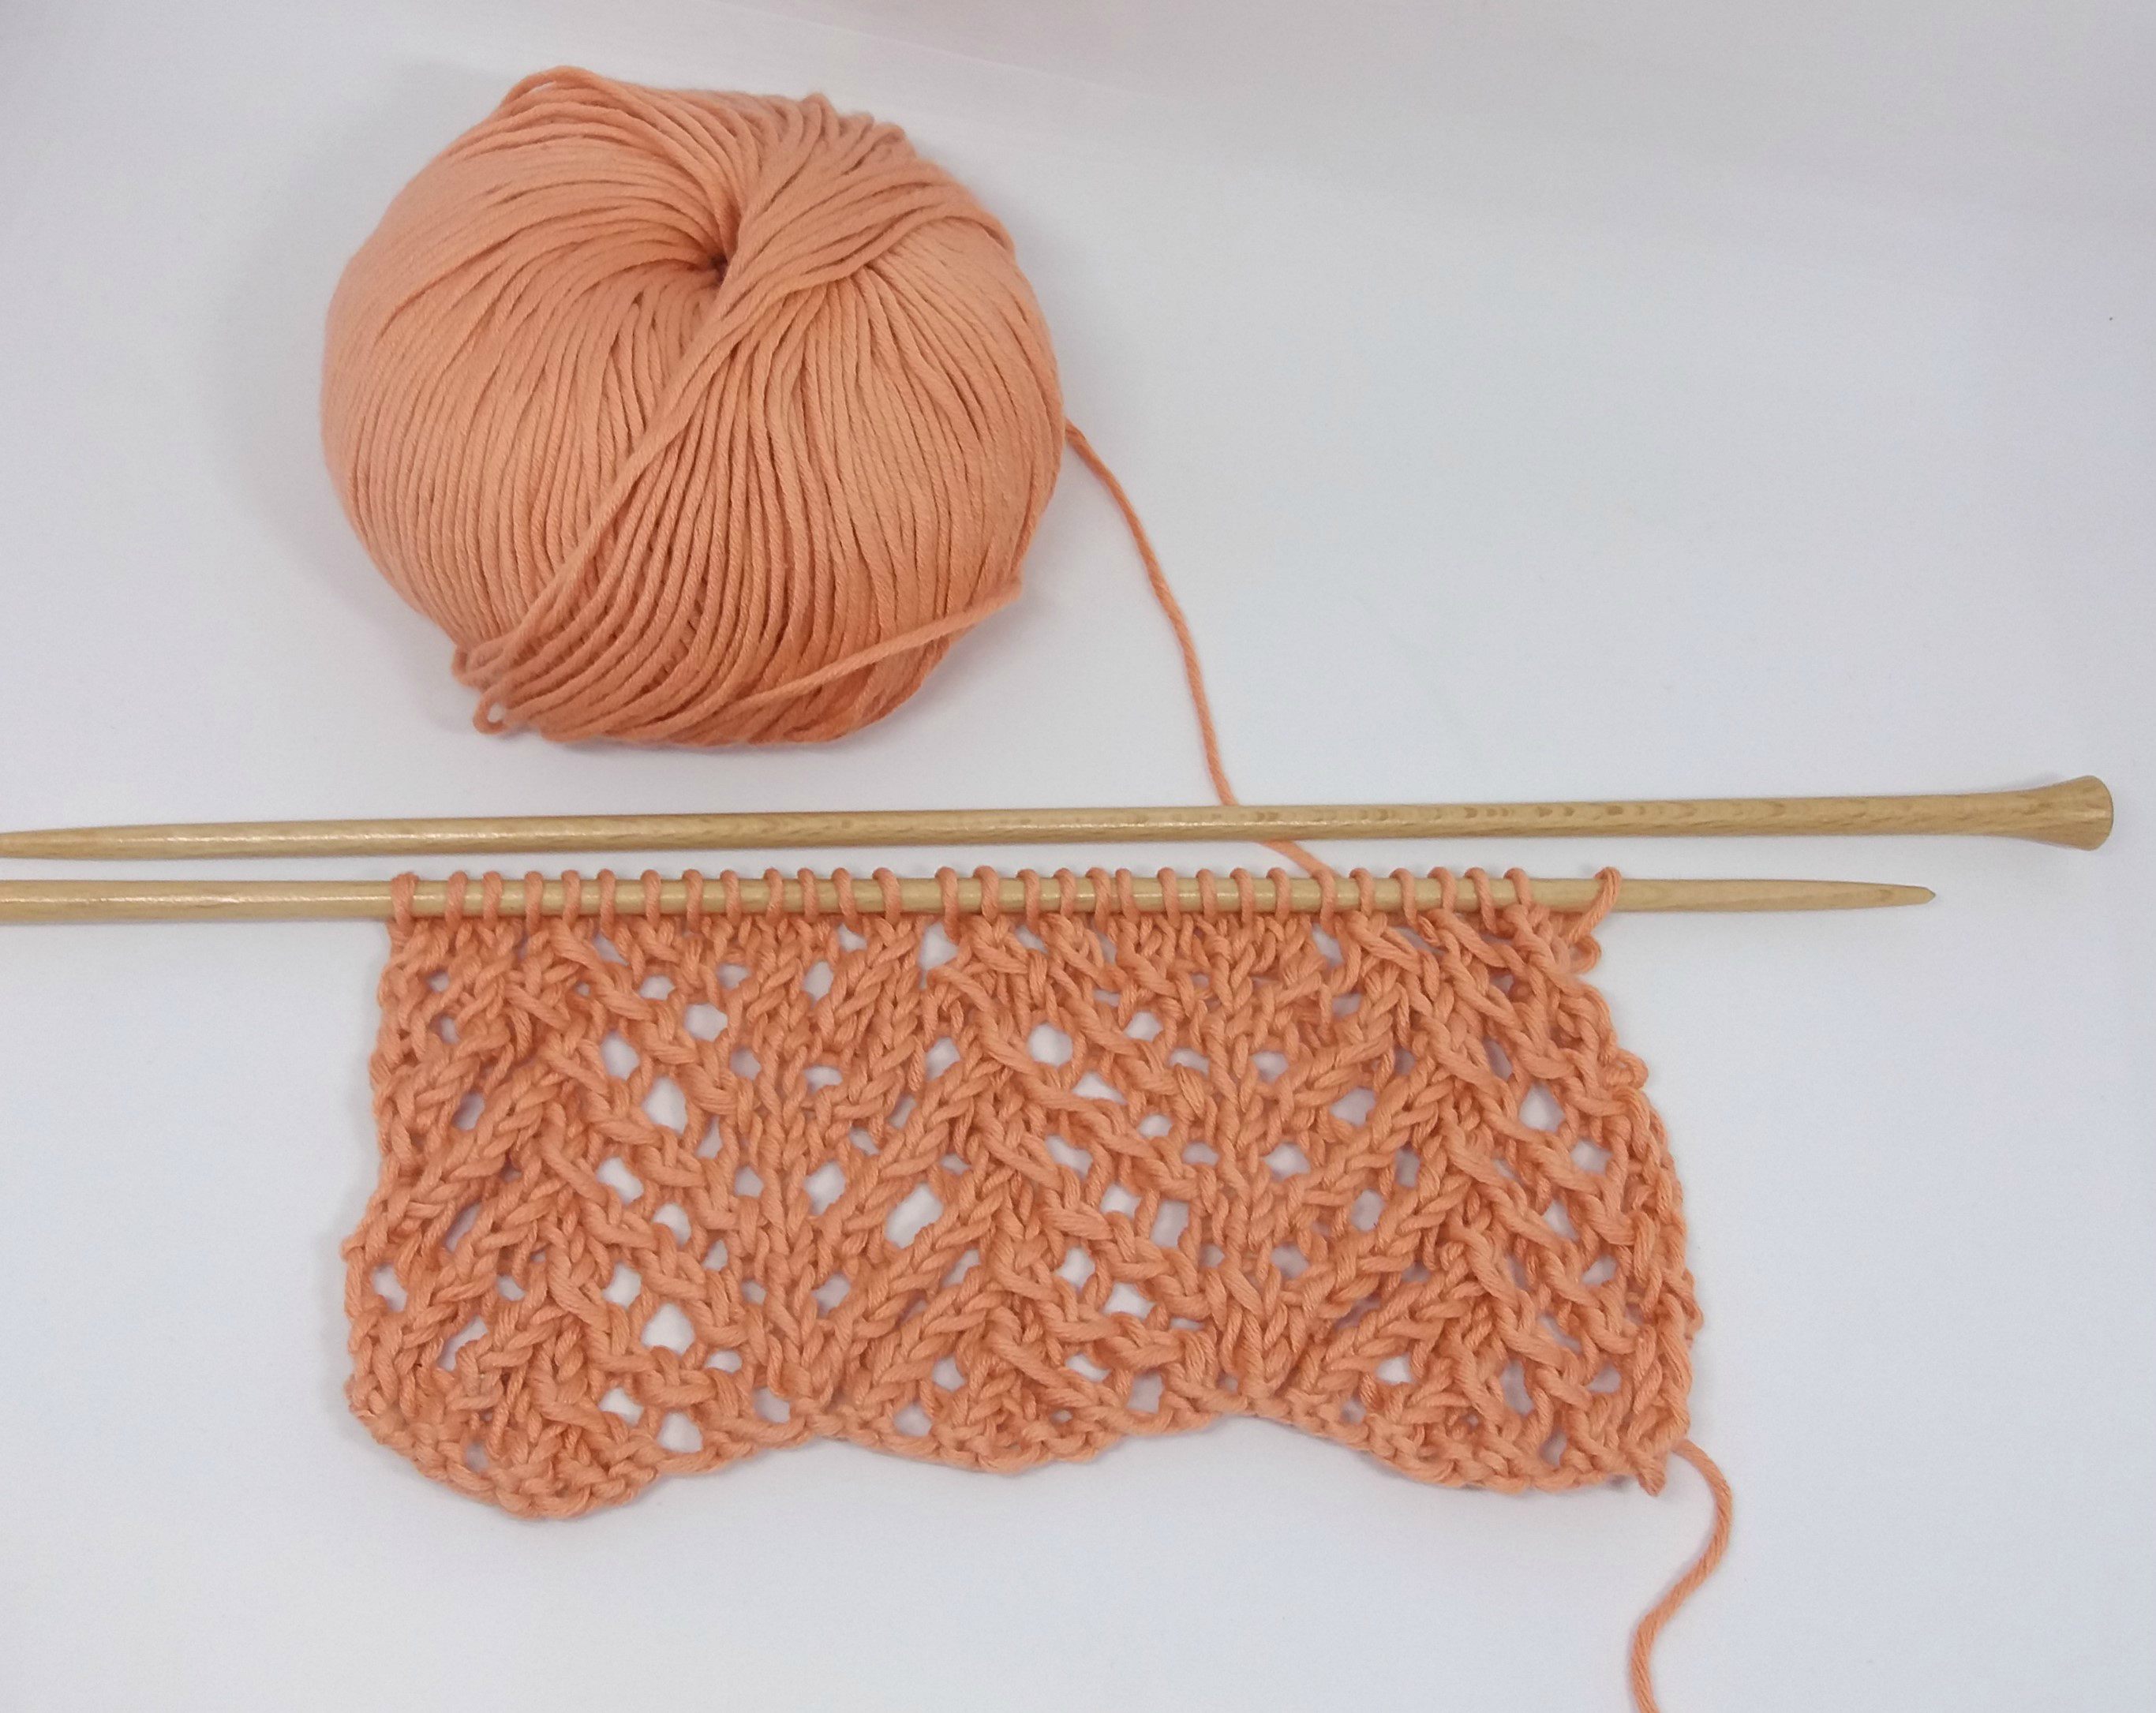
There are stitches that make you fall in love at first sight, and the one we will explain you today is to die for. If you have ever dreamed of having your own little forest: we bring it to you today. We will teach you to knit the small pine trees stitch step by step. Wouldn’t it be gorgeous in a sweater? Those lovely ones that you can wear in both the beginning of Autumn when it’s a little bit cold, and in Spring when the days are not completely hot. The lace in this stitch is perfect for such cases.

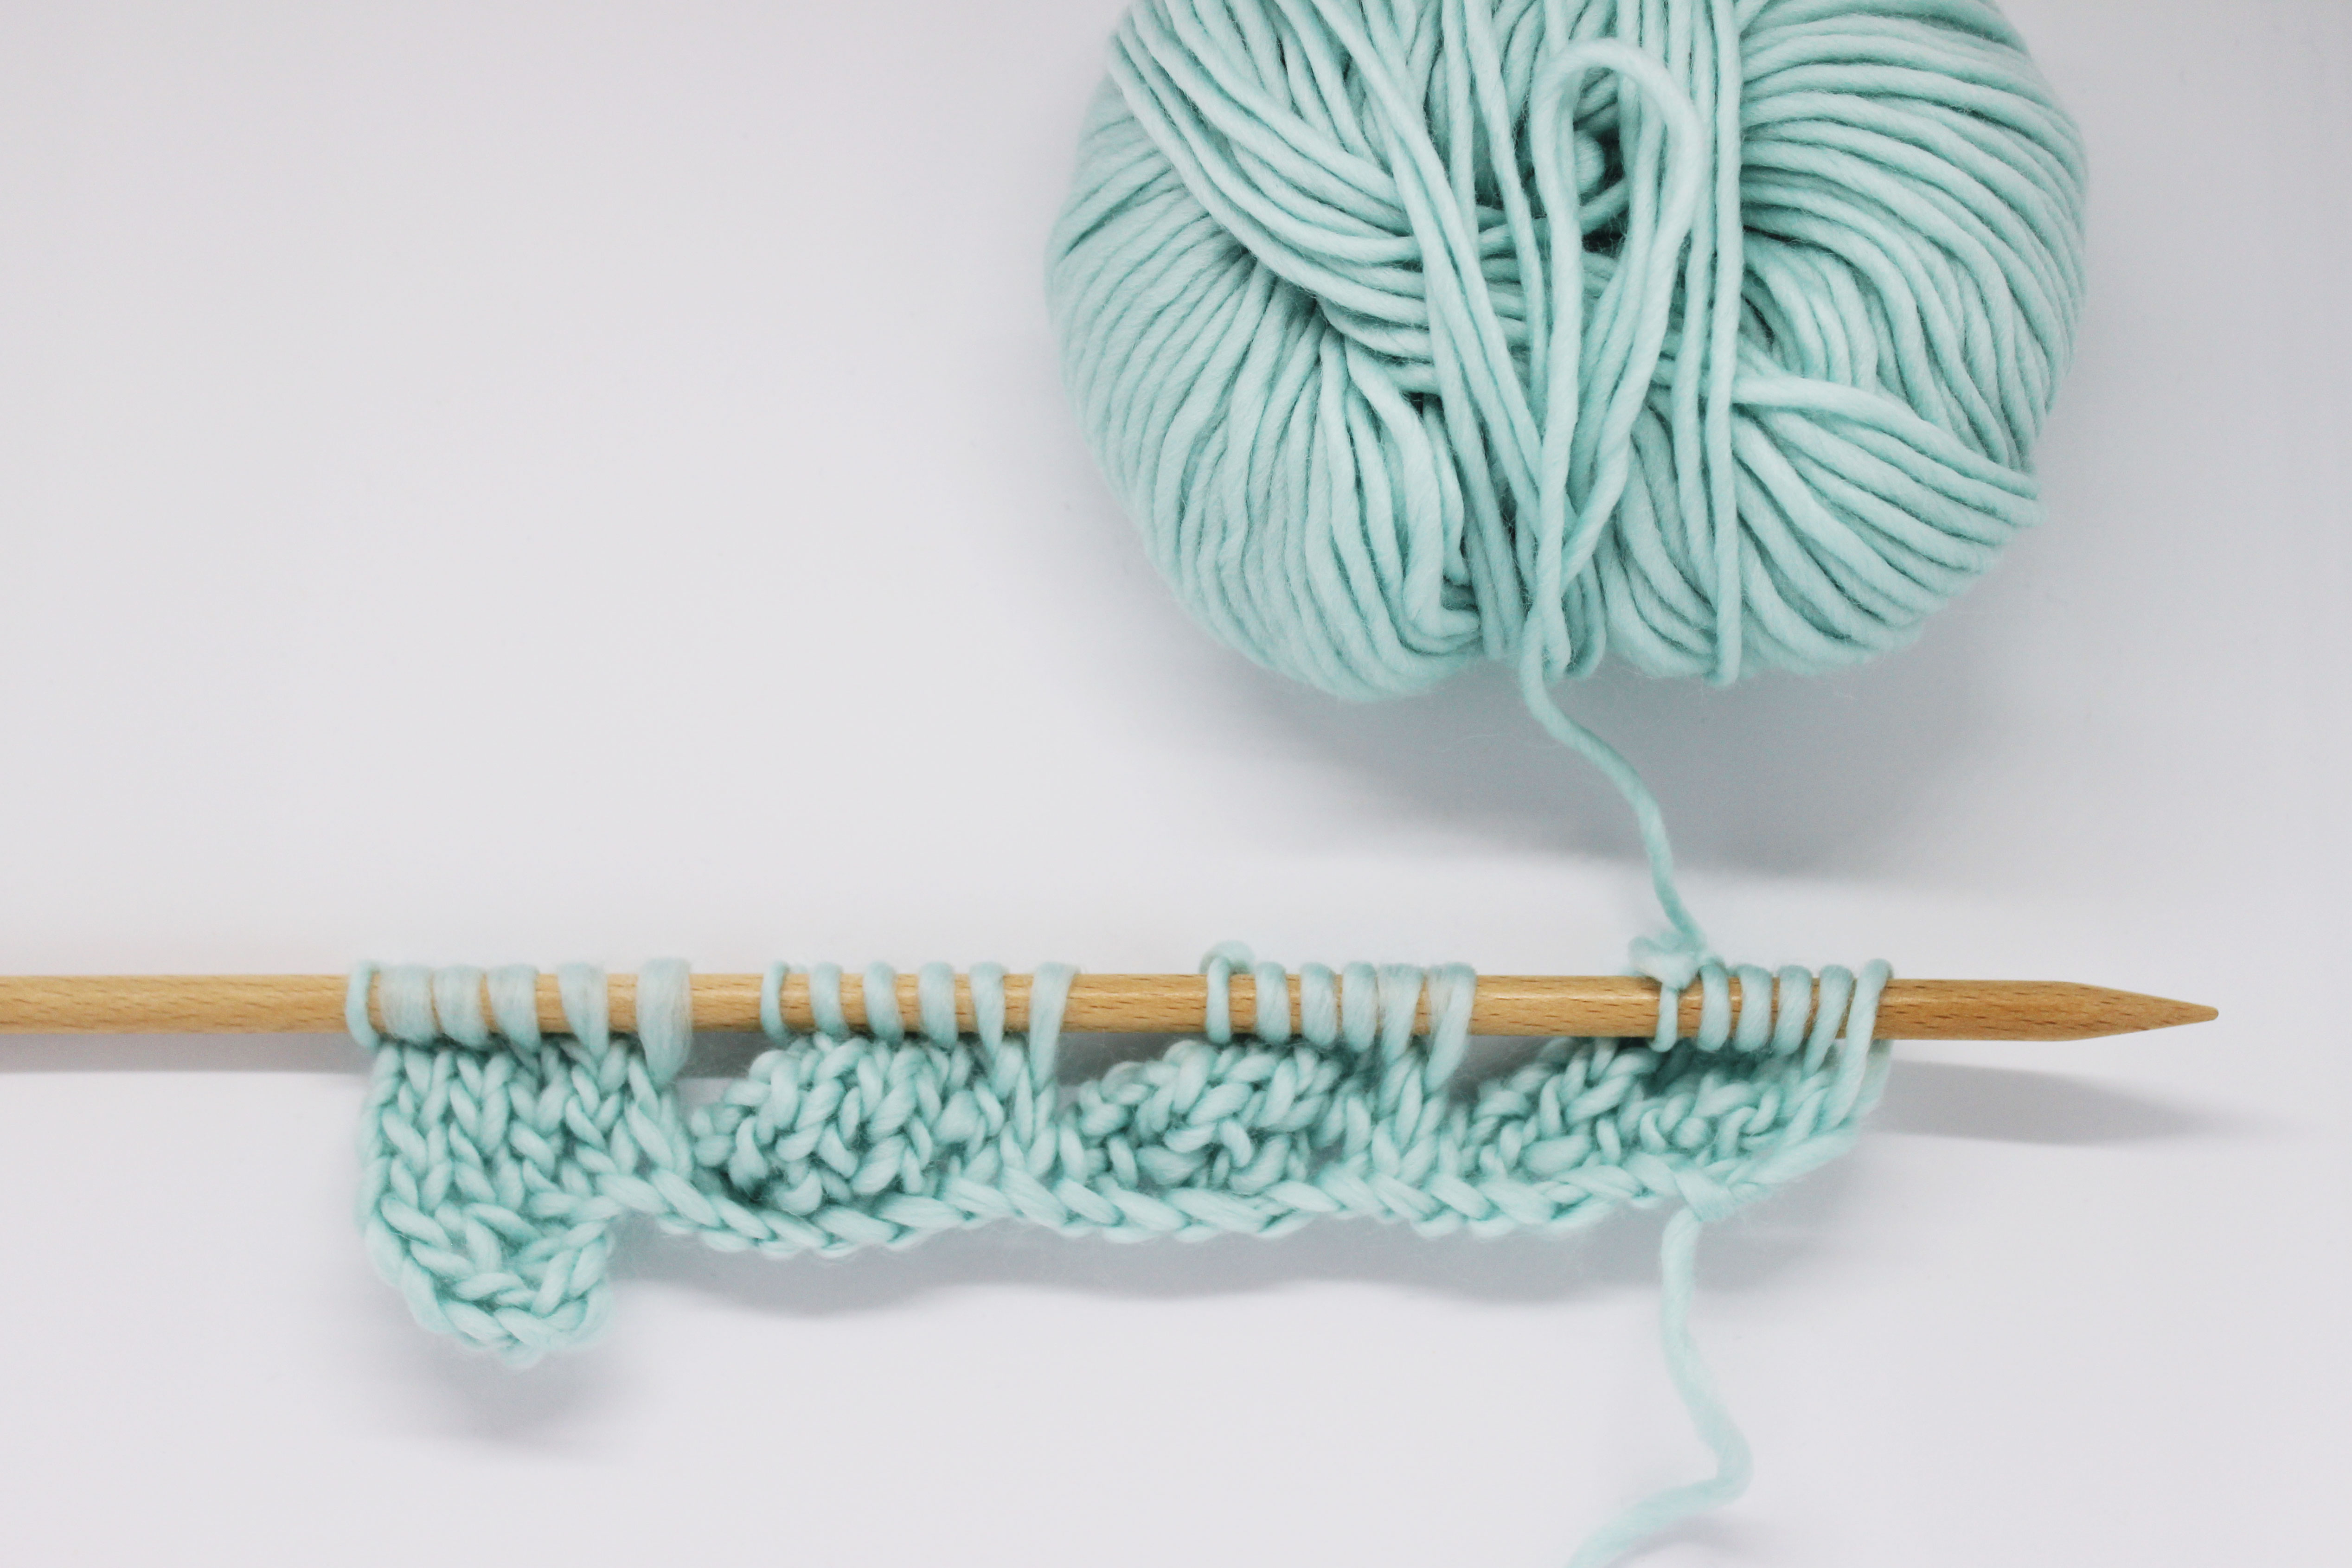
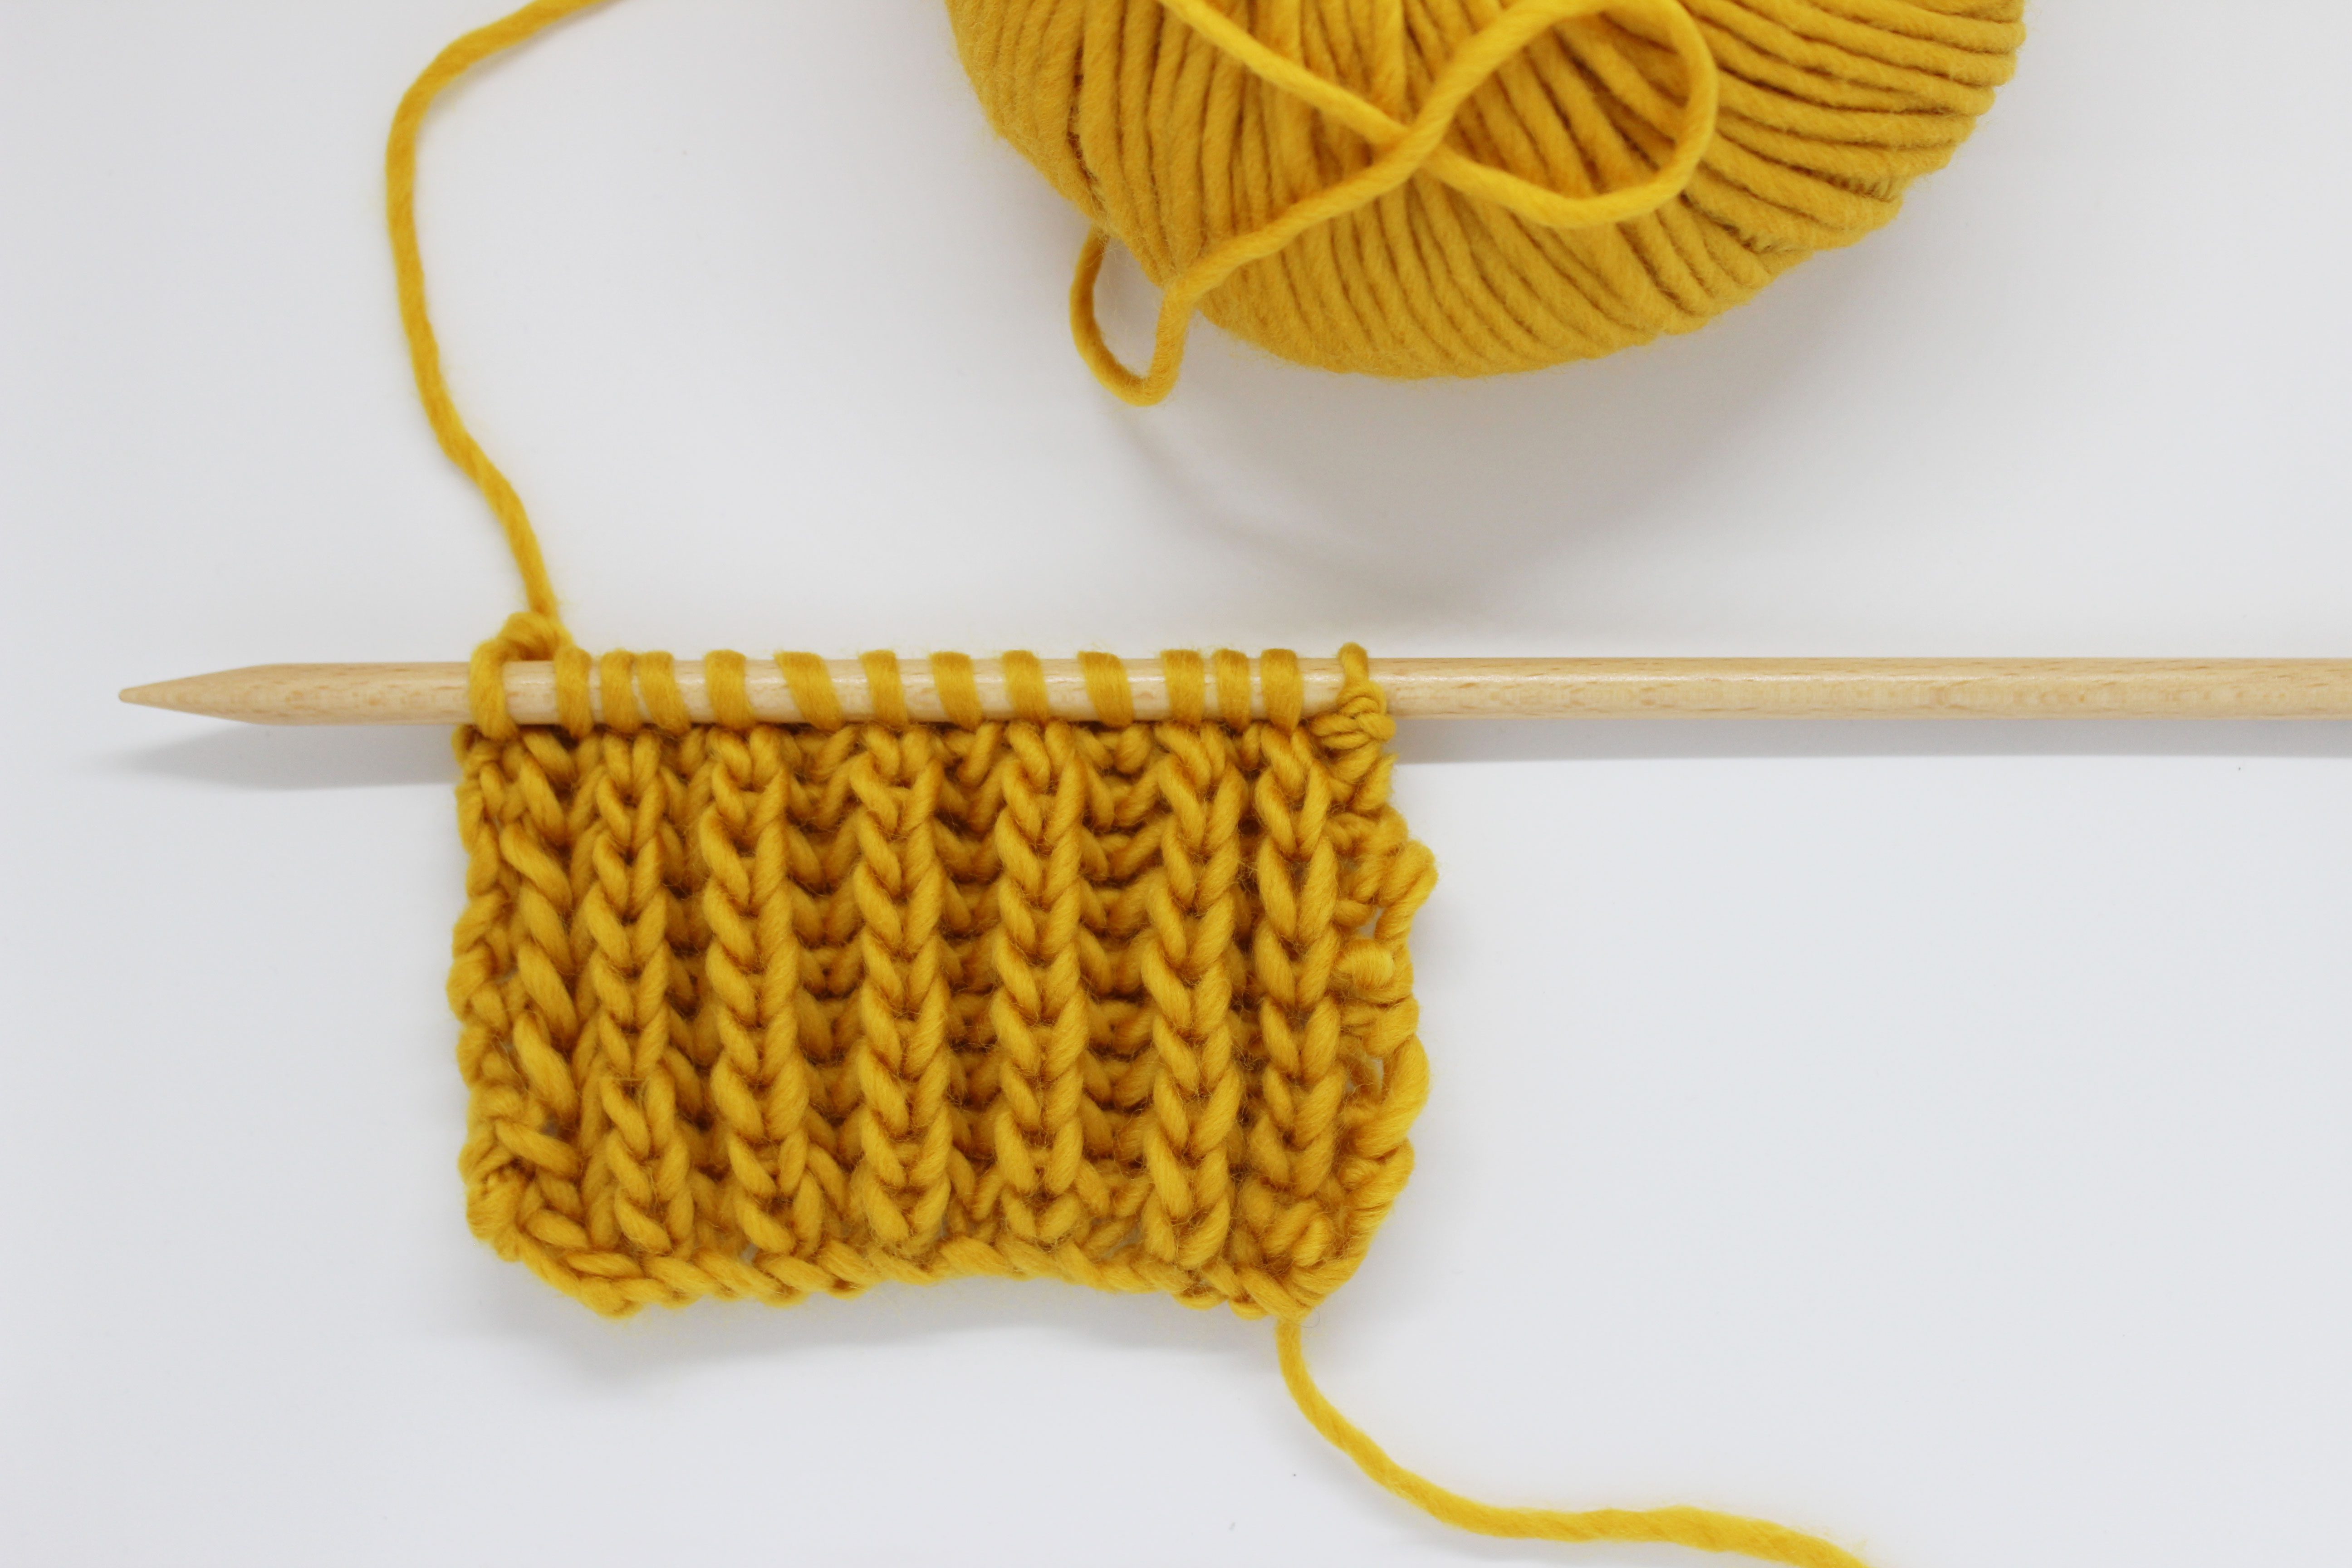
For this tutorial we will use one of our Meriwool skeins in a gorgeous aquamarine and our size US 8 (5 mm) knitting needles.
Before beginning, let’s review the list of stitches and techniques you need to know:
- Cast on
- Knit stitch
- Purl stitch
- Yarn over
- S2KPO (Slip, slip, knit, pass over) double decrease (we will show you how to work this stitch next).
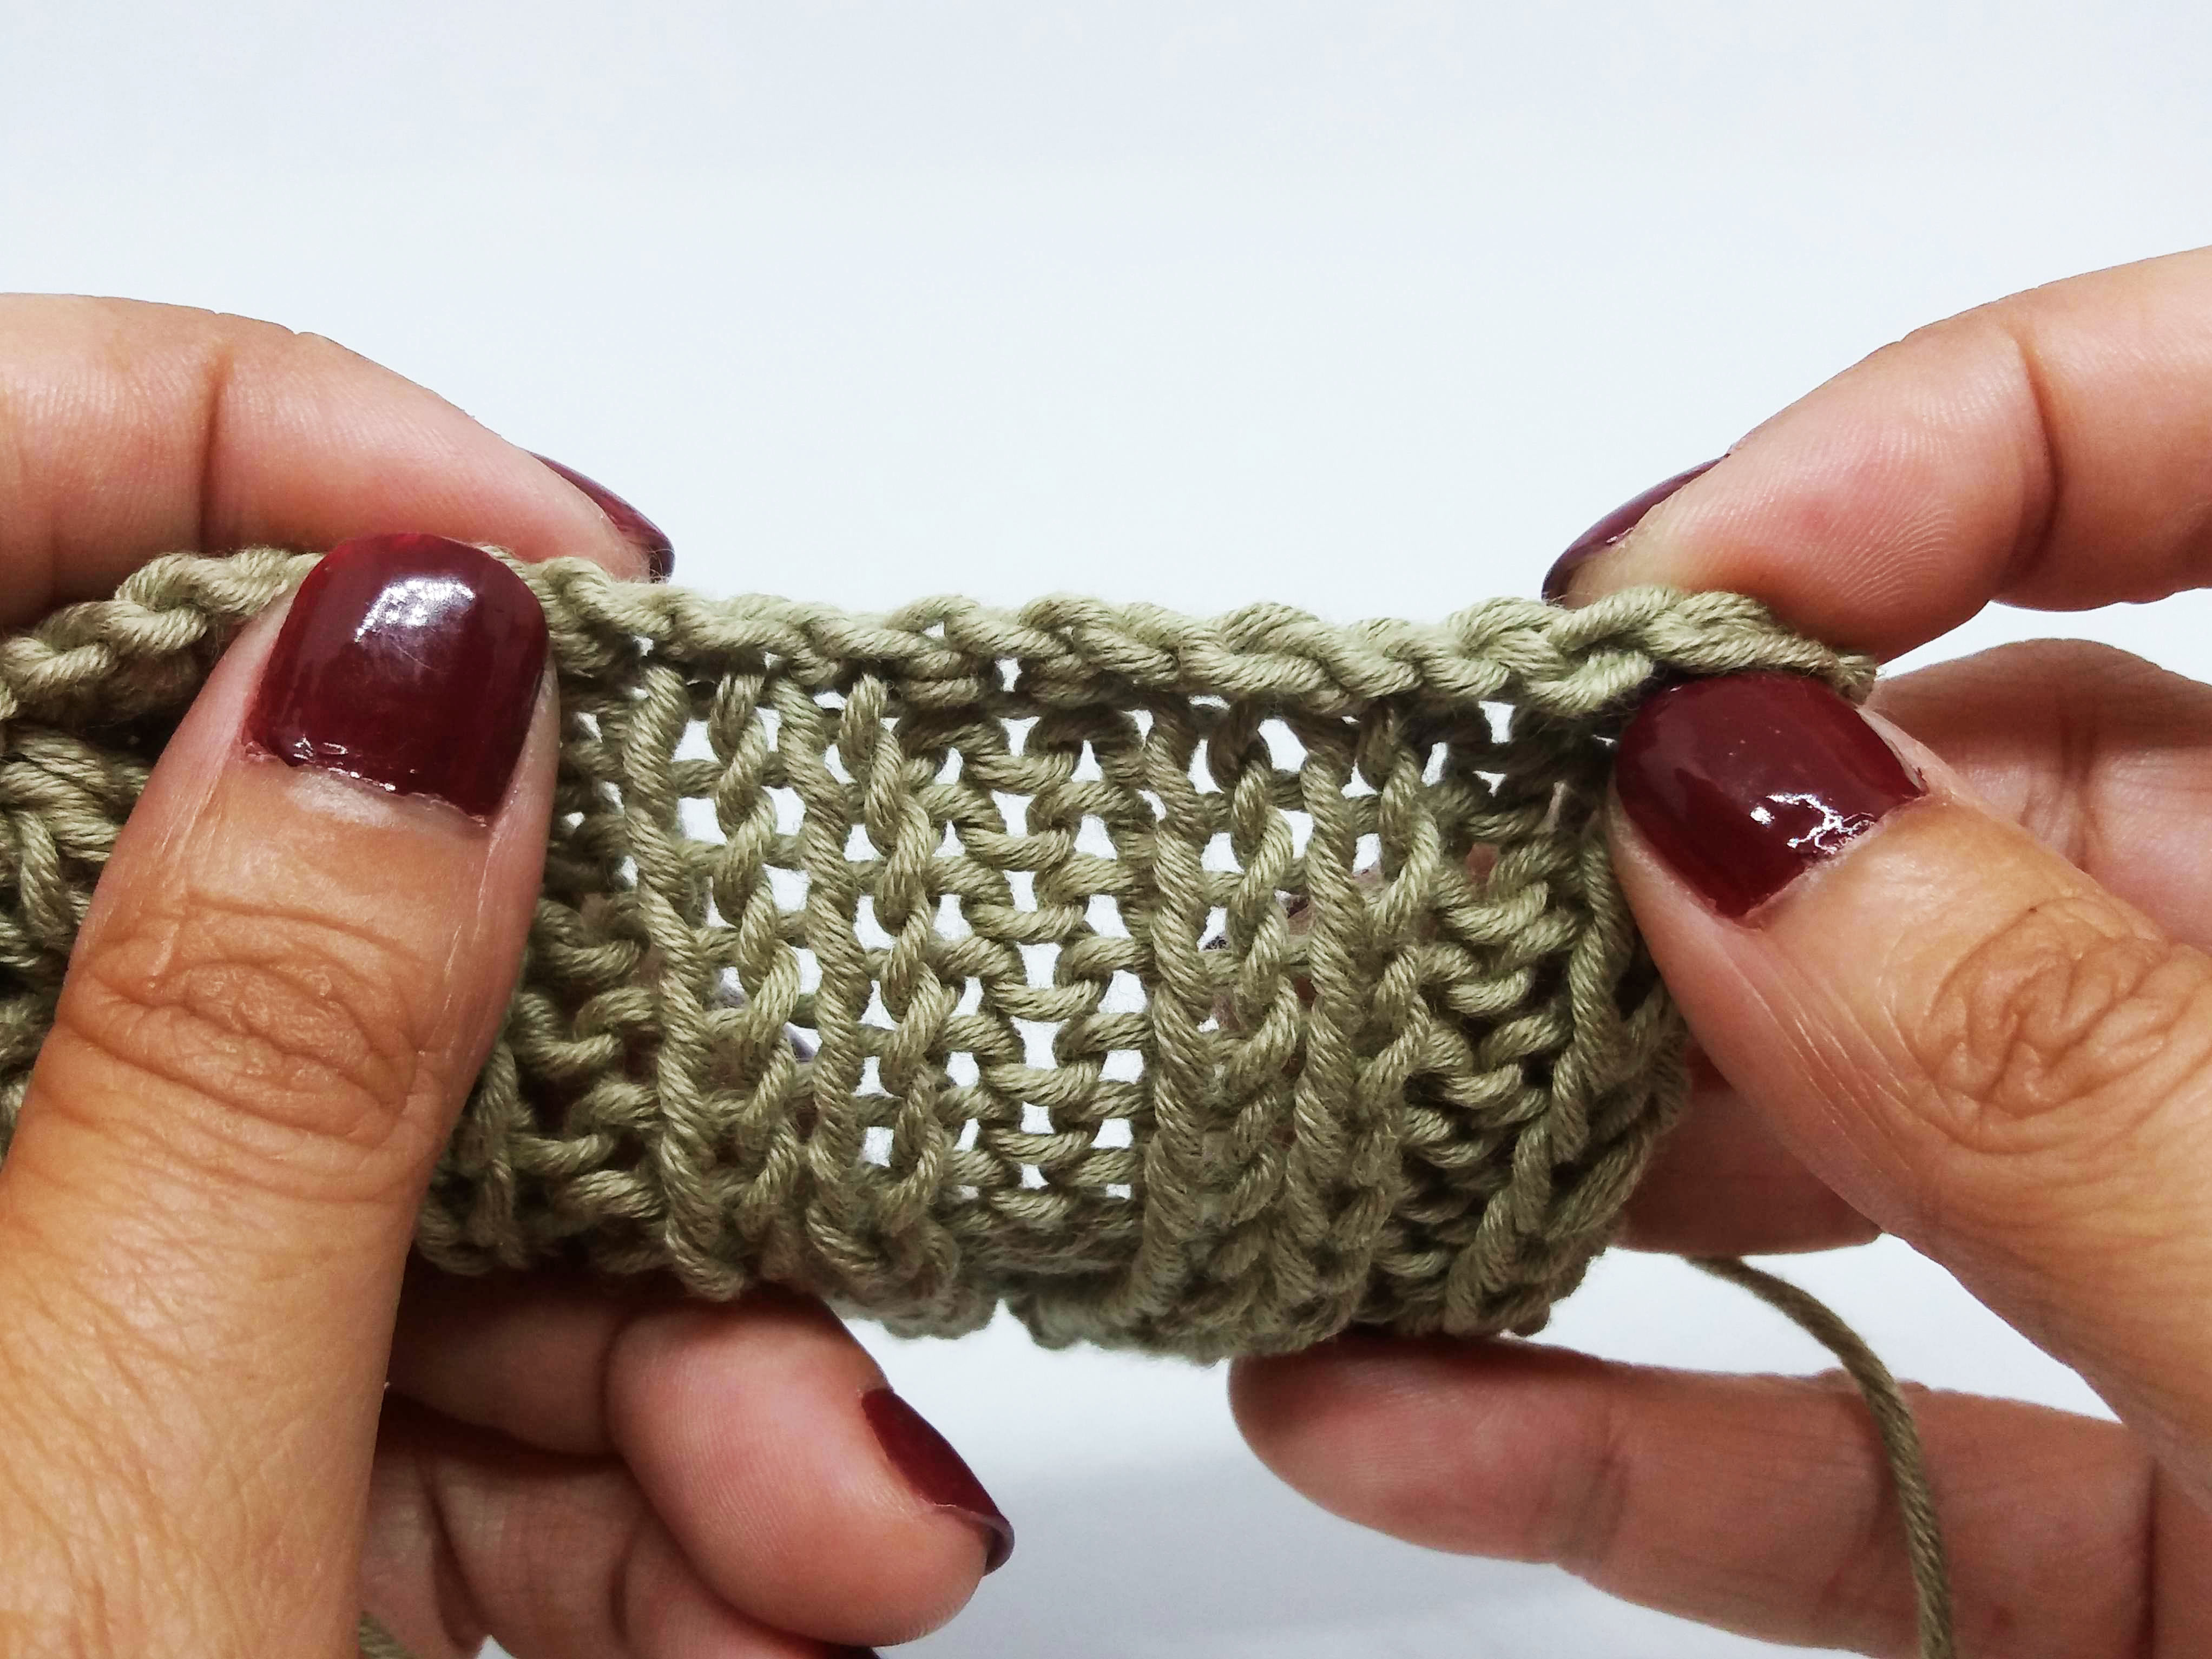
How to work a double decrease S2KPO?
As the name indicates, it’s all about decreasing 2 stitches in only 1 stitch.
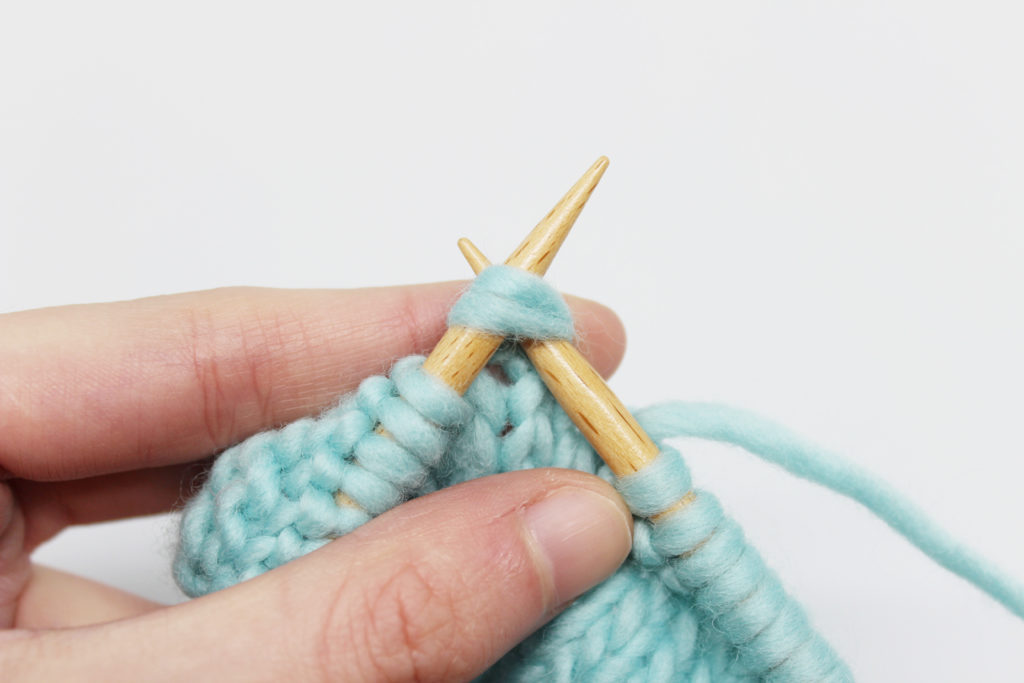
To start, slip two stitches without working them from the left-hand needle to the right-hand one.
You must insert the needle through these two stitches as if you were to knit them.
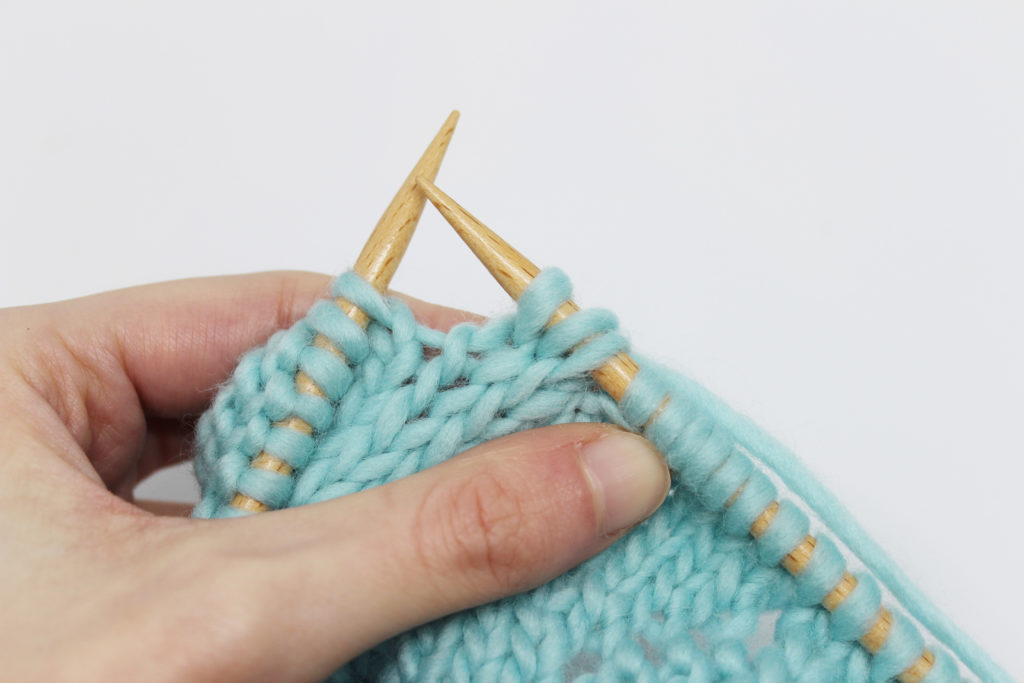
Once they are on the right-hand needle, knit the next stitch.
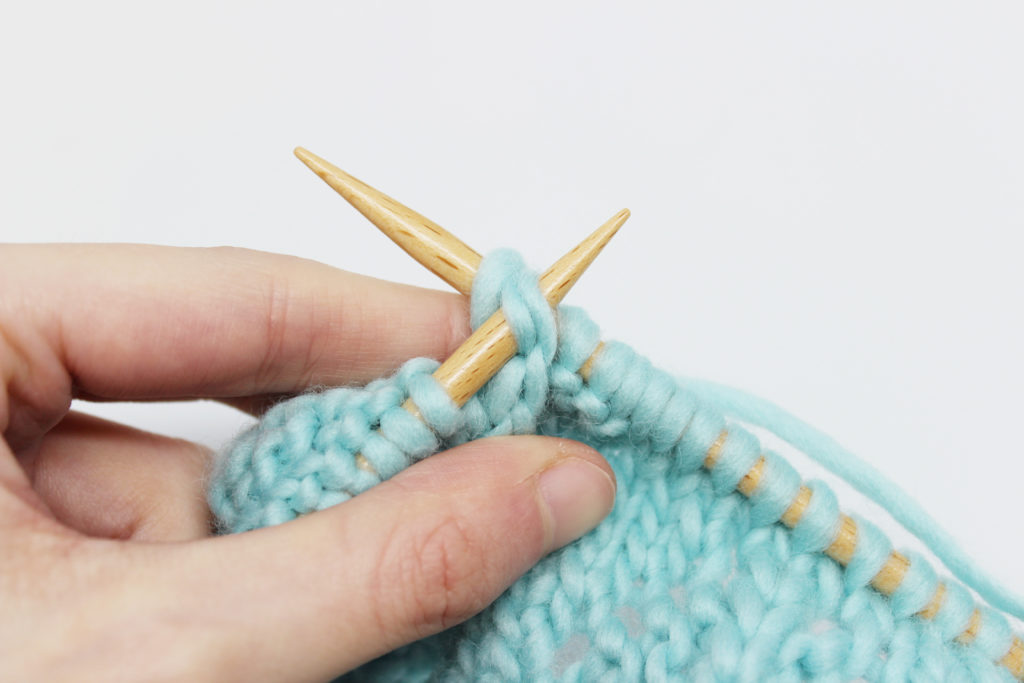
Pass both slipped stitches over the stitch you just knit.
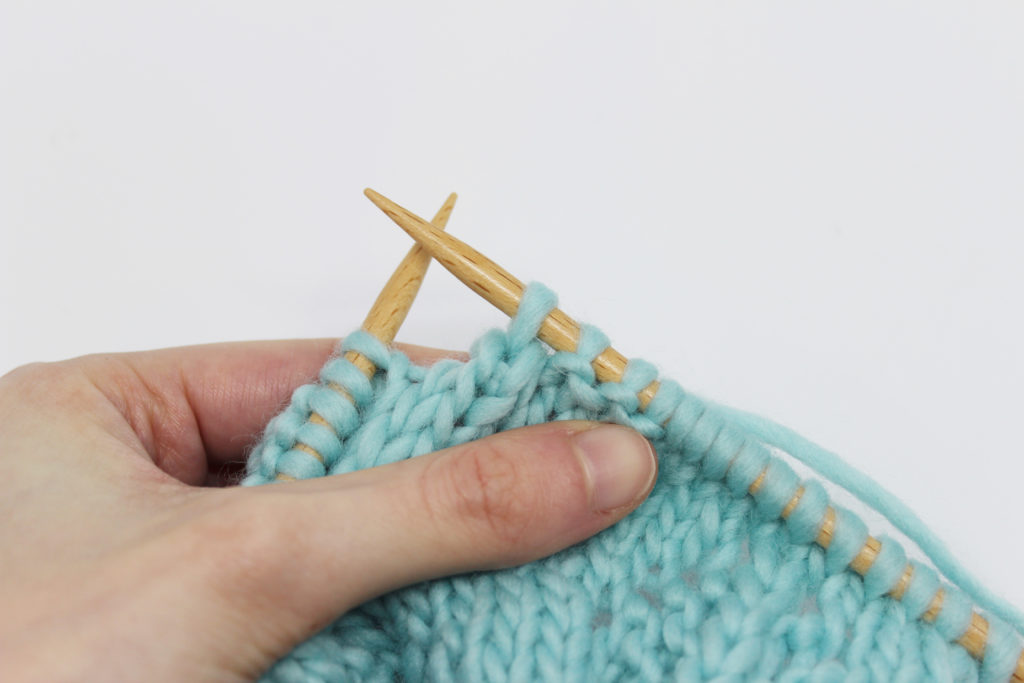
Your S2KPO is ready!
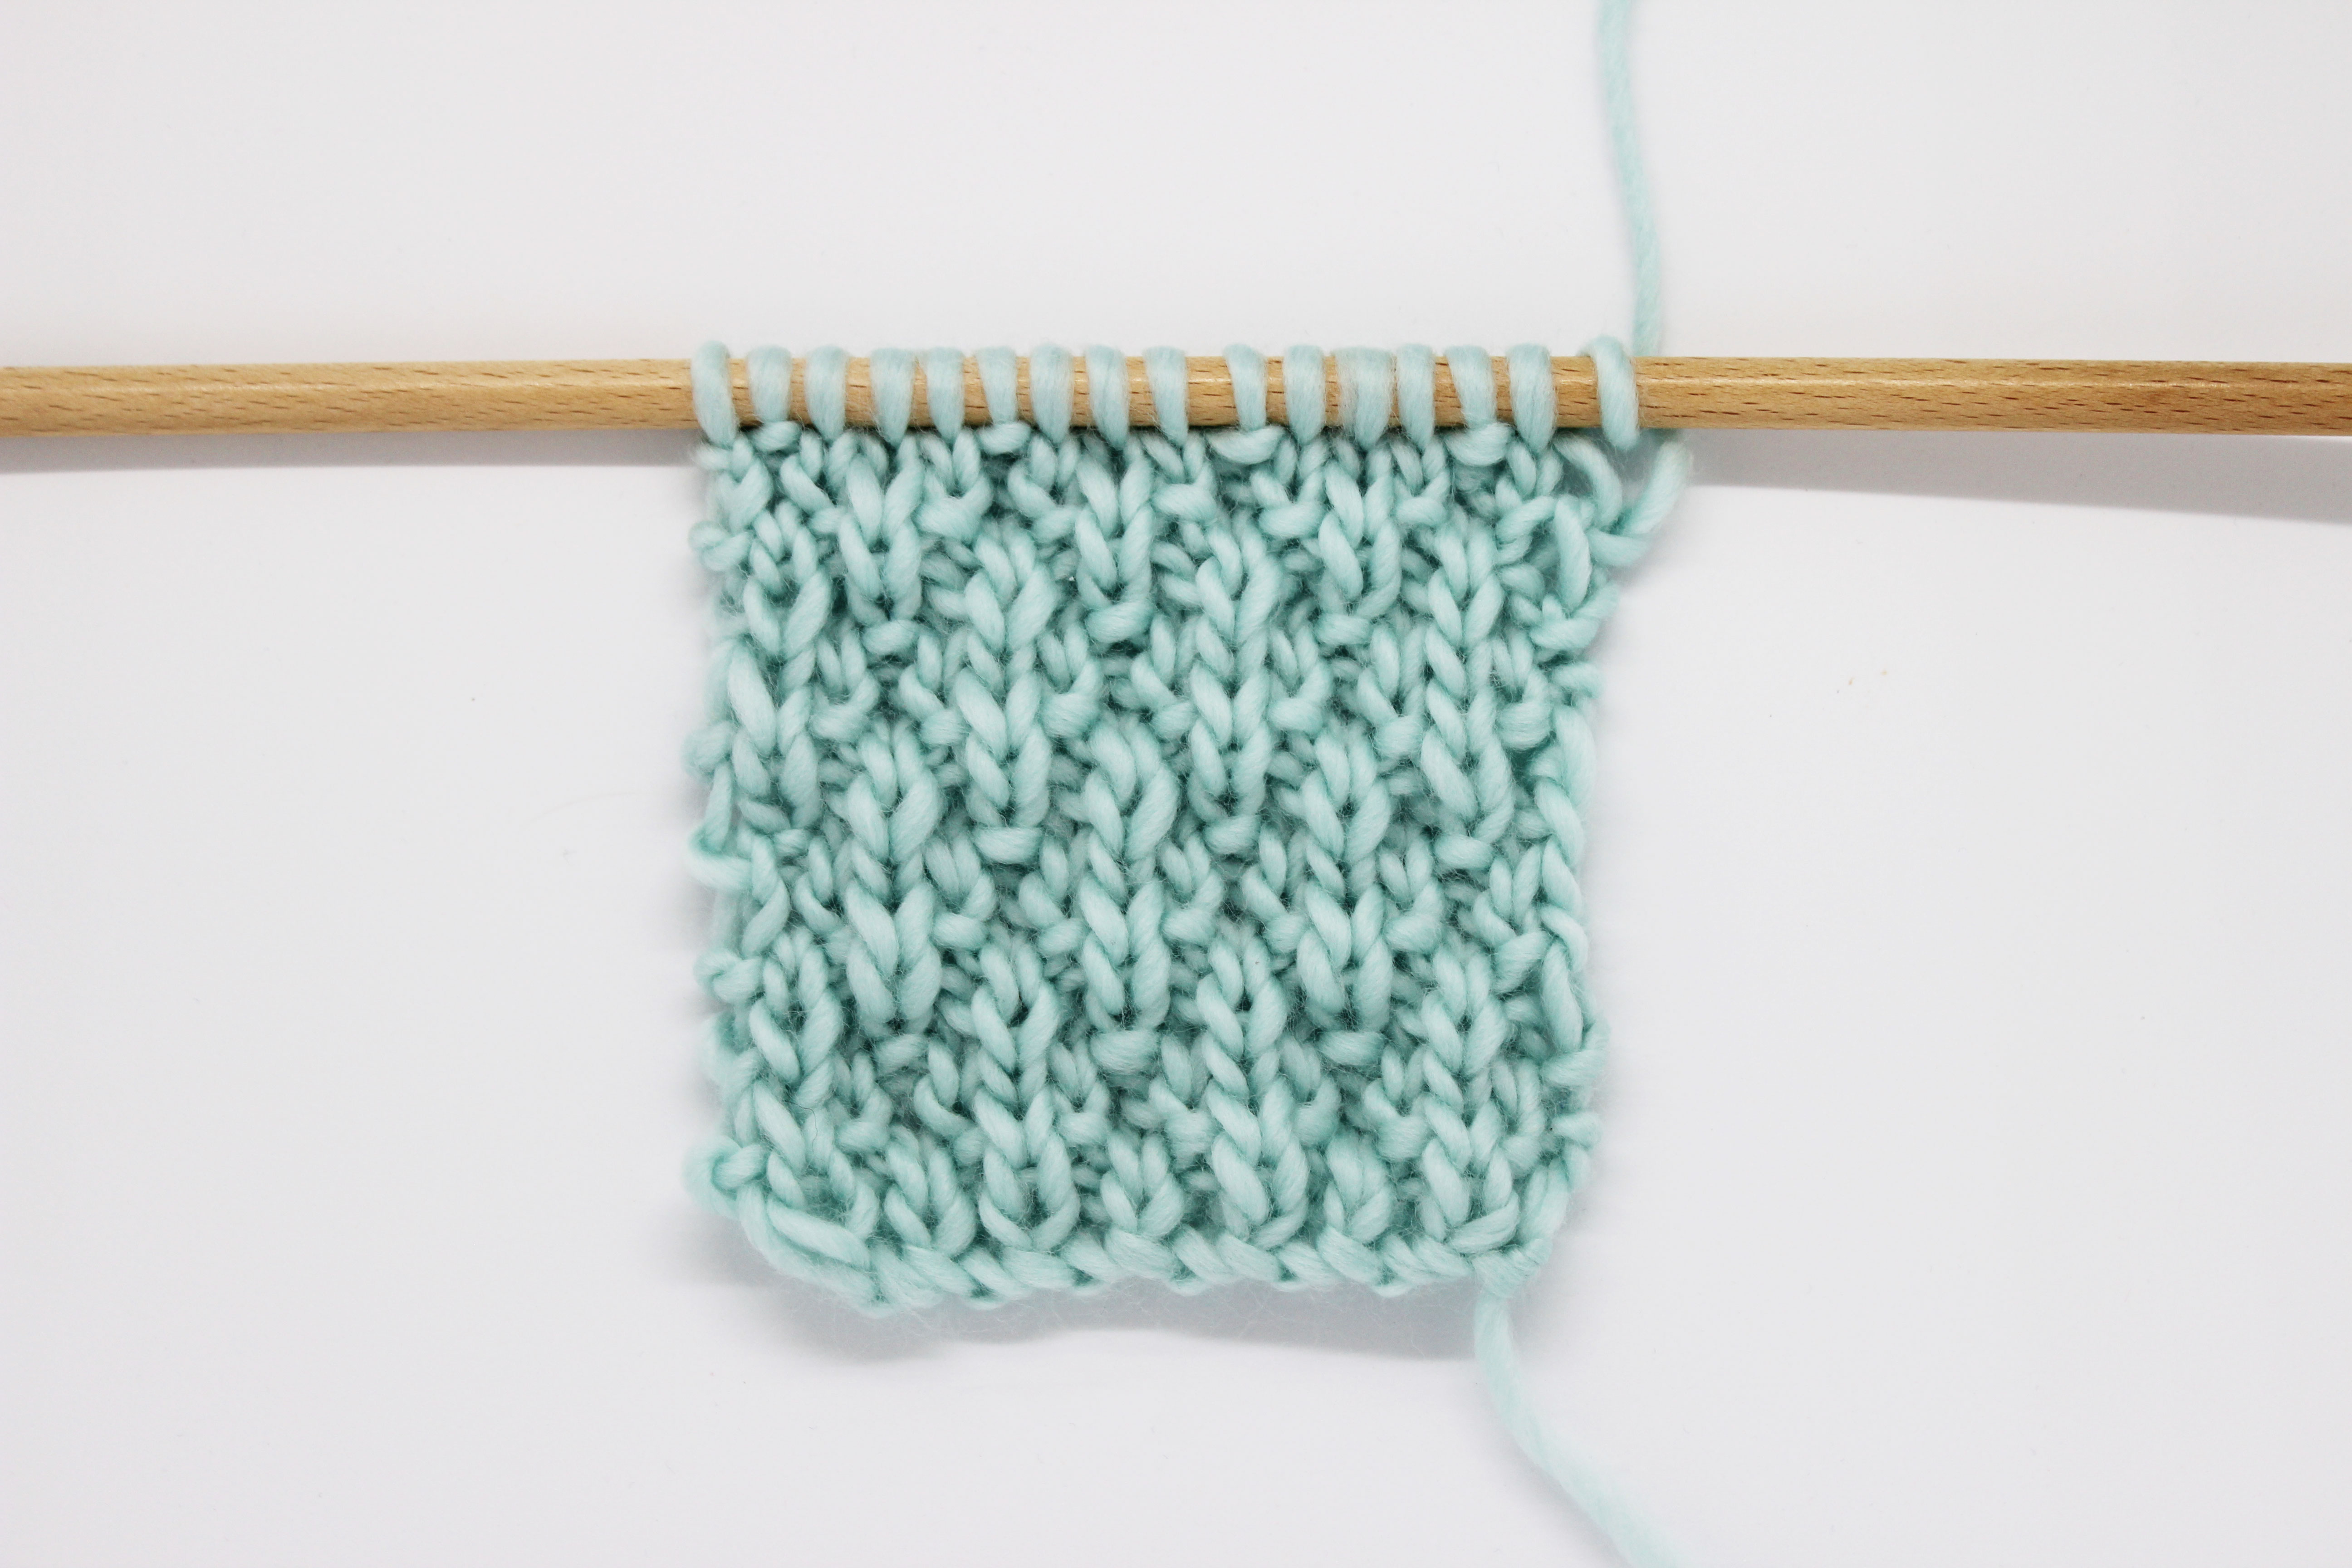
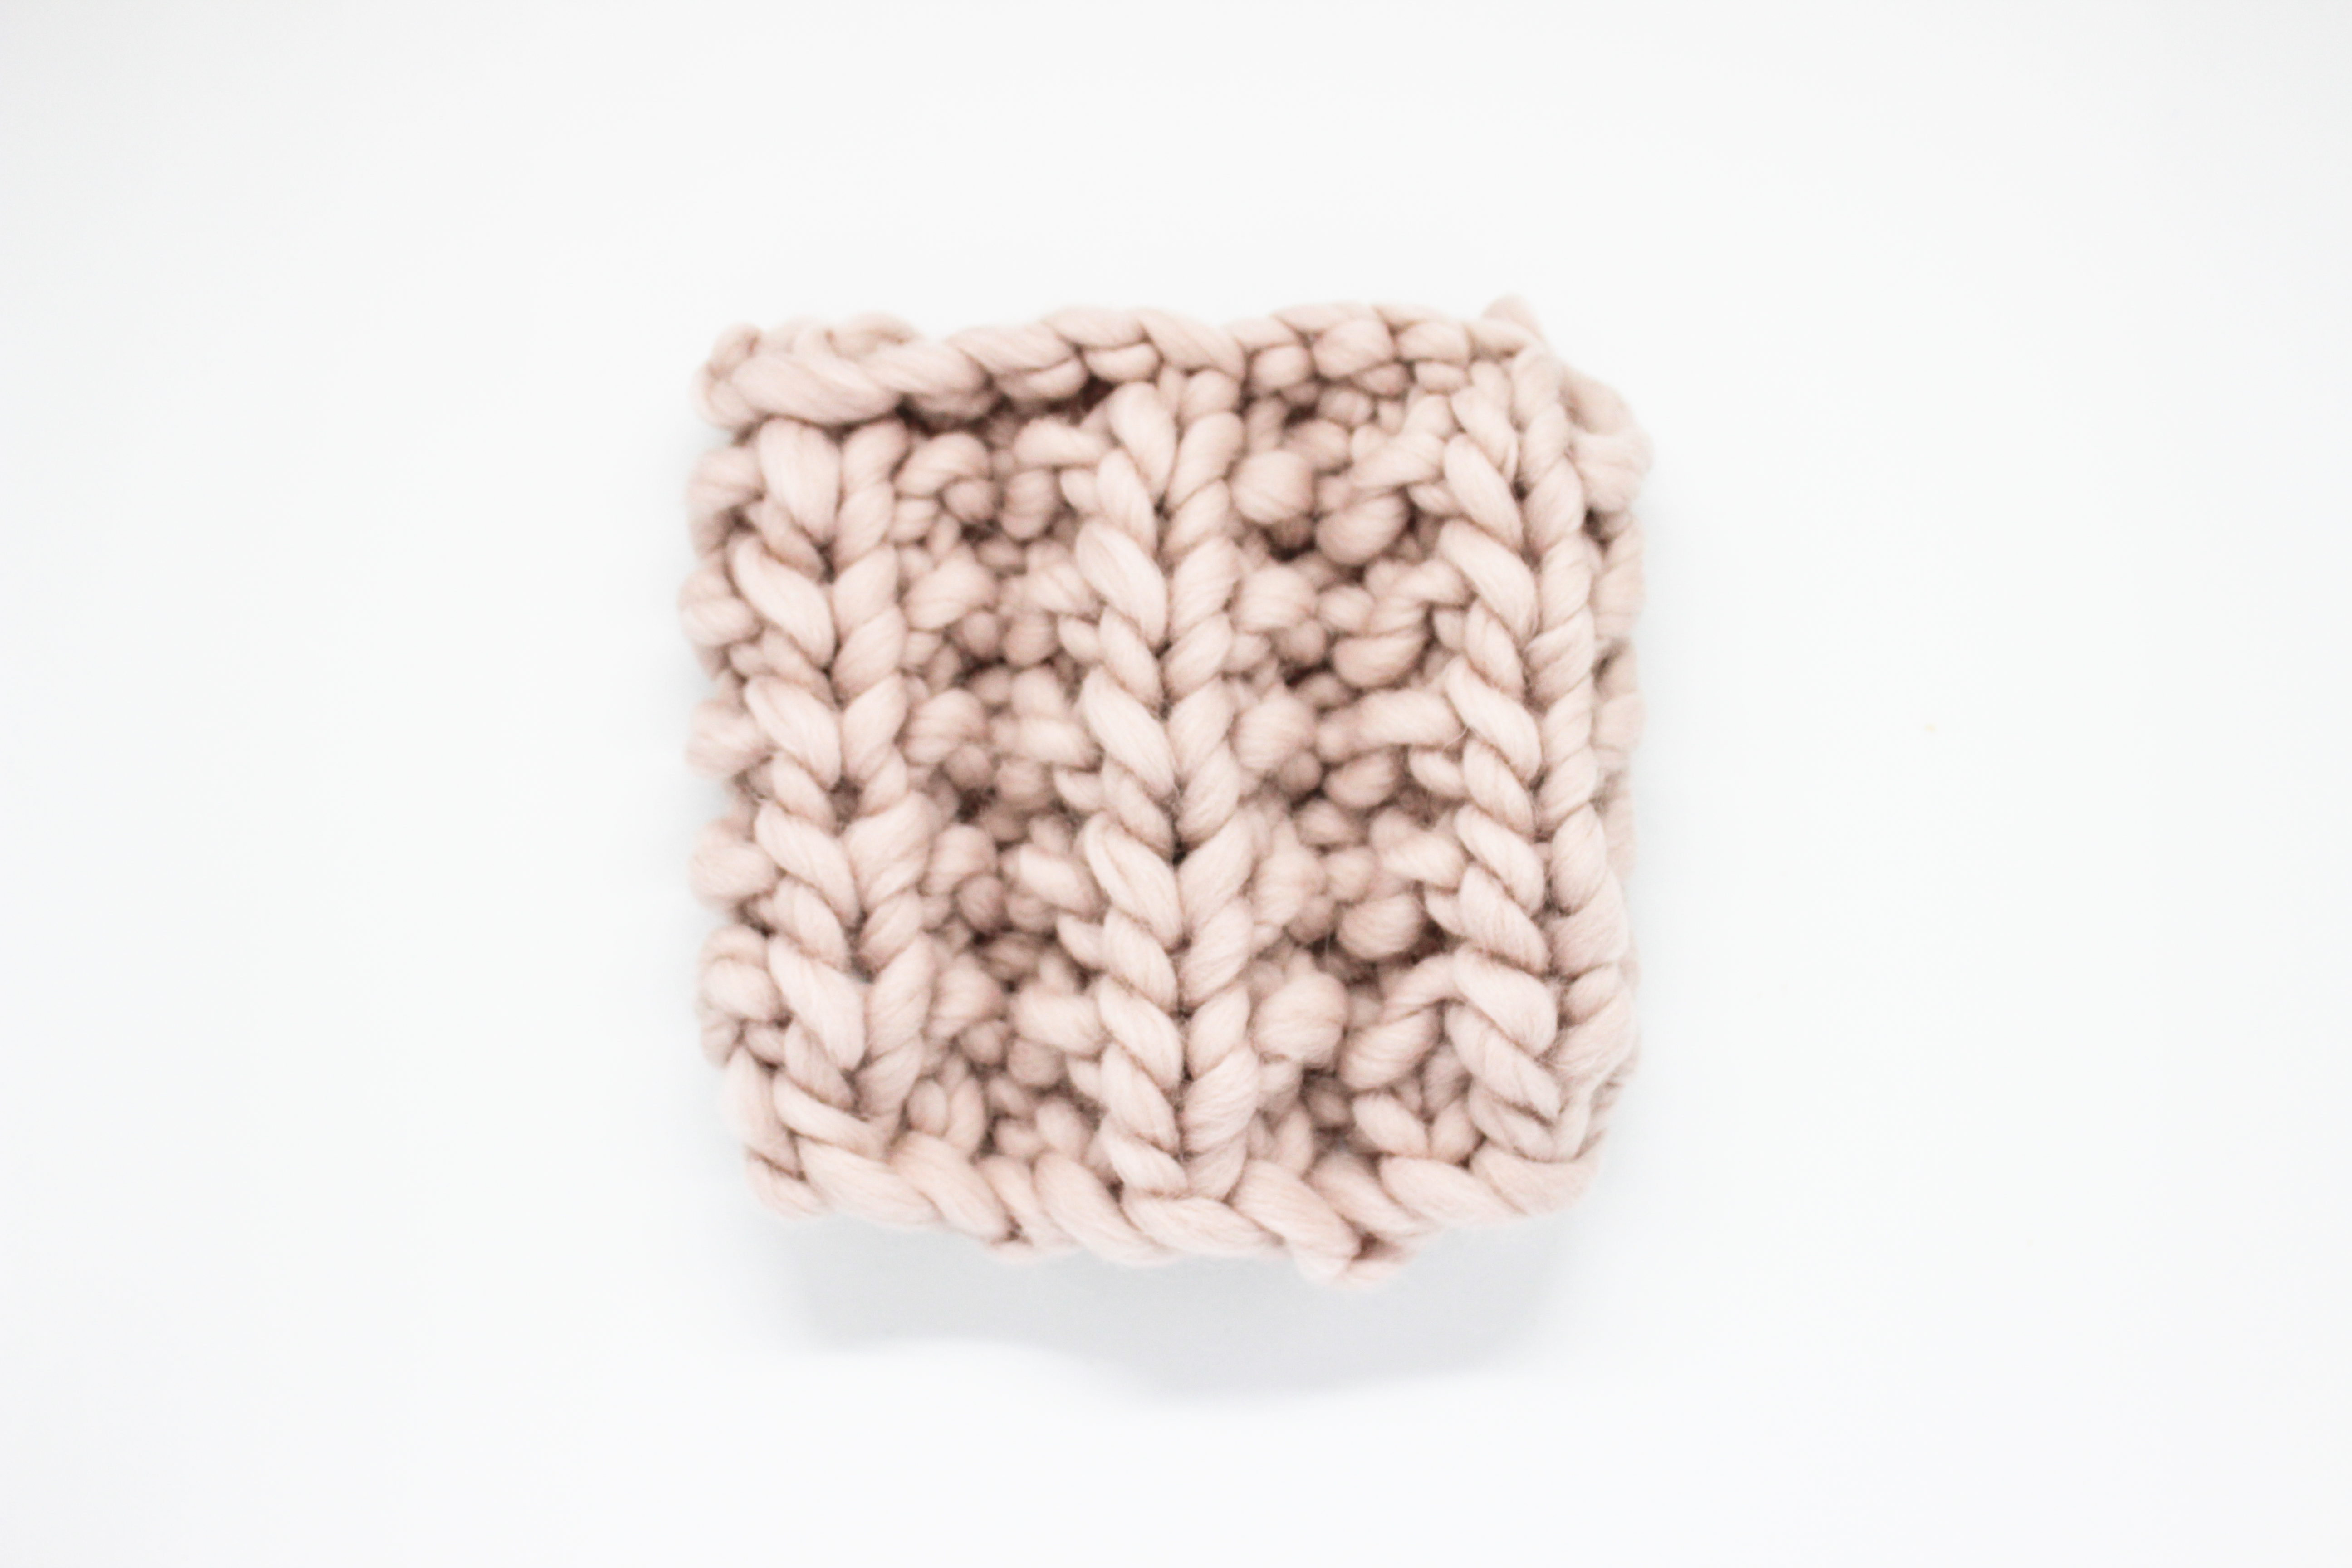
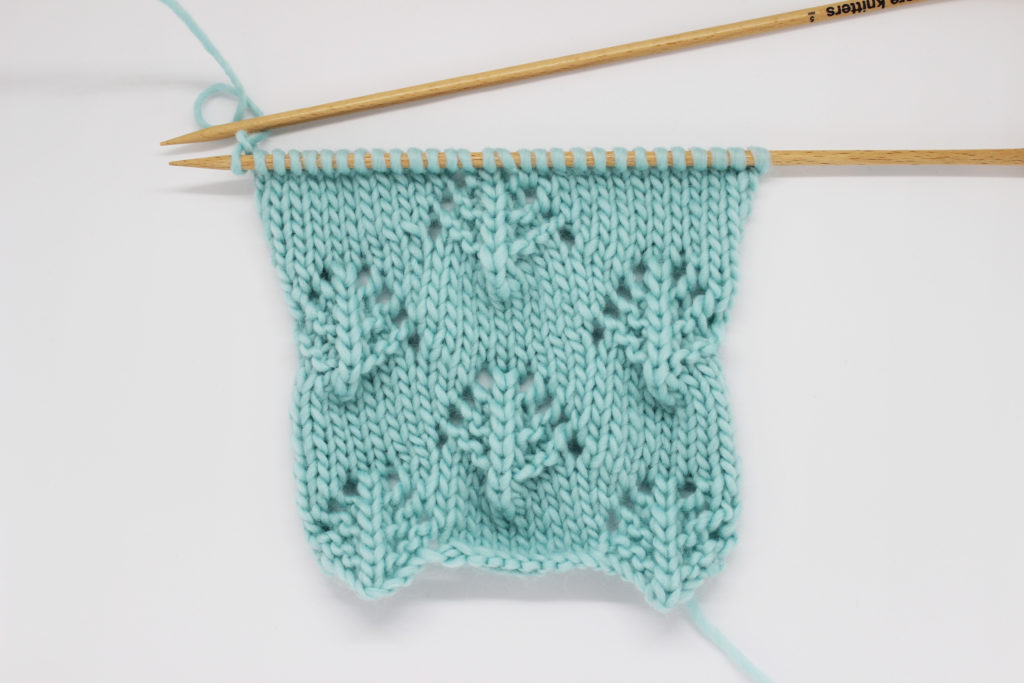
Small Pine Trees stitch
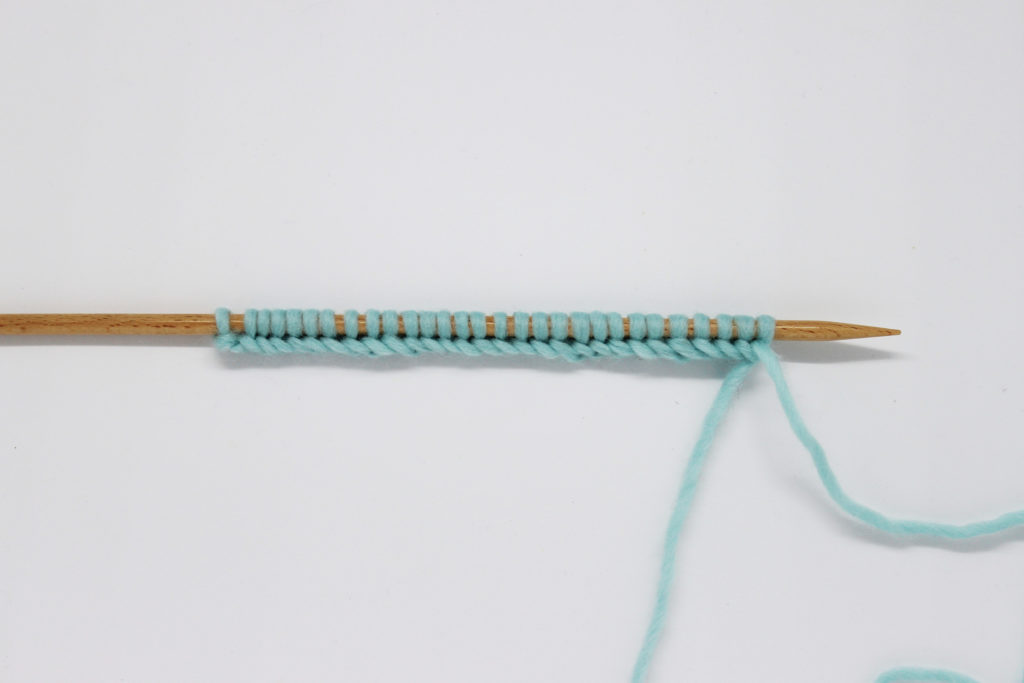
Start by casting on a stitch count multiple of 18 + 11 on your needles.
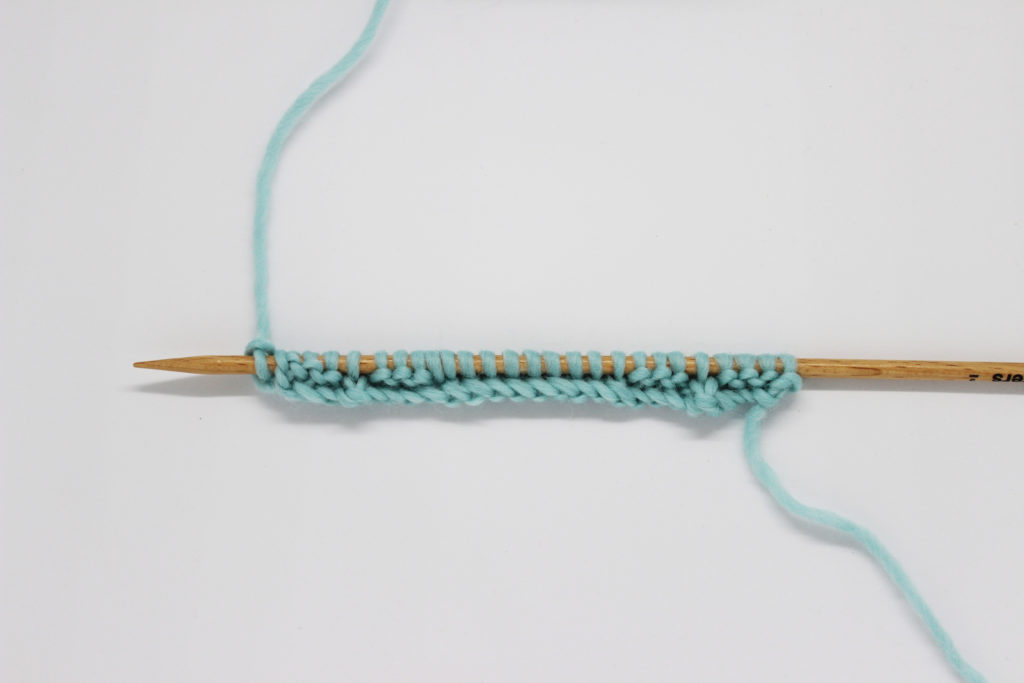
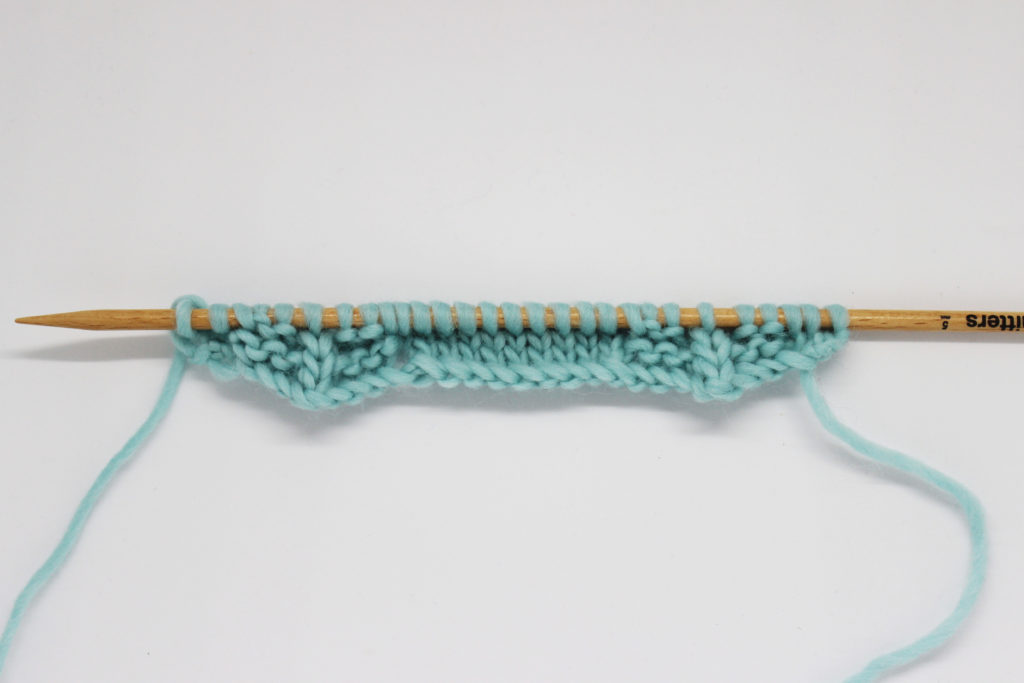
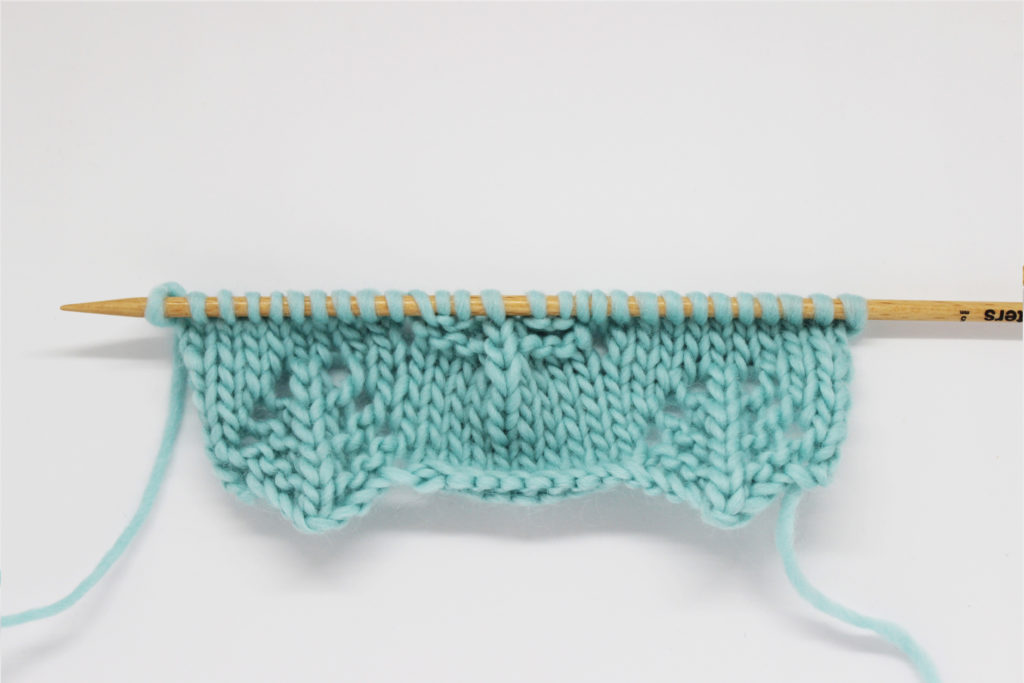
Row 1 (right side of the fabric): knit the first stitch. *Next, yarn over, purl 3, S2KPO, purl 3 again, yarn over and knit 9*. Repeat from * to * until there is 1 stitch left on your needle, and knit it.
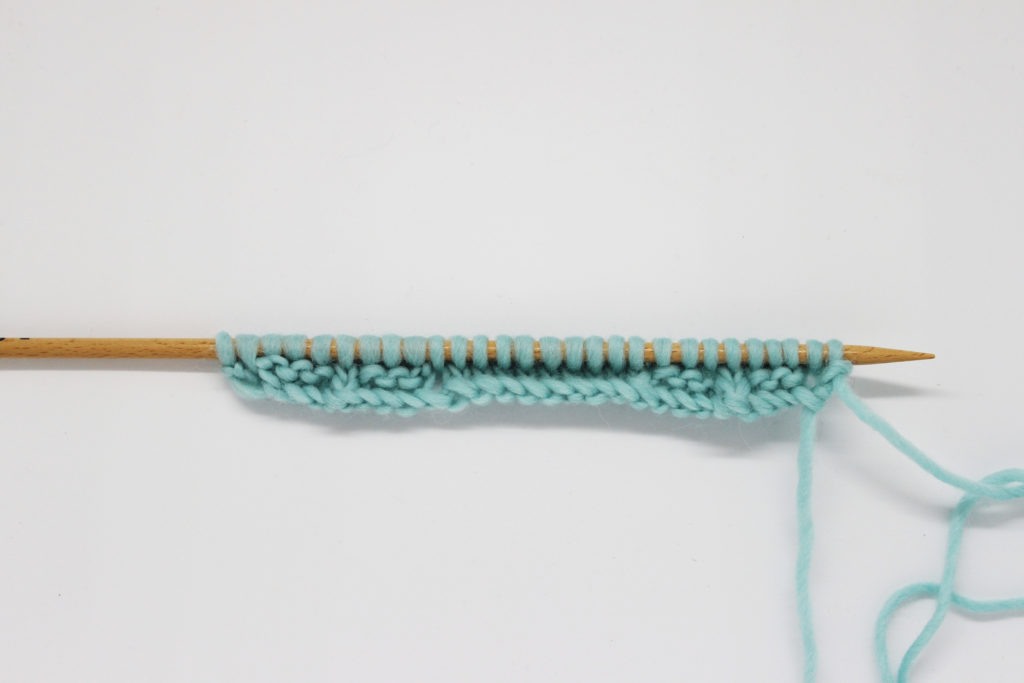
Row 2 (wrong side of the fabric): in this and all even rows (all the wrong side rows), you must work the stitches as they appear, this means, knit the knit stitches and purl the purl stitches.
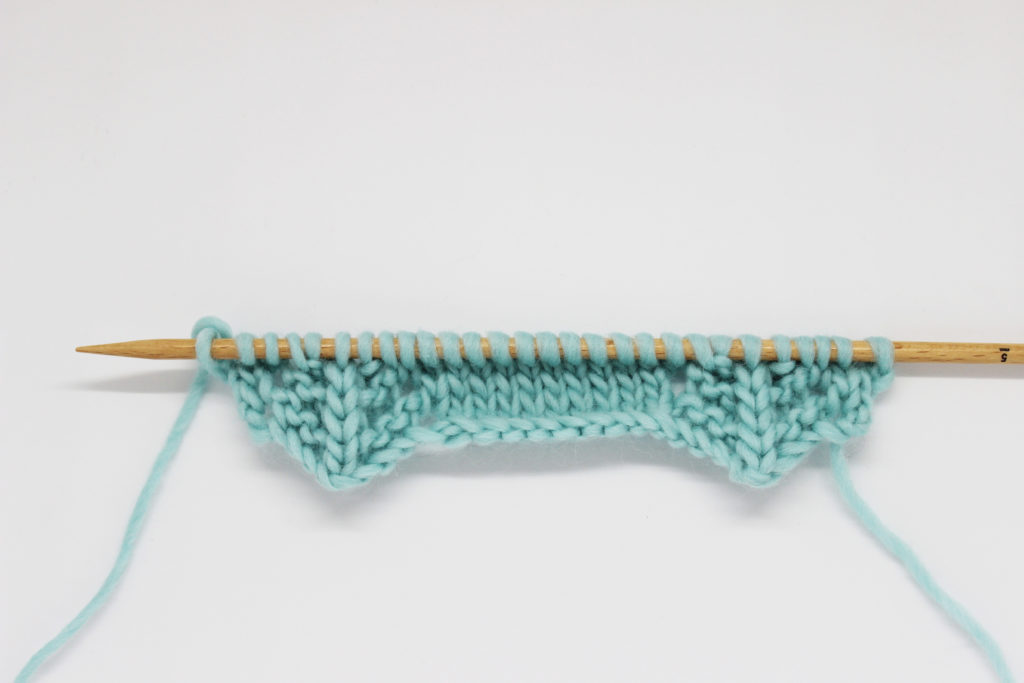
Row 3 (right side): start the row by knitting 2 stitches. *Next, yarn over, purl 2, S2KPO, purl 2 and yarn over. Knit 11 more stitches*. Repeat from * to * until there are 2 stitches left and knit them.
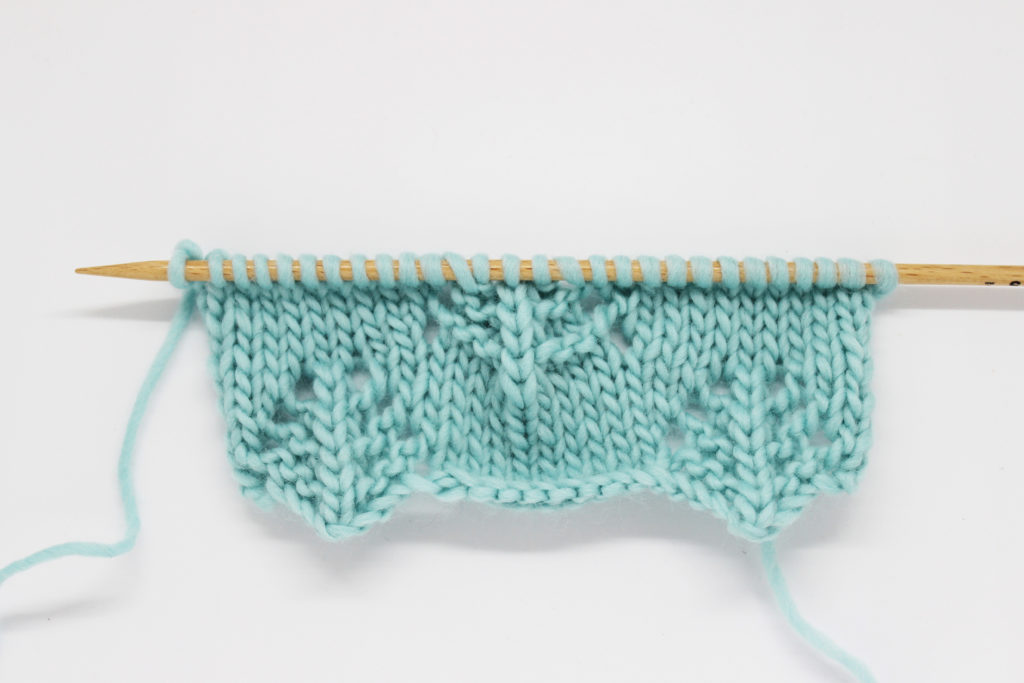
Row 5 (right side): knit 3. To shape the tree in this row: *yarn over, purl 1, S2KPO, purl 1, yarn over. Knit 13*. Repeat from * to * until there are 3 stitches left on the needle and knit them.
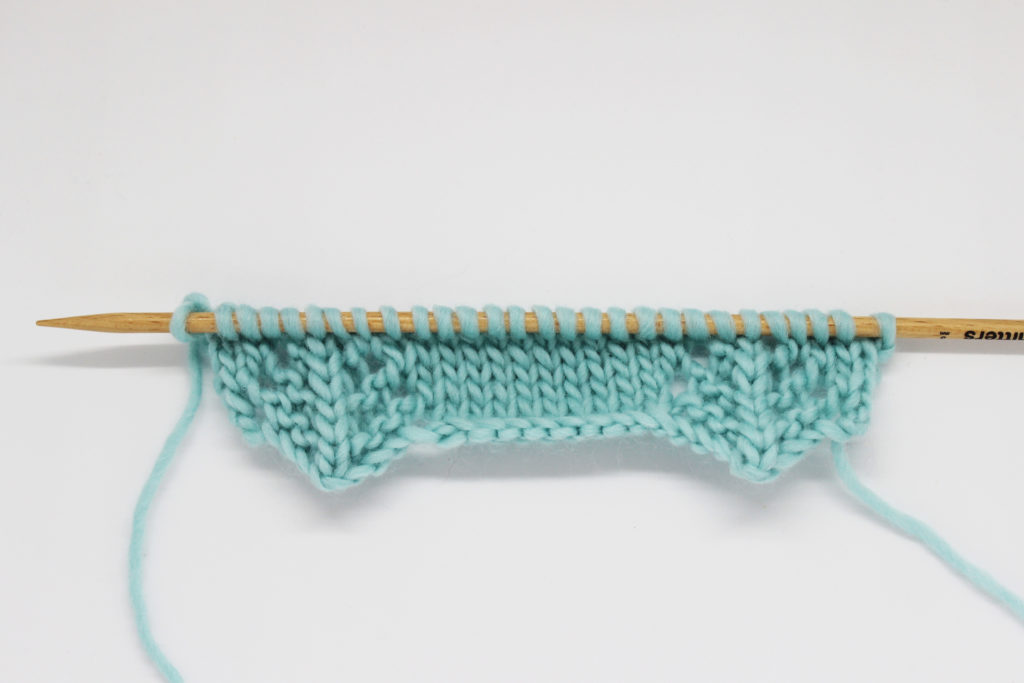
Row 7 (right side): in this row we will finish the tip of our small pine tree. To do so: begin the row by knitting 4 stitches. *Yarn over, S2KPO, yarn over. Knit 15*. Repeat from * to * until there are 4 stitches left, knit them.
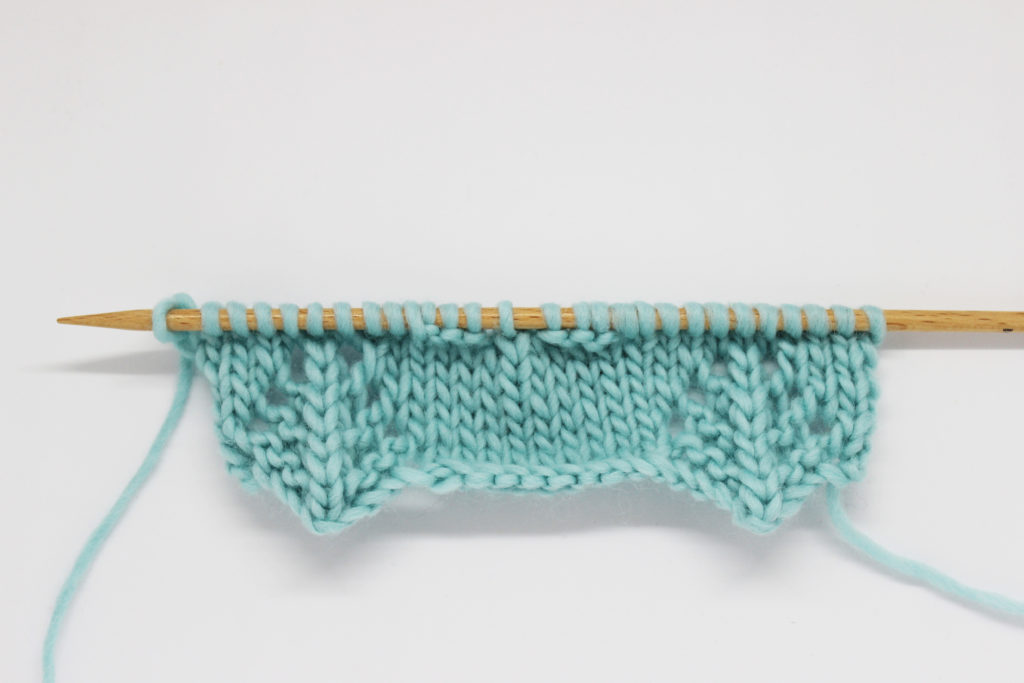
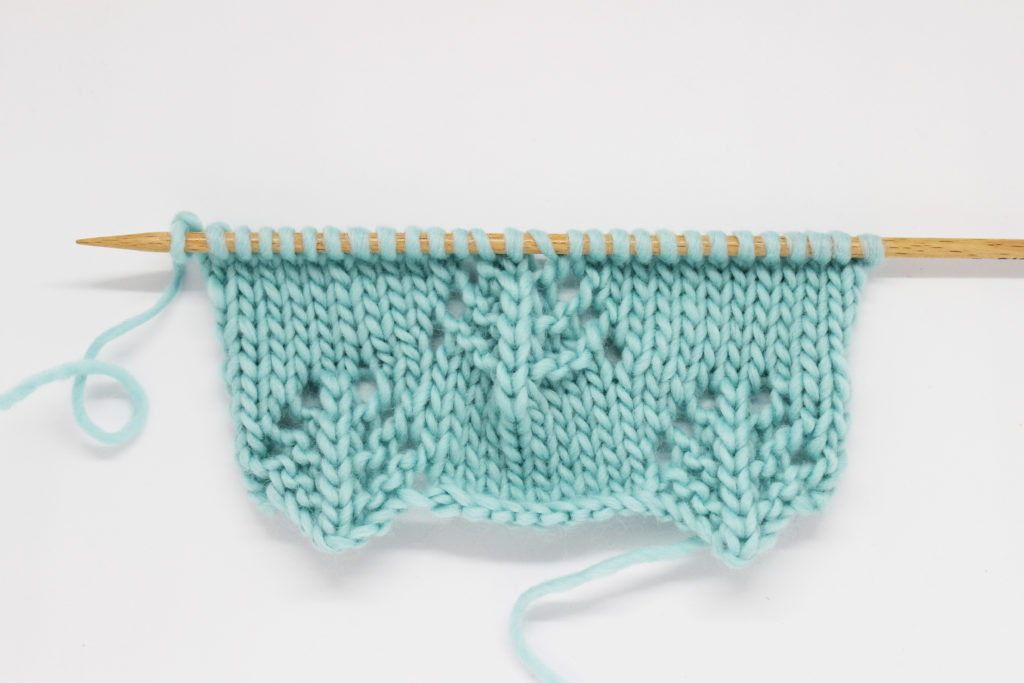
Row 9 (right side): *knit 10, continue with a yarn over, purl 3, S2KPO, purl 3 and yarn over*. Repeat from * to * until the end of the row. Knit the last 10 stitches of the row.
Row 11 (right side): *knit 11. Next, yarn over, purl 2, S2KPO, purl 2 and yarn over*. Repeat from * to * until the end of the row. Knit the last 11 stitches.
Row 13 (right side): begin by knitting 12 stitches. *Next: yarn over, purl 1, S2KPO, purl 1, yarn over. Knit 13*. Repeat from * to * until there are 12 stitches left on the needle and knit them.
Row 15 (right side): begin the row by knitting 13 stitches. *Next: yarn over, S2KPO, yarn over. Knit 15*. Repeat from * to * until there are 13 stitches left, knit them.
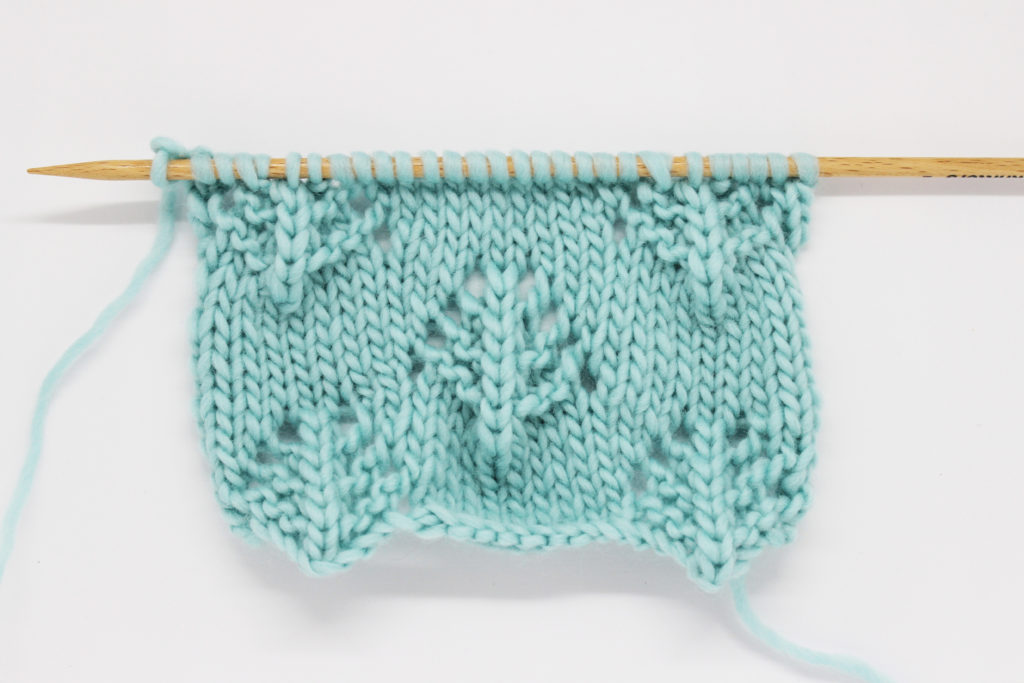
Now you just need to repeat rows 1 to 15 to add small pine trees to your little knit forest.
We hope you like this step-by-step tutorial and that you apply it to many knit garments.
We hope, as usual, to see your ideas and new projects with this stitch on social networks. Don’t forget to tag us with the hashtag #weareknitters 🙂